Introduction

Windows 7 has come to the stage whereby the support it receives is minimal.
Windows 7 users therefore have a number of choices:
- Stick with Windows 7
- Upgrade to Windows 8.1
- Buy a new computer with Windows 8.1 pre-installed
- Wait for Windows 10
- Switch to Linux Mint
Windows 7 is now a second class citizen in the eyes of Microsoft. You will receive security updates but that is about it. Stick with what you know if you like but you are virtually on your own.
Windows 8.1 is still the latest Microsoft operating system and you will be well supported but lets face it, Windows 8.1 is just not intuitive and has caused Microsoft to go back to the drawing board for Windows 10. If it was such a success then Microsoft wouldn't have changed it so heavily for Windows 10. It will also cost you upwards of £80.
If you aren't comfortable installing operating systems you might just choose to buy a new computer with Windows 8.1 on it. This will save you install time but the Windows 8.1 issues remain the same and it will set you back a few hundred quid.
You could wait for Windows 10 and to be fair it looks like it will be much better than the current offering and they do have some exciting looking hololens glasses on the way. There is still a fair amount of time before Windows 10 is released and being an early adopter isn't the best time to jump aboard.
This is a site dedicated to Linux and so I am of course going to recommend the Linux Mint option. The look and feel will be much like the Windows 7 interface you are currently using. You won't need to upgrade your hardware. You will never be out of support. It won't cost you a penny. You won't need to buy extra software such as Microsoft Office. You won't get any viruses.
I have written installation guides before and you might be wondering what is different about this one.
A comment I received a couple of weeks ago asked how to install Linux without overwriting the data that is held in a separate partition on the hard drive.
The user in question had Windows 7 installed in one partition and all his data files were saved in a completely separate partition.
This guide shows how to replace Windows 7 with Linux Mint whilst preserving other partitions such as data partitions and recovery partitions.
The Setup

This is my setup prior to installing Linux Mint. I have a single hard drive with 700 GB of space.
The drive is split into 3 partitions:
- Recovery partition - 100 MB
- Windows partition - 356 GB
- Data partition 342 - GB
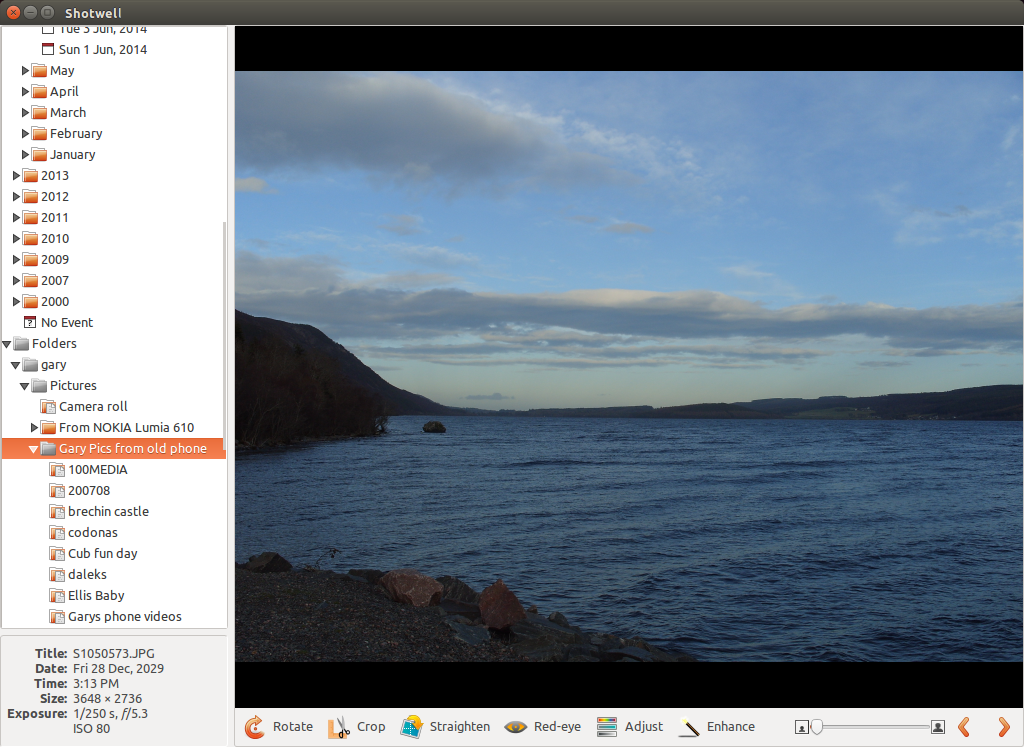
The data partition has some really important files on it.

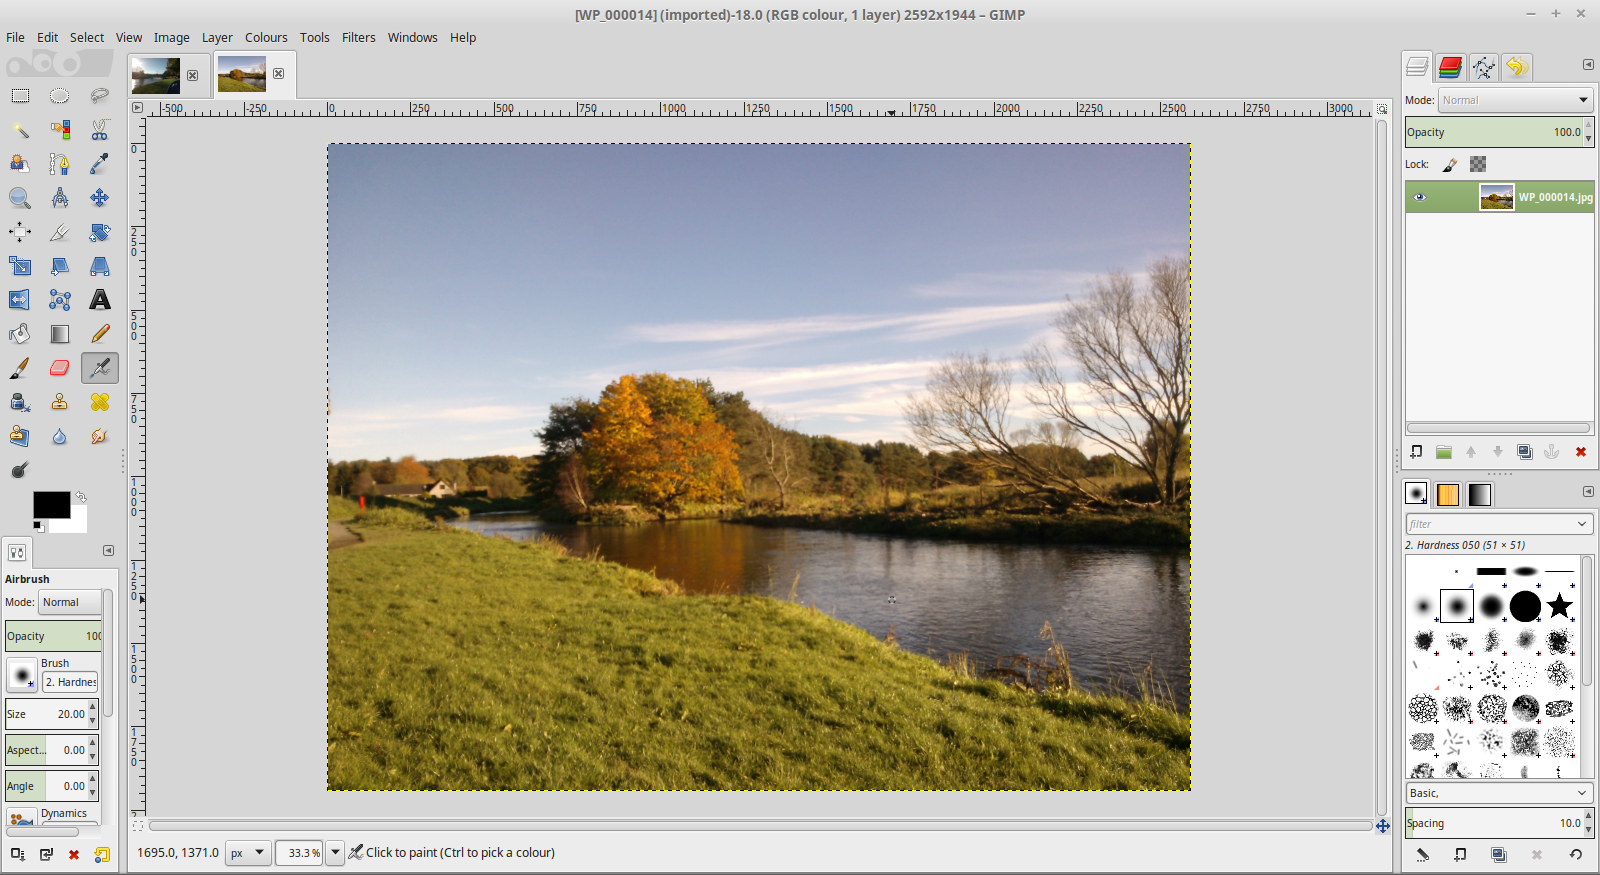
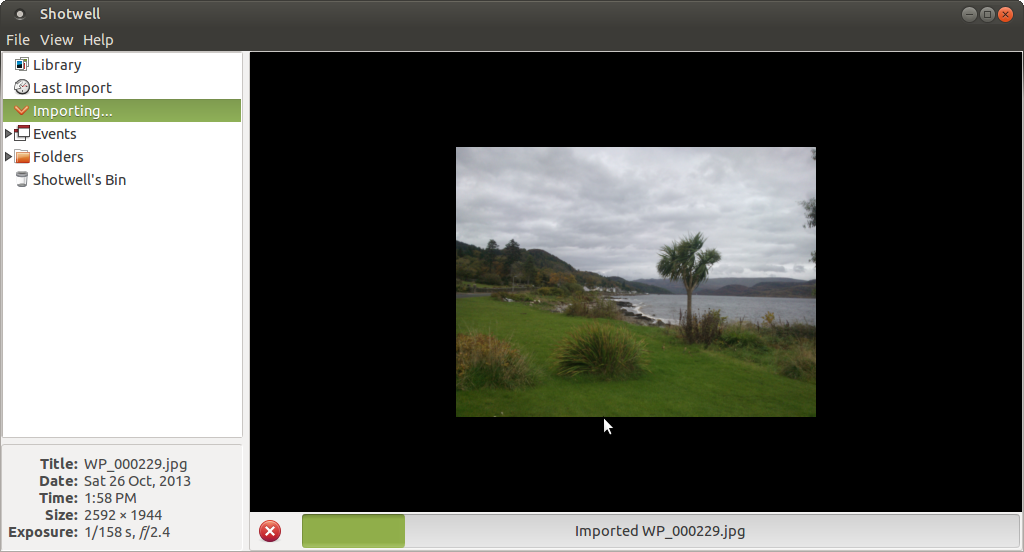
To prove it here is a picture of the Freedom tower taken from the top of the Empire State Building.

Now of course I might just have downloaded that from Google Images so to prove I didn't....

That photo was taken from my Samsung Galaxy S4 and it has the in shot thingy which can make any photo look ridiculous.
Anyway, now we know I have something to lose if the installation goes wrong.
The Strategy
In order to install Linux Mint and remove Windows 7 without losing my data partition here is the plan:- Backup all of the partitions
- Download Linux Mint
- Create a bootable Linux Mint USB drive
- Boot into the live Linux Mint image
- Run the installer
- Choose the something else option when partitioning and set up Linux Mint partitions only in the Windows partition. (and delete that 100mb recovery partition)
- Complete the installation
- Prove that it worked
Backup All Partitions On A Single Hard Drive
The tool I like to use when backing up the partitions on a hard drive is Macrium Reflect.Here is a guide I created showing how to backup all of your partitions.
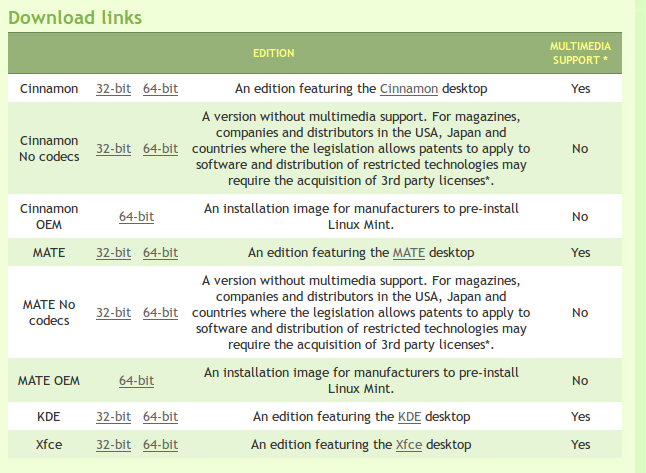
Download Linux Mint
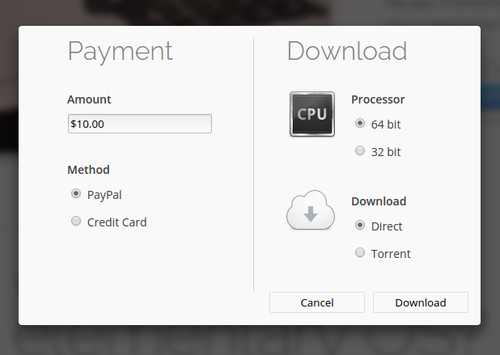
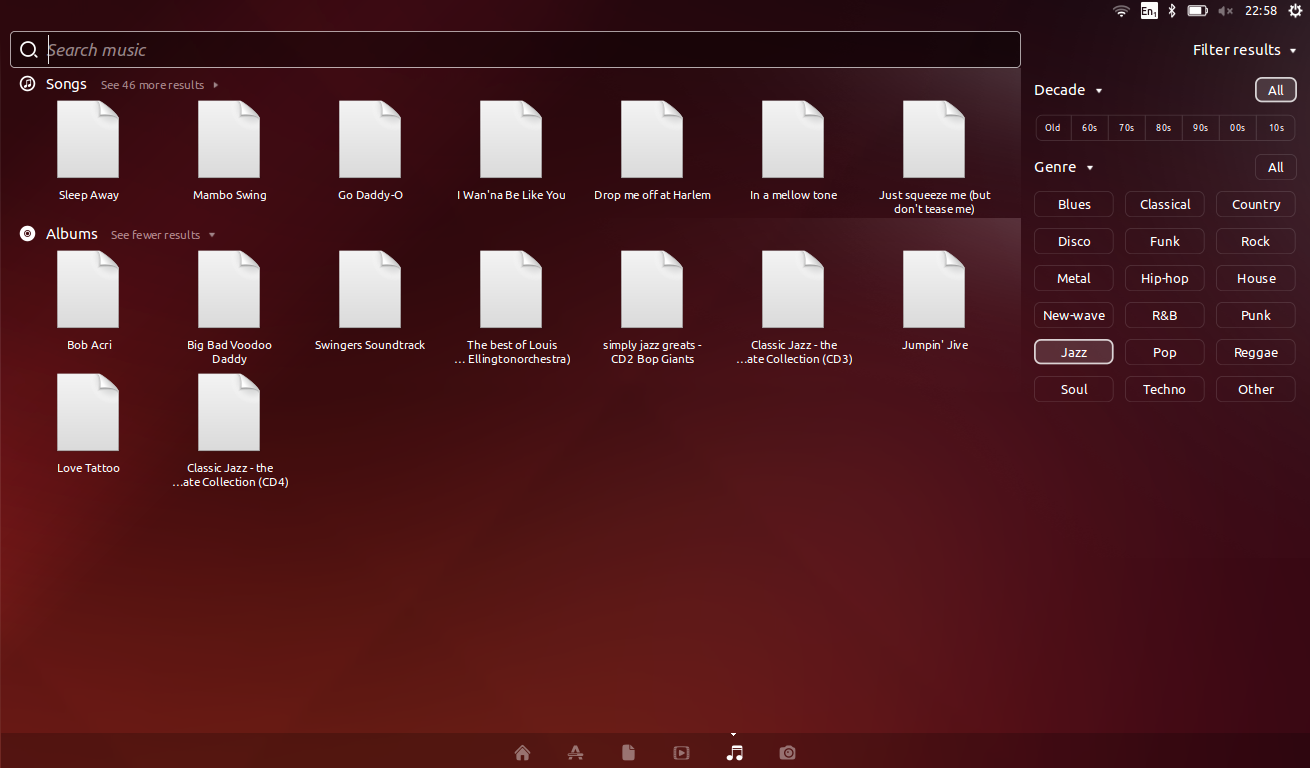
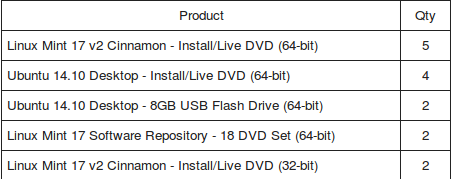
Click here to download Linux MintThere are a number of versions available. If your computer is running Windows 7 then it should be good enough to run the Cinnamon version. Make sure you choose the version with multimedia support.
Create A Linux Mint USB Drive

 In order to create a live Linux Mint USB drive you will of course need a blank USB drive.
 Click here to buy one
Make sure you have the blank USB drive connected to your computer before continuing.
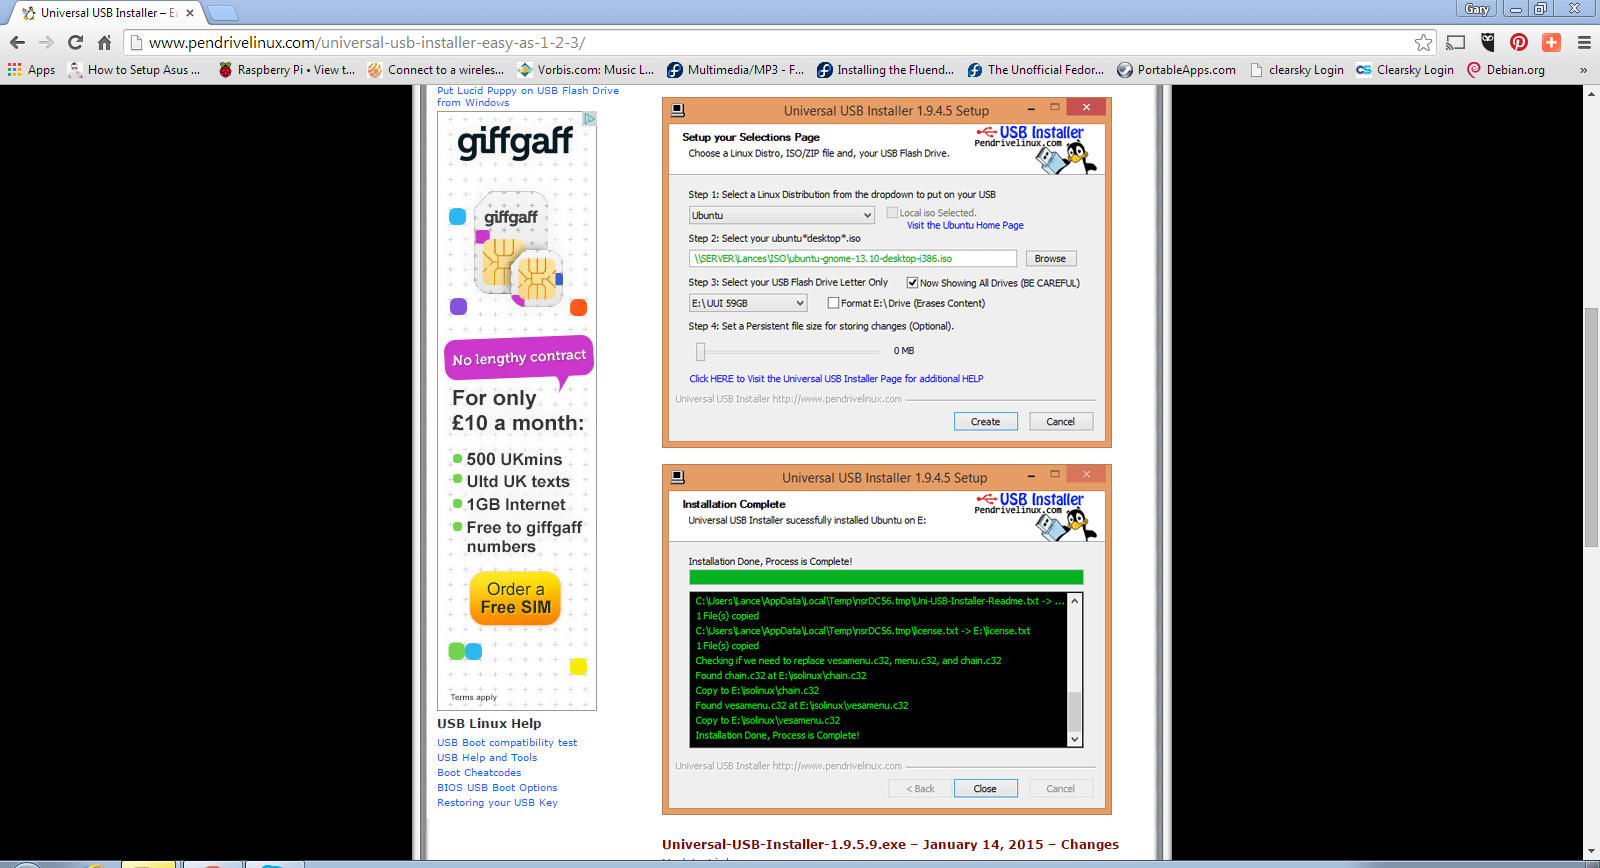

Click here to download the Universal USB Installer
The download link is halfway down the page.
Double click on the downloaded executable to run the installer and click "I agree" to get past the license agreement.

In step 3 select the USB drive from the dropdown list. Check the box to format the drive.
Click "Create" to create the drive.

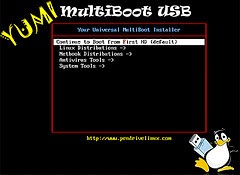
Click the "Close" button and reboot your computer. (leave the USB drive plugged in).
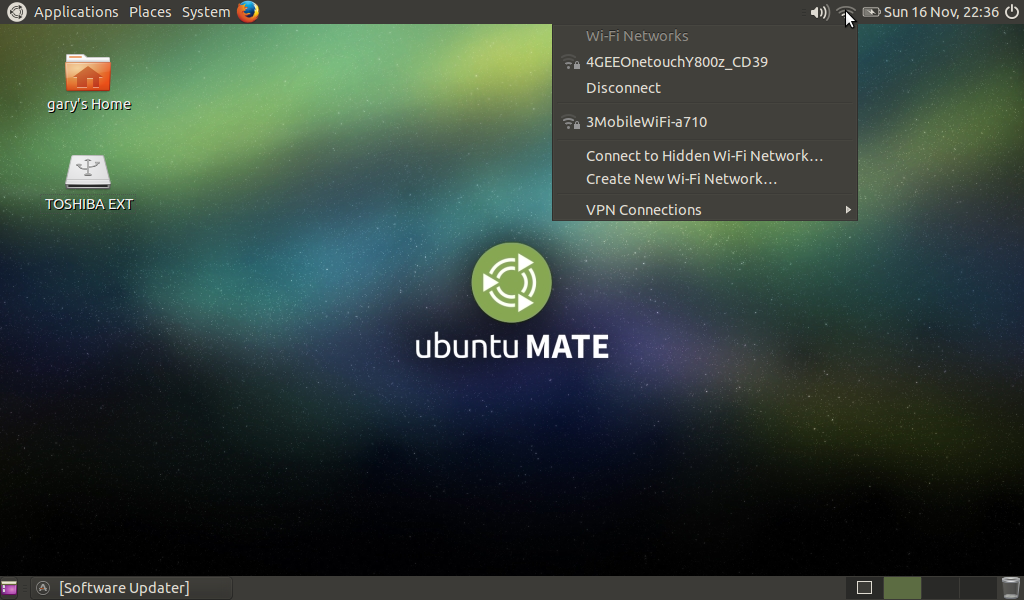
When the menu appears with options to "Try Linux Mint" or "Install Linux Mint" choose "Try Linux Mint".
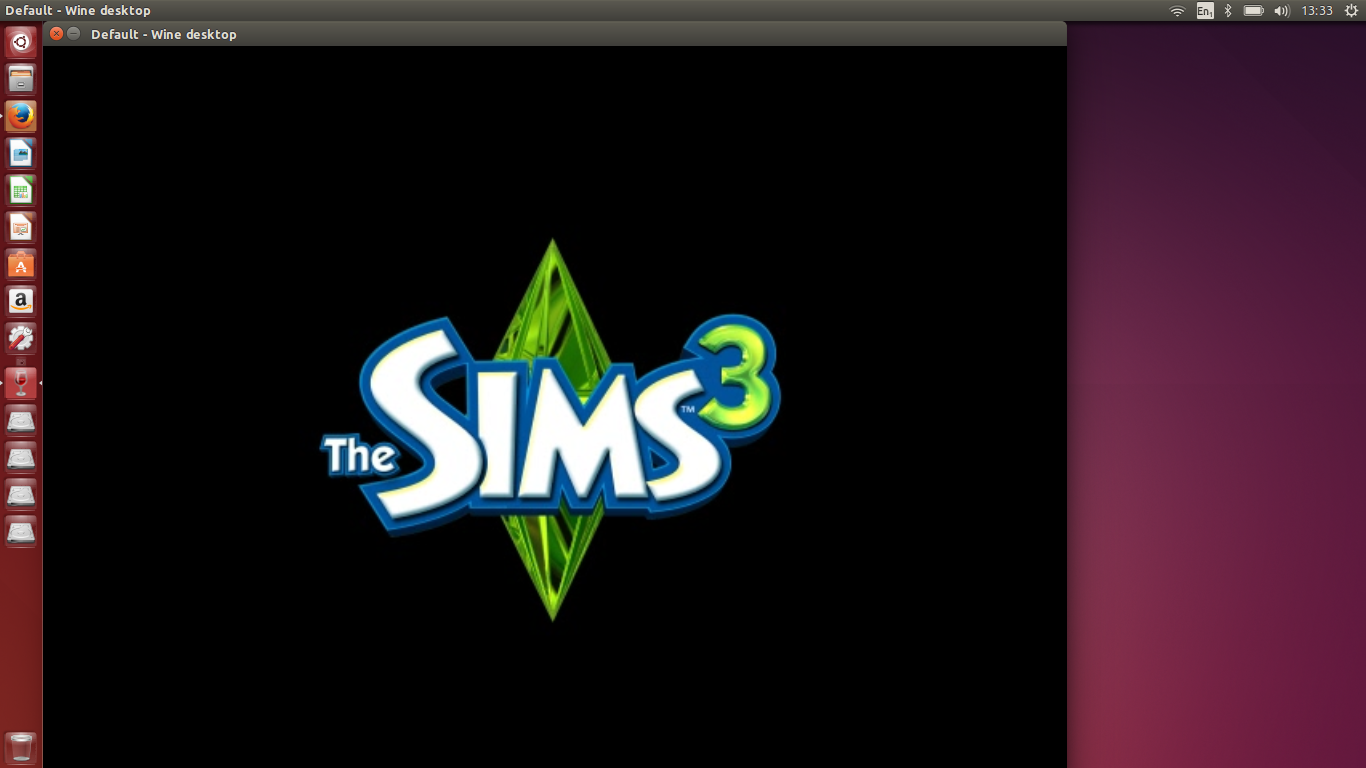
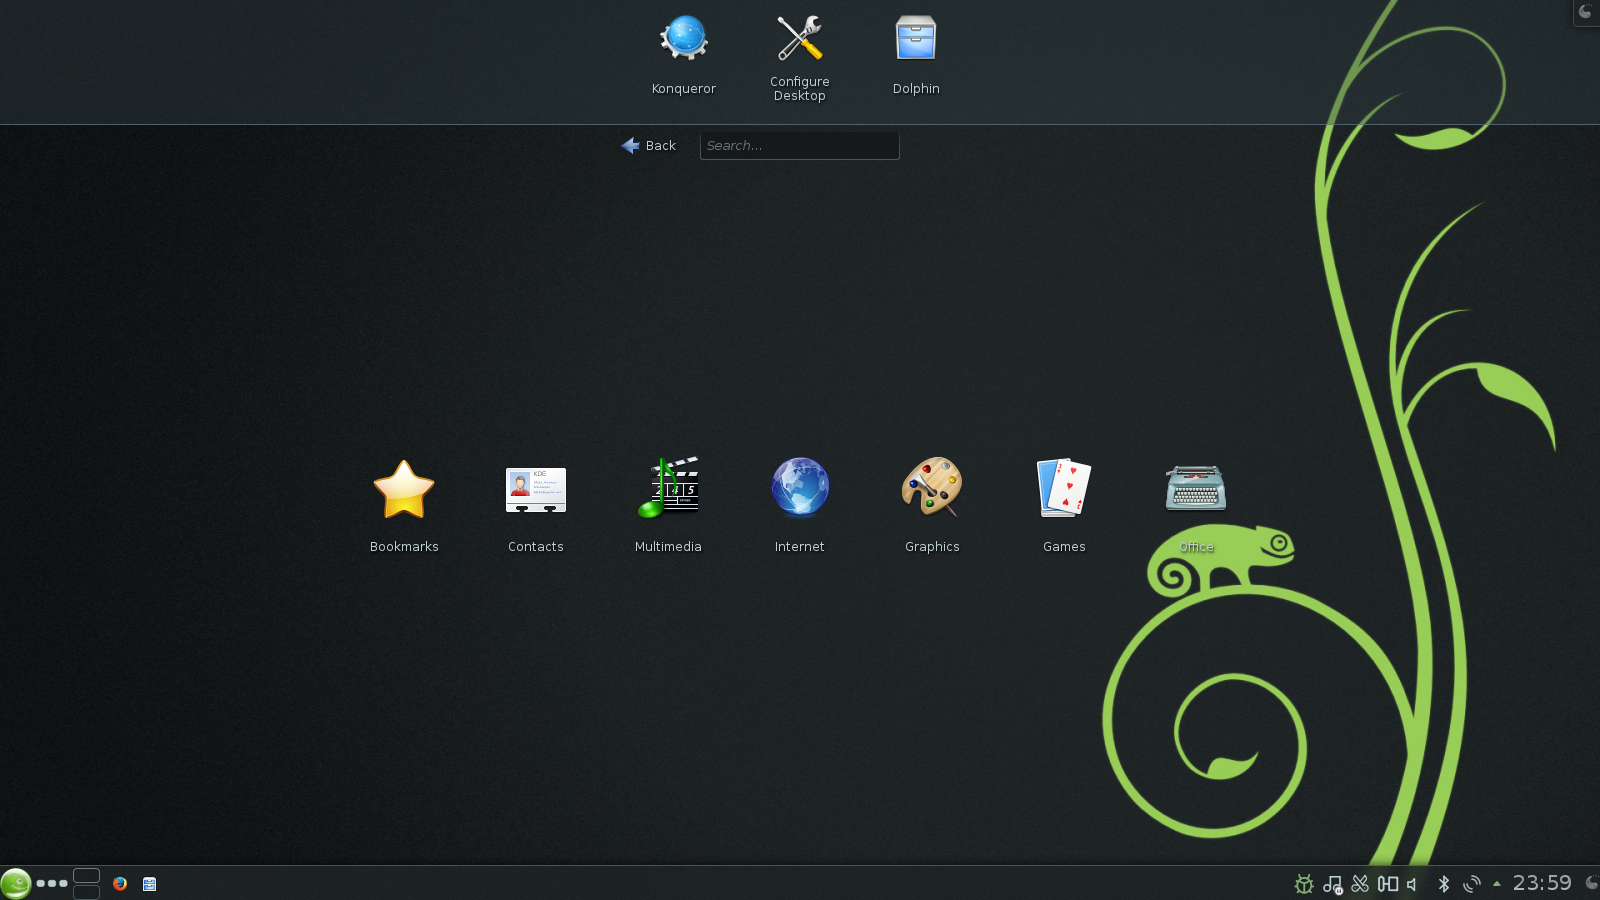
Install Linux Mint
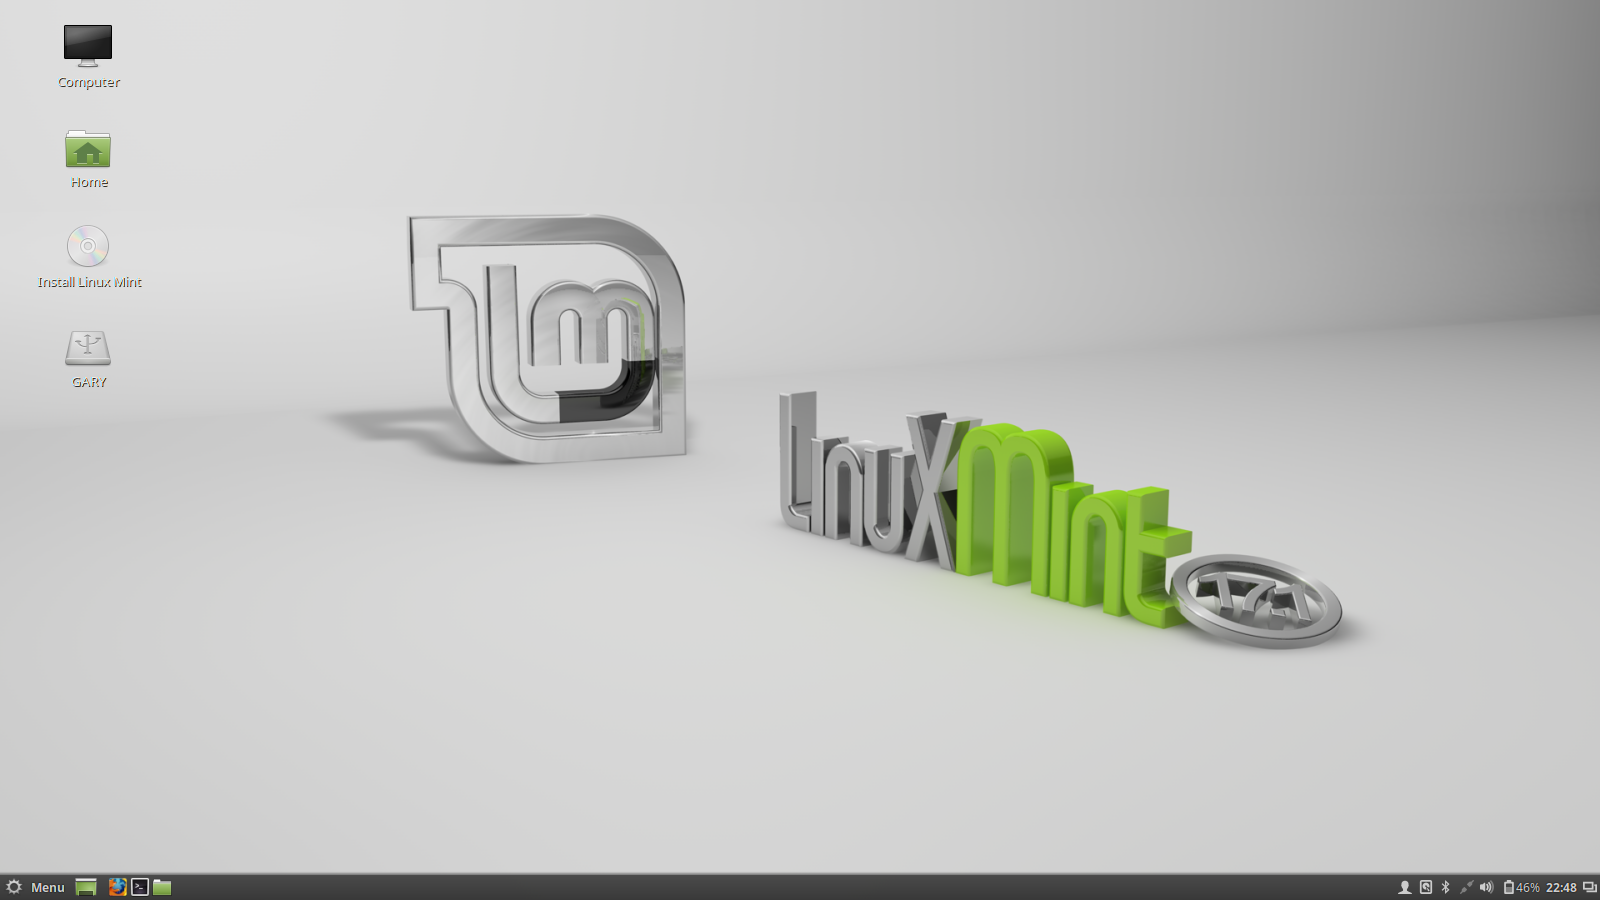
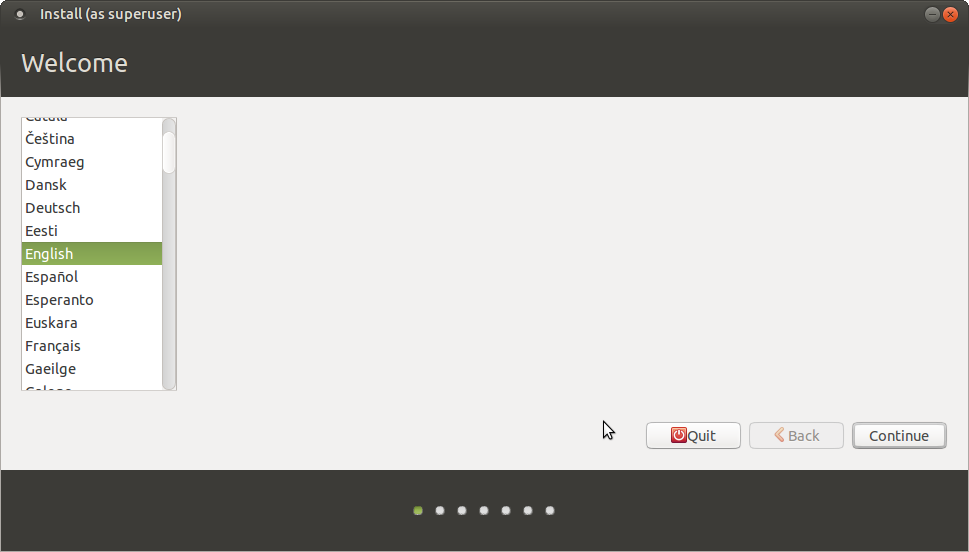
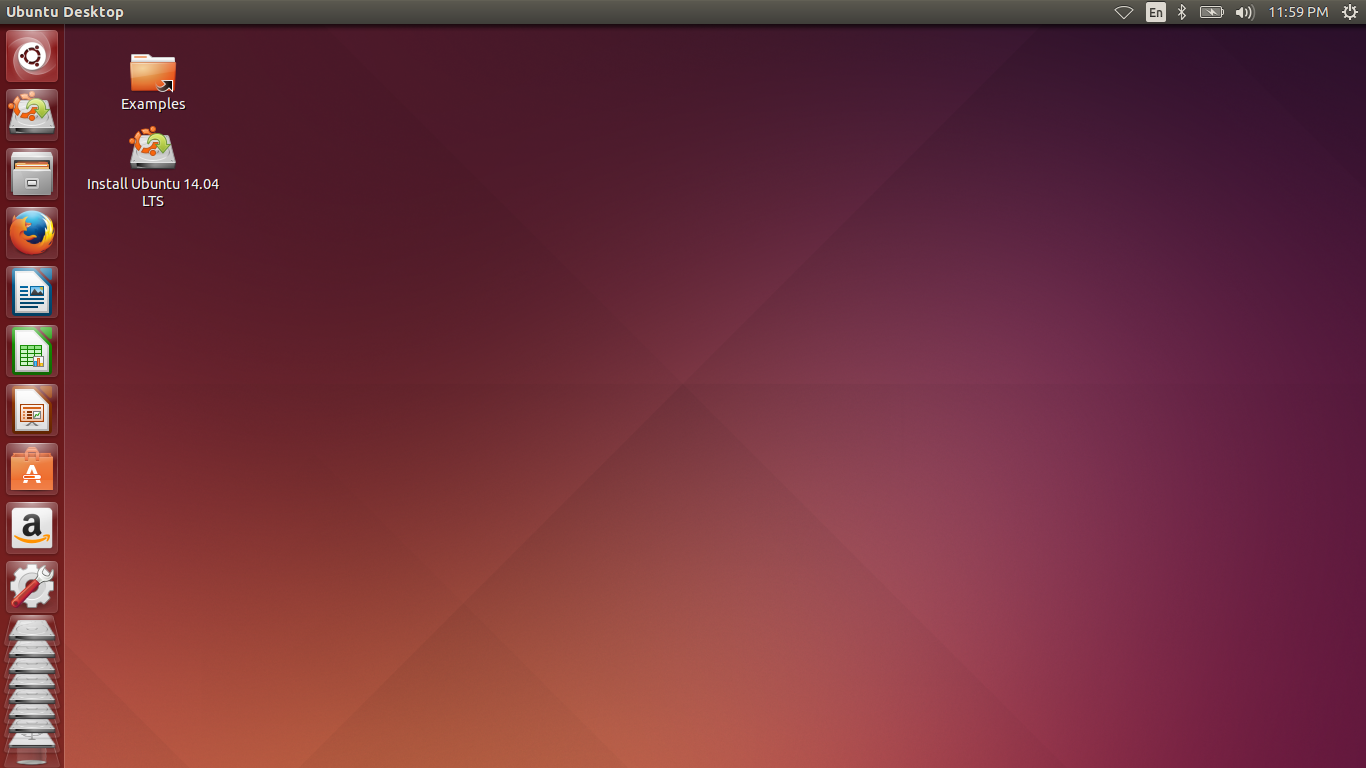
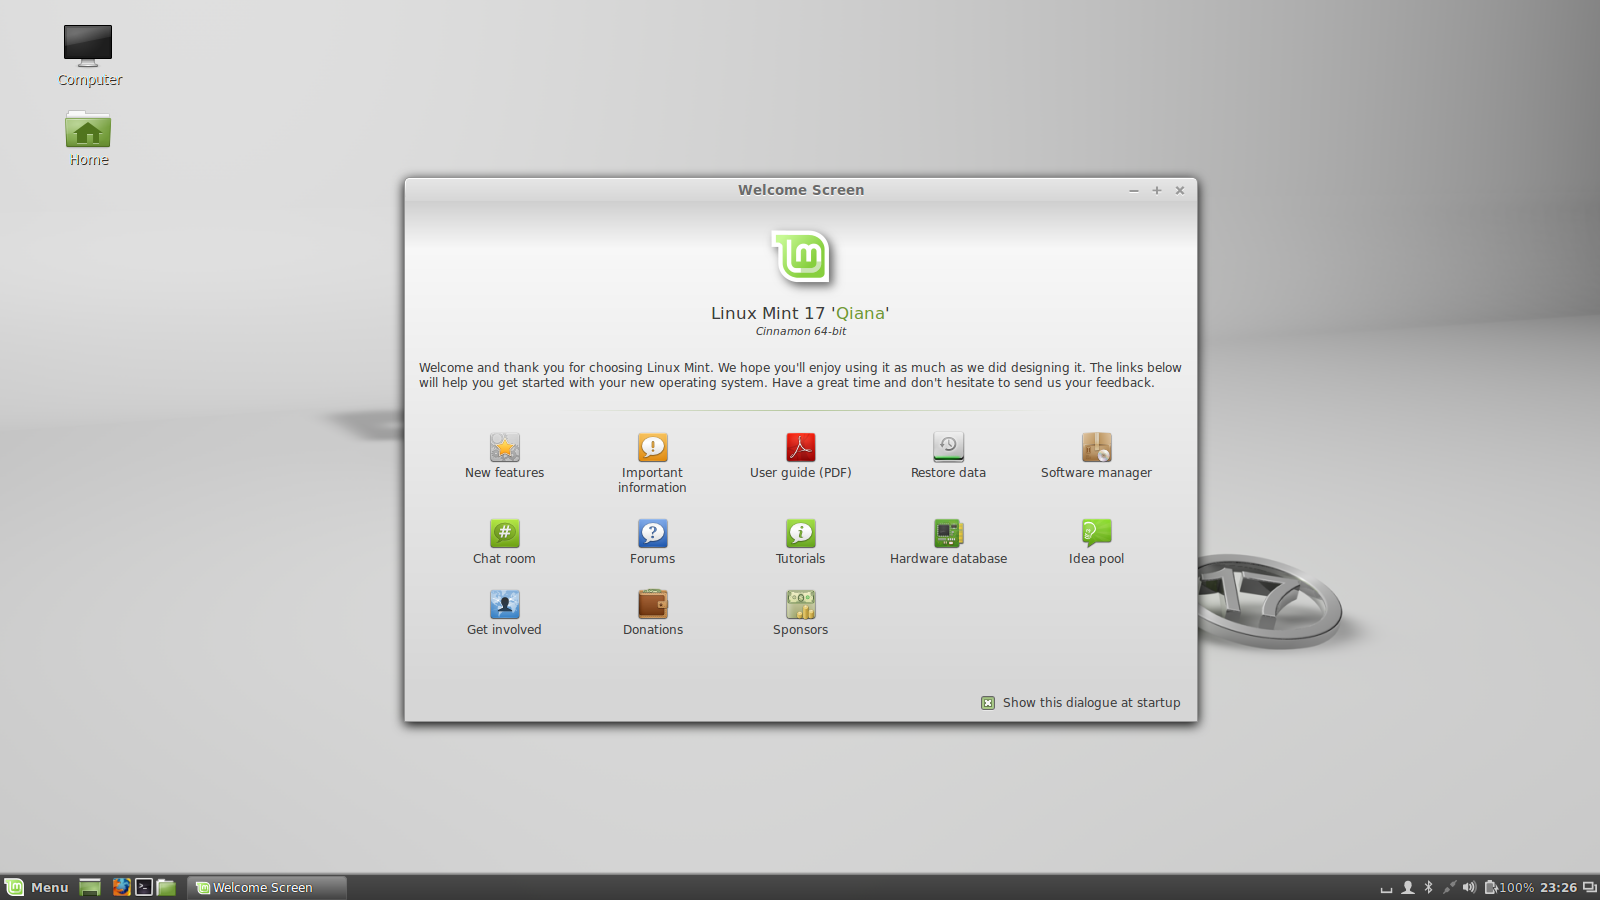
Your screen should now look like the image above.
Click on the "Install Linux Mint" icon.
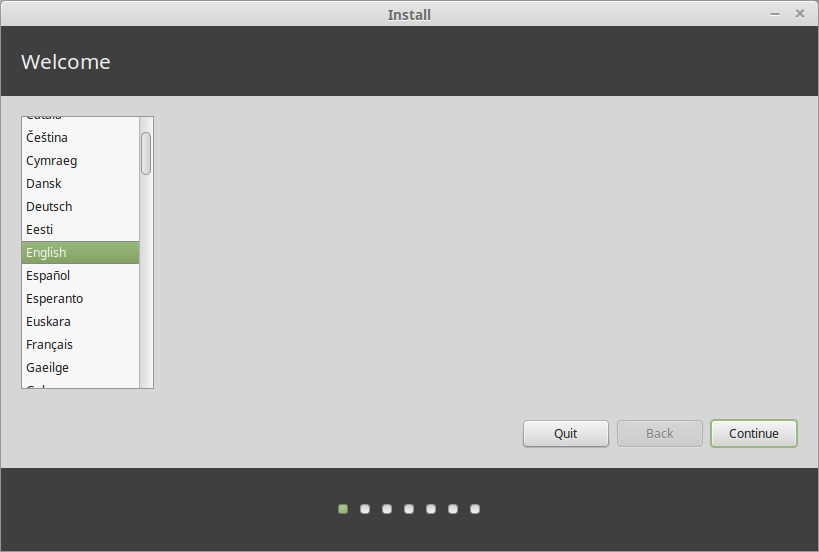
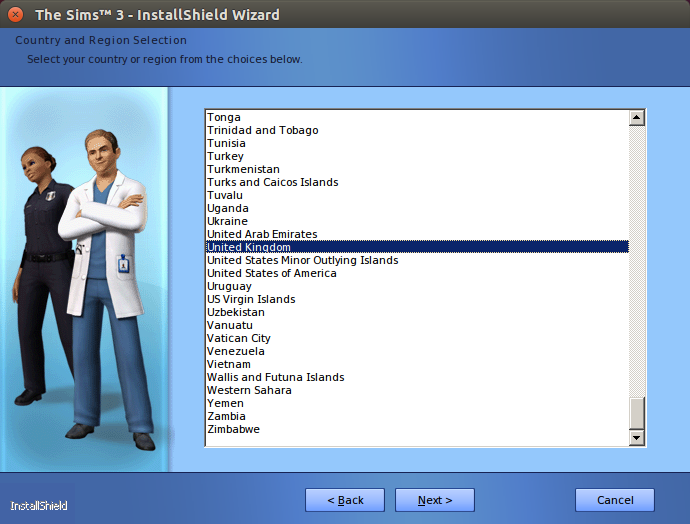
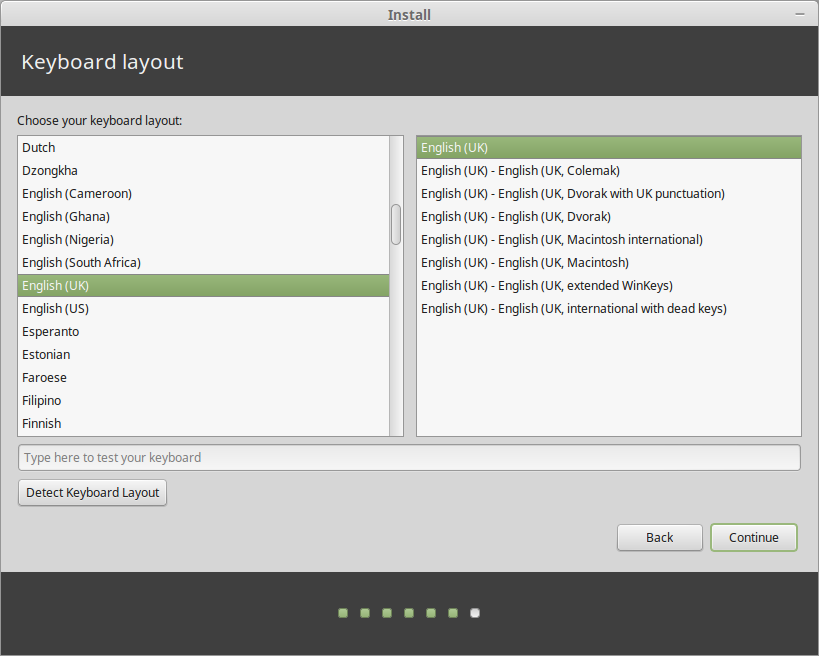
Choose your installation language from the list.

If you have a good internet connection then set up your wireless connection by choosing the "connect to network" option and then select your wireless network.
If you don't have a good connection it is worth staying disconnected otherwise the installation will take a long time.
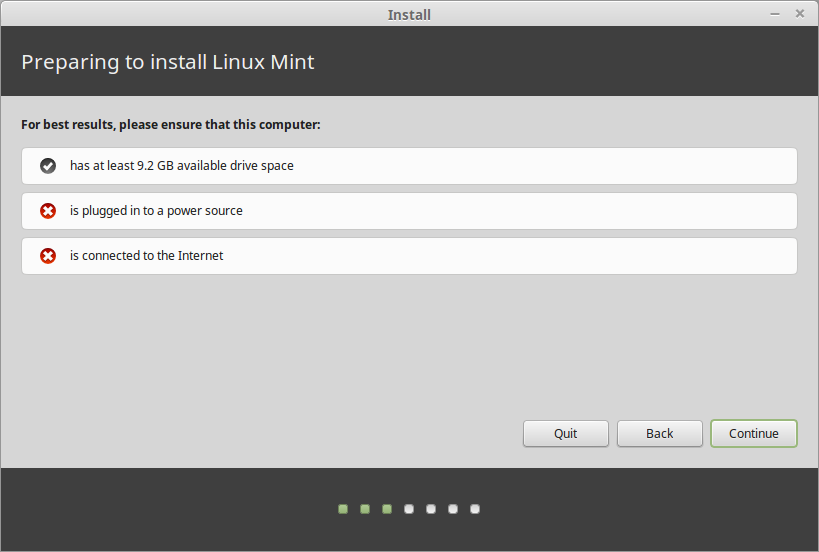
The list checks that you have enough disk space and that you are connected to the internet and a power source.
You can get away without being connected to the internet as updates can be installed post installation and you can get away with not being connected to a power source if your battery is fairly full.
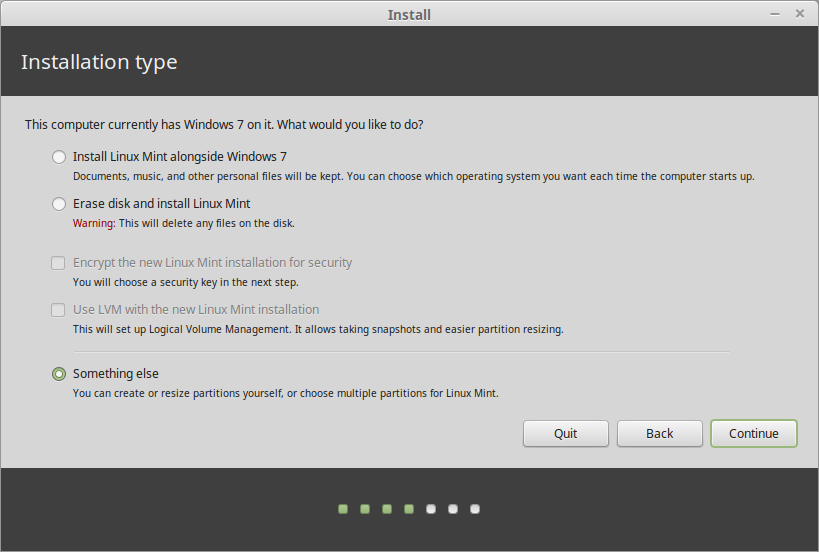
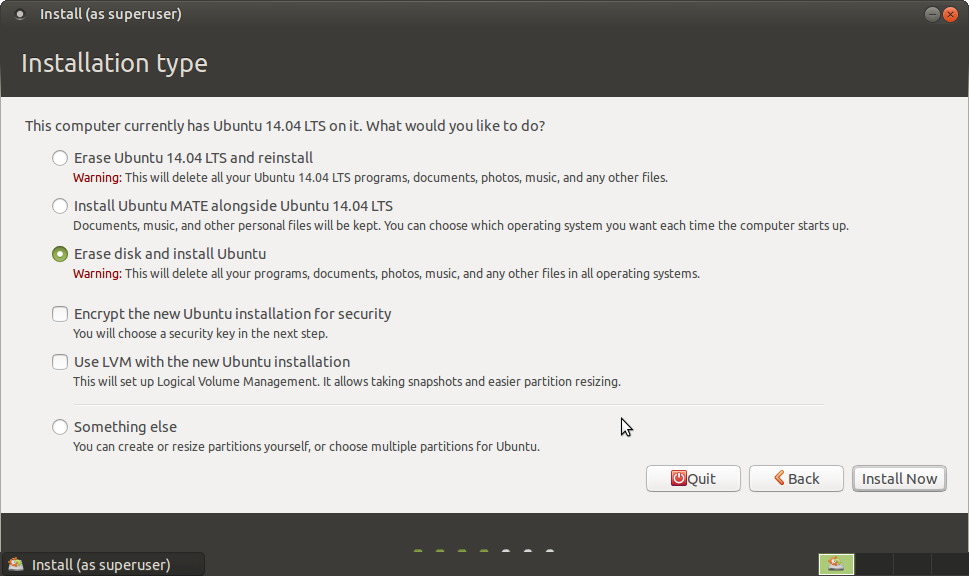
The installation type screen is the key element of this guide as it will show you how to install Linux Mint over the top of Windows 7 without touching other partitions.
Choose the "Something Else" option.
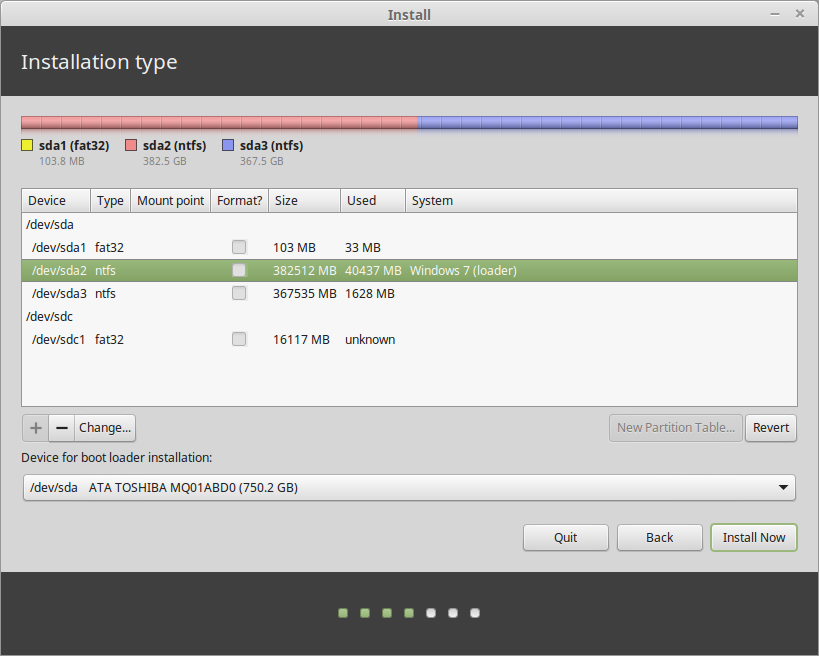
The partition editor shows you the drives on your computer and the partitions on the drives.
So the first thing I wanted to do was delete that 100 MB partition. In order to delete a partition you can select it and click the minus button. You will need to do this for the main Windows partition.
Make sure you delete the correct partition(s).
Make sure you leave the device for boot loader installation as /dev/sda
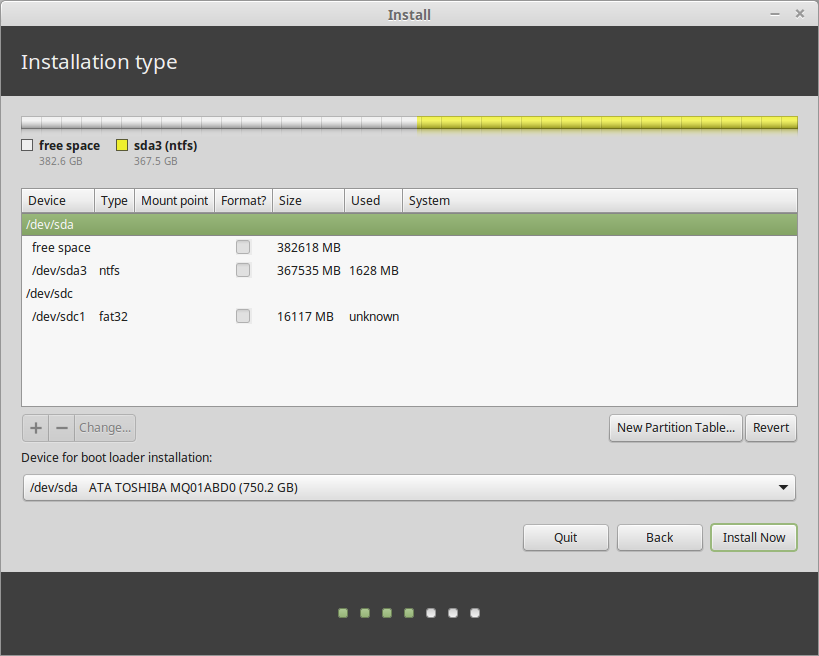
After deleting the Windows partition you will be left with free space. You will now need to create 3 partitions in the free space left behind.

As I have plenties of space I created the main Linux Mint partition with 50 GB of space. (50000 MB).
The partition type is set to logical (if you have a standard BIOS you can only have 4 primary partitions).
I chose the EXT4 file system. There are other file systems available but this is fairly standard. I need to write another guide about file systems sometime in the future.
Choose / as the mount point.
Click OK to continue.
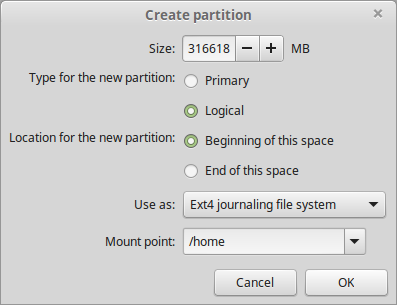
The HOME partition is used to store all of your files within Linux such as pictures, music, videos and configuration settings.
The size should be set to the rest of the free space minus the number of gigabytes of RAM you have.
Choose logical as the partition type and EXT4 again as the file system. Select /home as the mount point.
Click OK to continue.
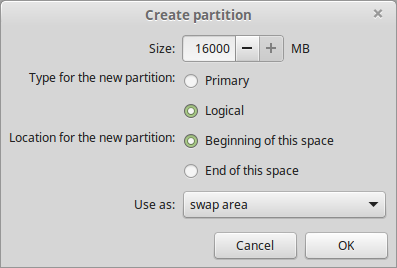
SWAP is used as a place for your operating system to store inactive processes when the amount of memory is getting low.
Choose "Logical" as the type and choose swap area.
Click "OK" to continue.
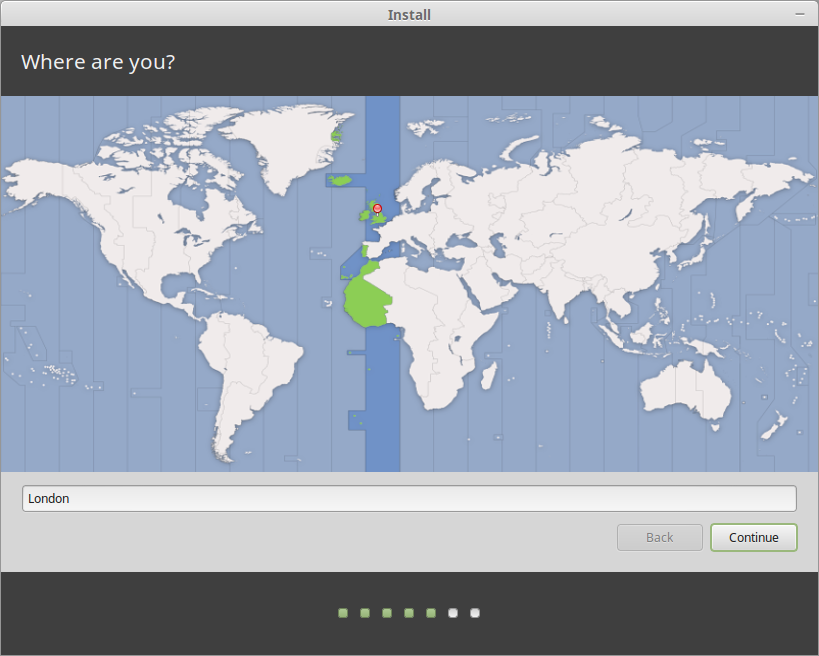
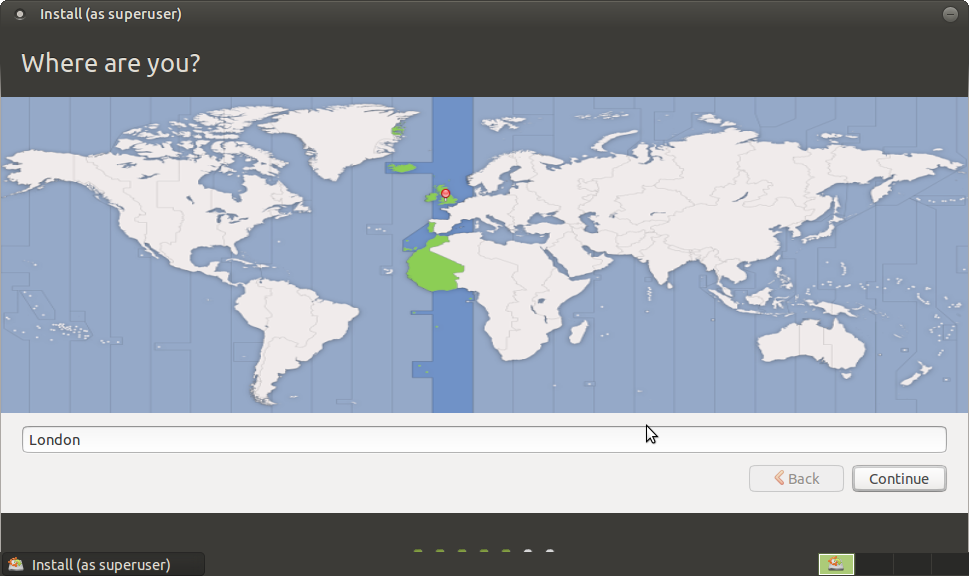
This sets your timezone and therefore your system clock within Linux Mint.
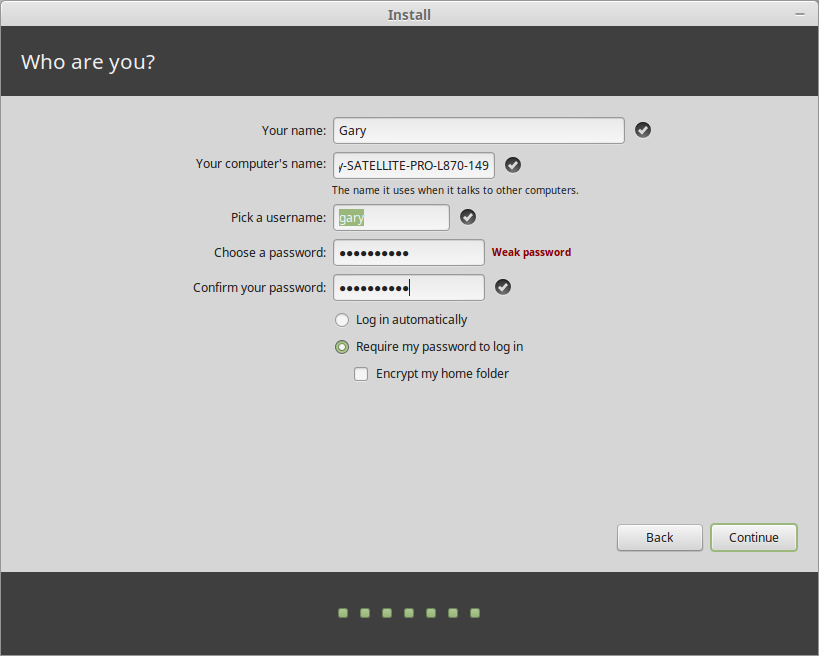
Enter your name and a name for your computer.
Enter a username and choose a password for the user. (you will need to repeat the password).
You can now choose whether to login automatically and whether to encrypt your home folder.
Click "Continue".
The files will now be copied to your computer.
When the process is complete reboot your computer and remove the USB drive.
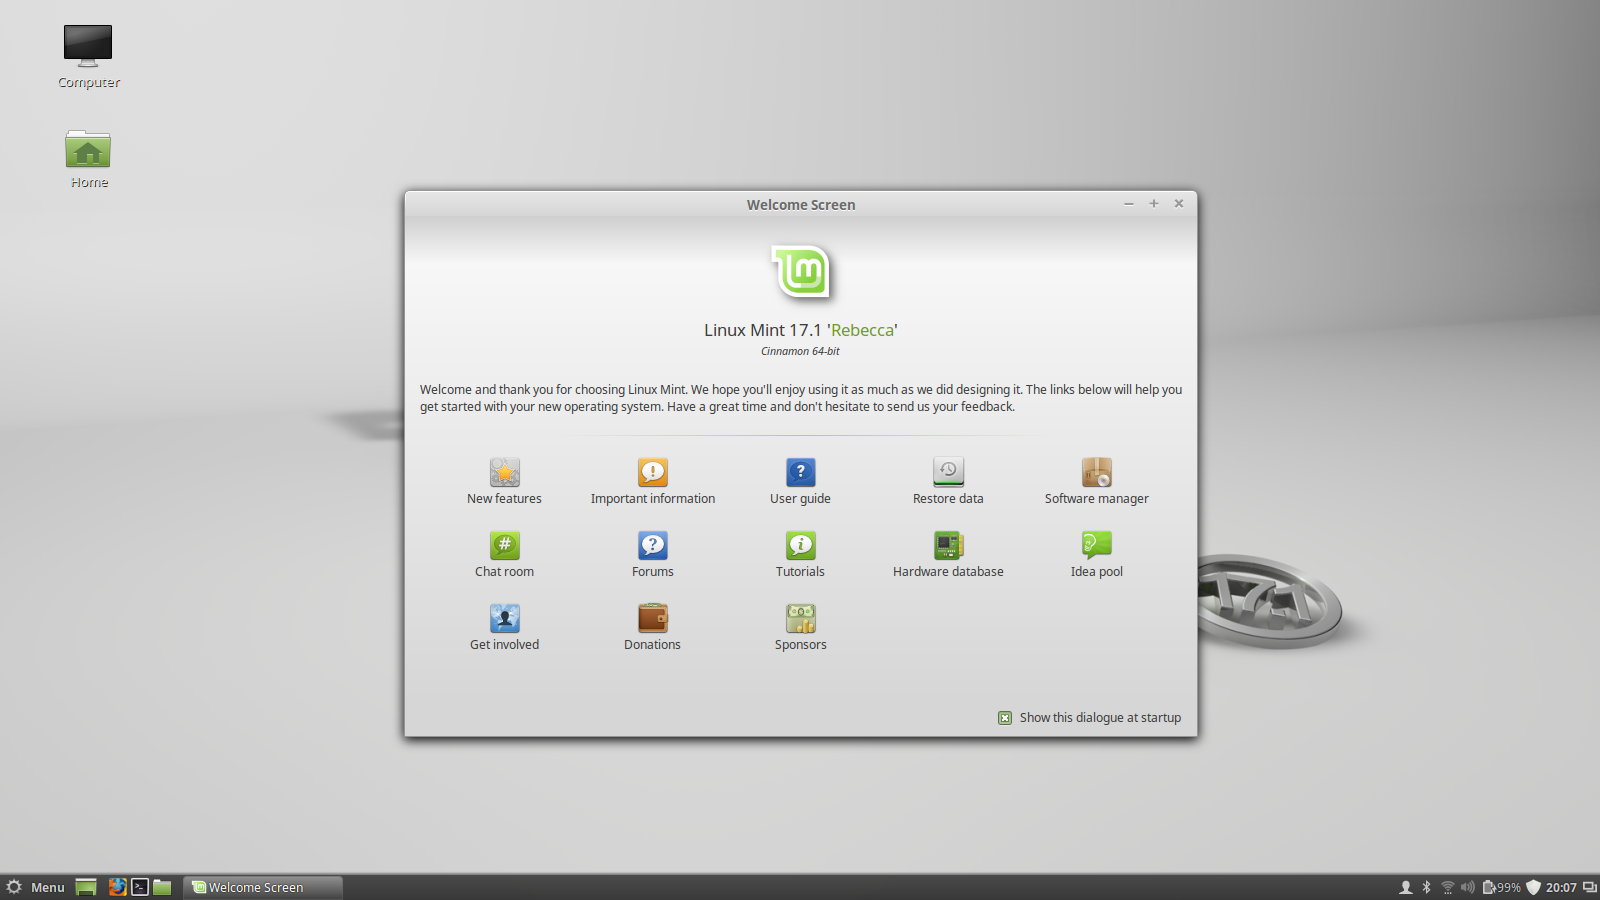
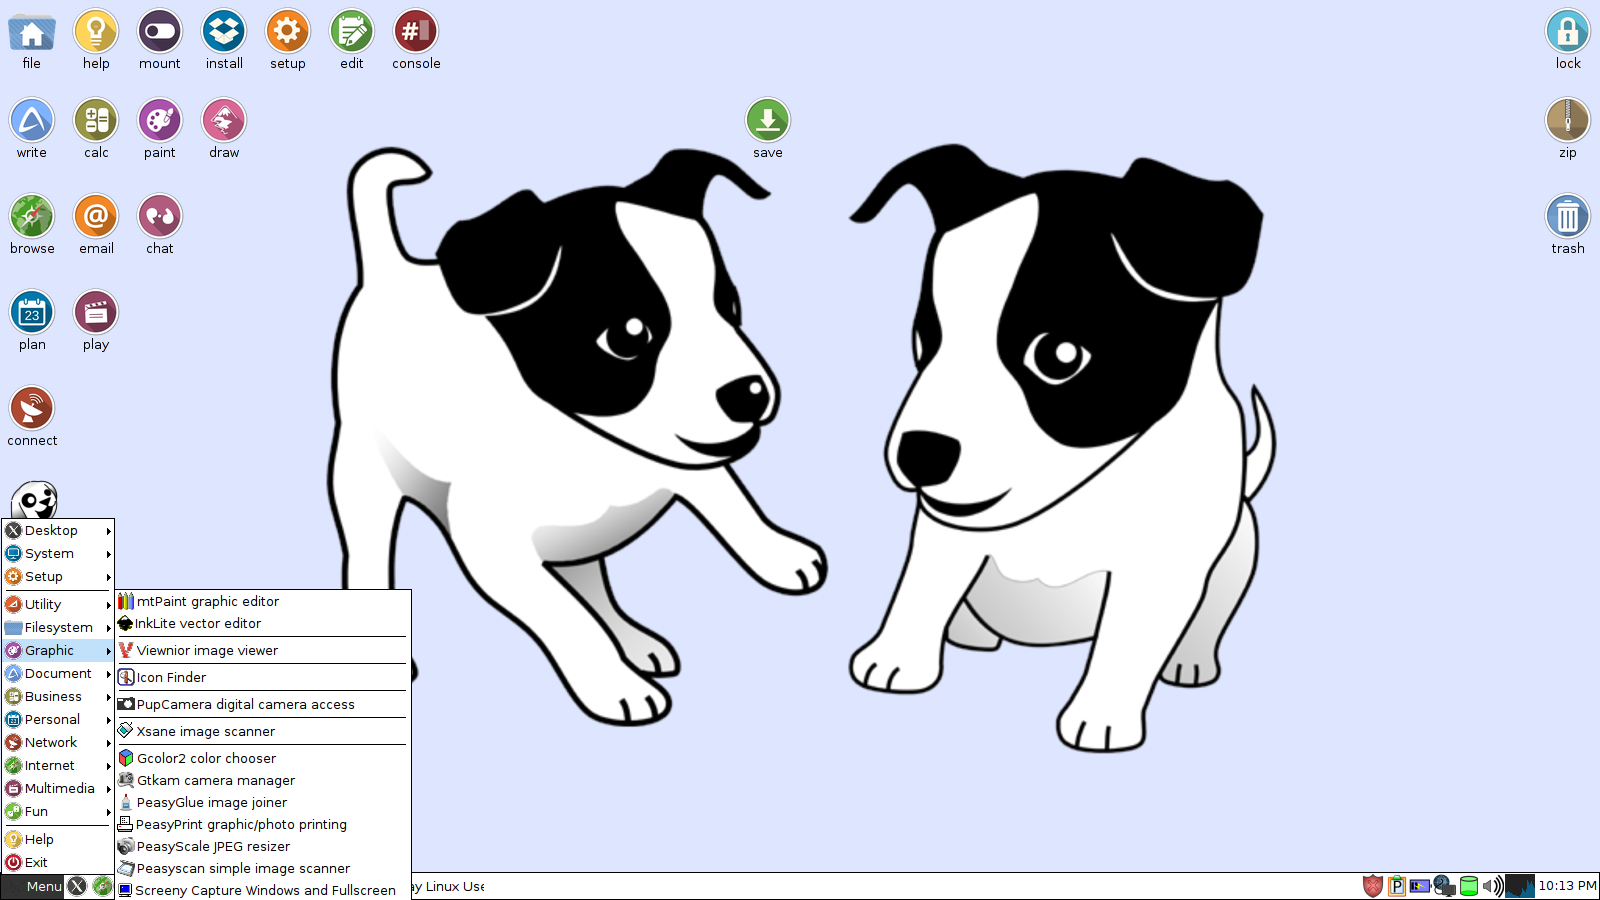
Welcome To Linux Mint

Linux Mint should now start up and you will need to select your username and enter a password to log in. (Unless you chose to login automatically).
There is a welcome screen on startup. Uncheck the box in the bottom right corner if you don't want this message to appear every time.
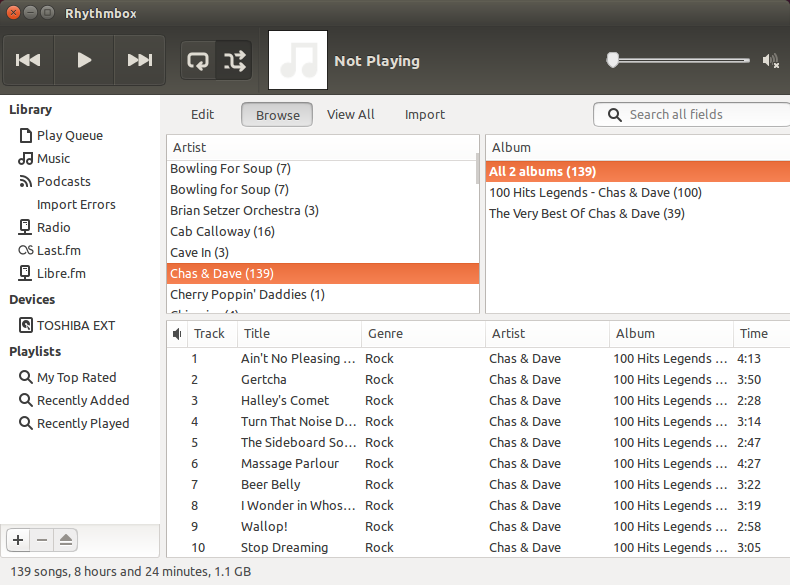
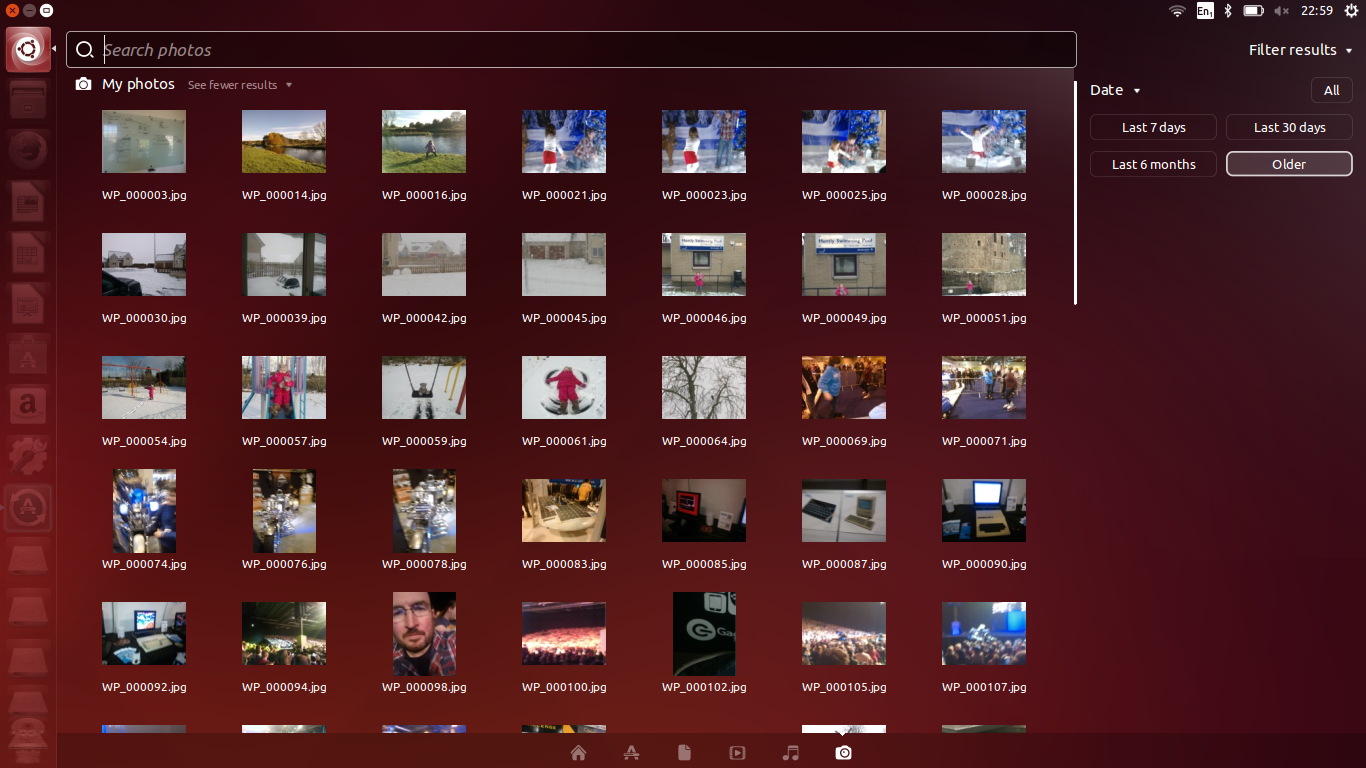
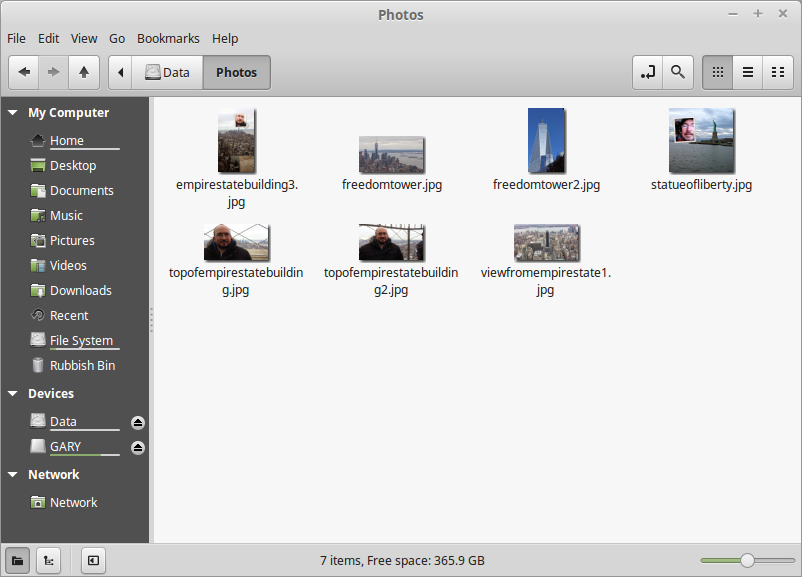
The key question of course is did you lose your data partition?
To prove the process worked for me here is my pictures folder:
I hope you found this guide useful but If you have any questions feel free to use the comments section below.
Thankyou for reading.