Introduction
It has been just over a year since I last reviewed Xubuntu, so this review is well overdue.Xubuntu has been one of my favourite distributions for a long time and for a number of very good reasons.
Xubuntu comes with the XFCE desktop environment which means that it is lightweight and highly customisable.
What I also like about Xubuntu over some of the other XFCE based distributions is that it doesn't overload you with applications. You get just enough to cover the bases but it is then up to you to install what is important for your needs.
Finally, I also like the fact that Xubuntu has two panels. Oh wait a minute. The latest version of Xubuntu doesn't have two panels. It does however have an improved menu system.
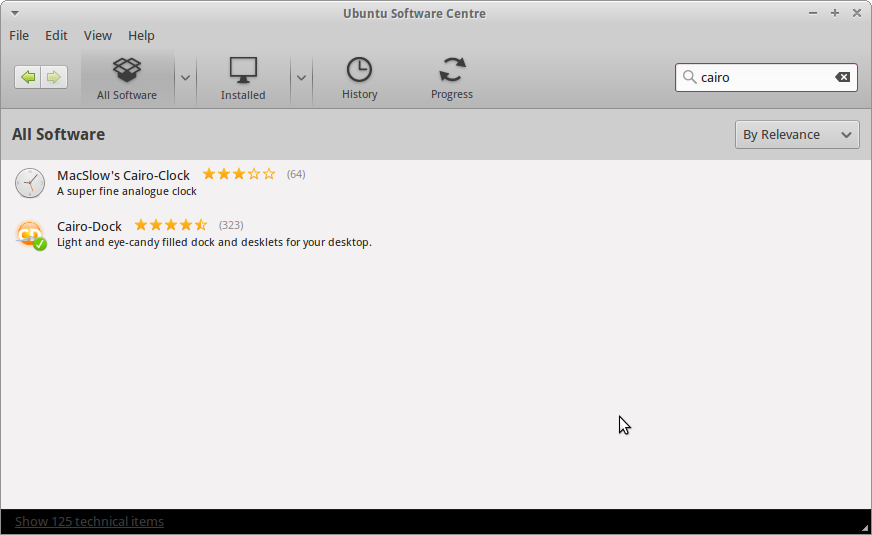
Not to worry though, I will show you how to put the other one back in and actually this leaves scope to install another dock that I really like, Cairo.
How To Get Xubuntu
You can download Xubuntu by visiting this link.There are two versions available, Xubuntu 14.04, which is the LTS release and Xubuntu 14.10 which is the one that I am reviewing in this article.
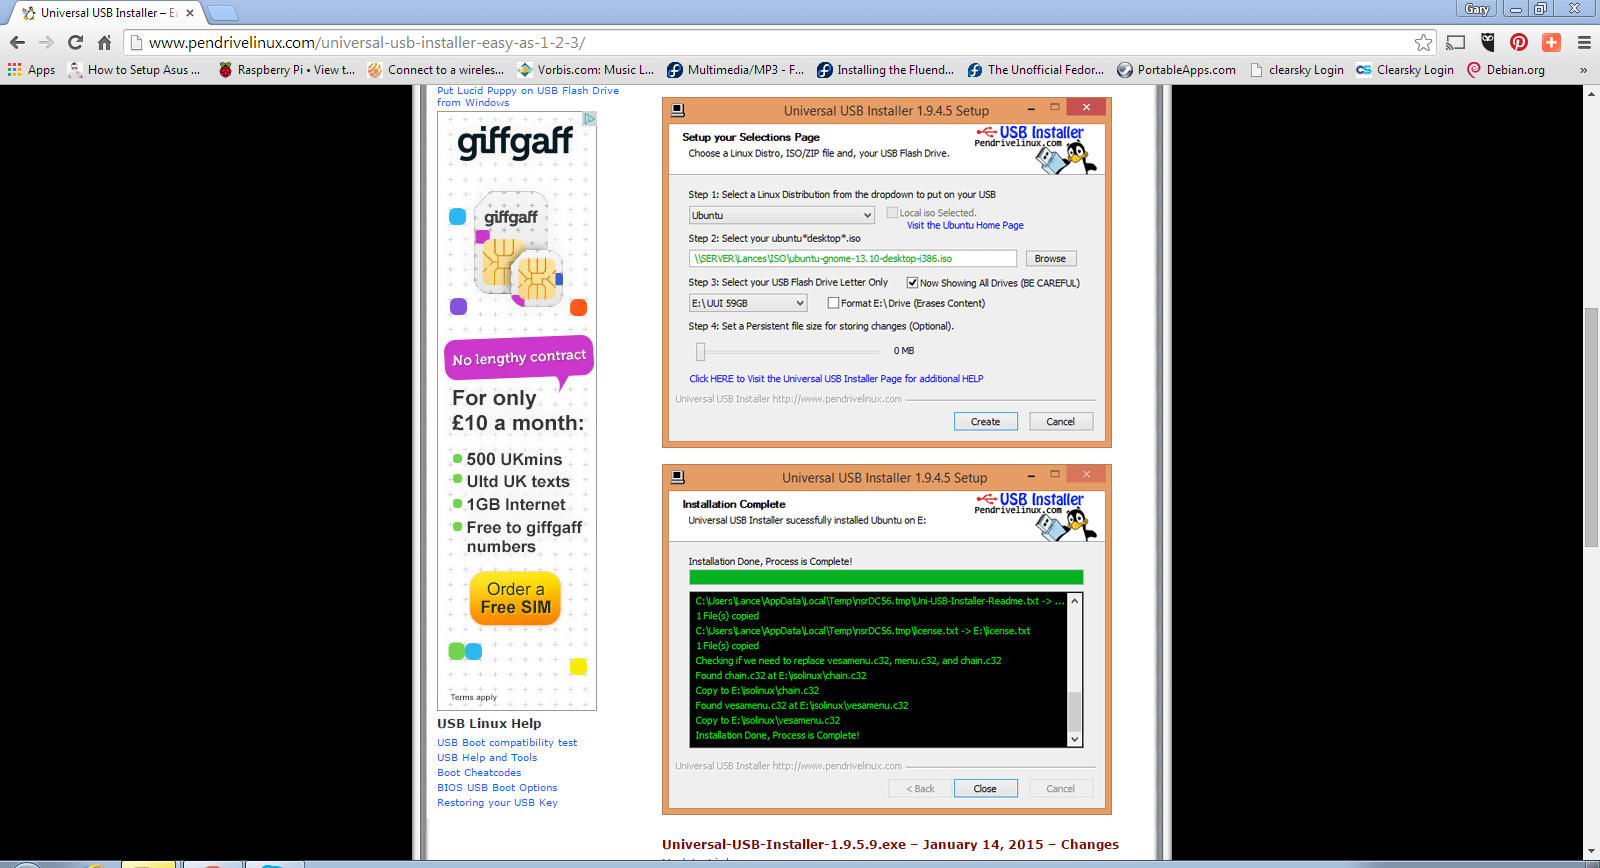
I have written a guide showing how to create a persistent Xubuntu USB drive using the downloaded ISO image.
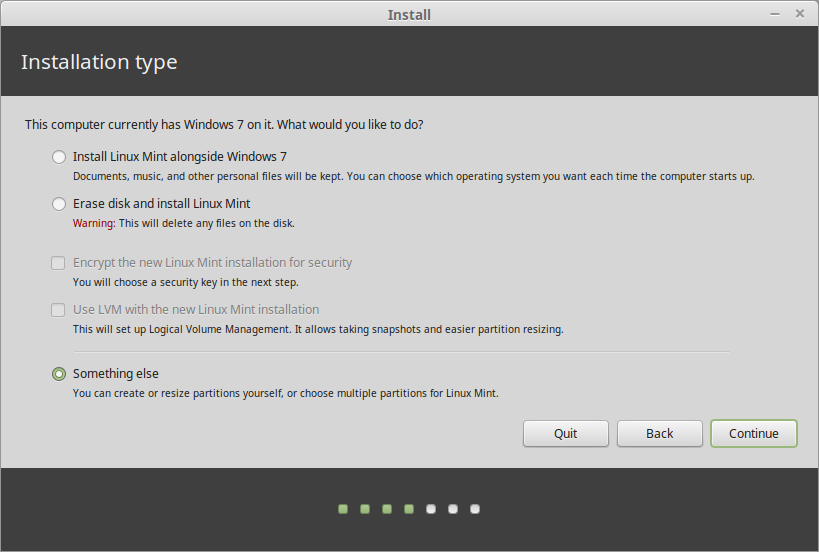
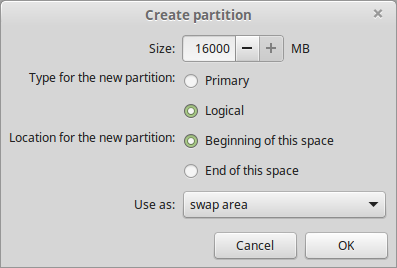
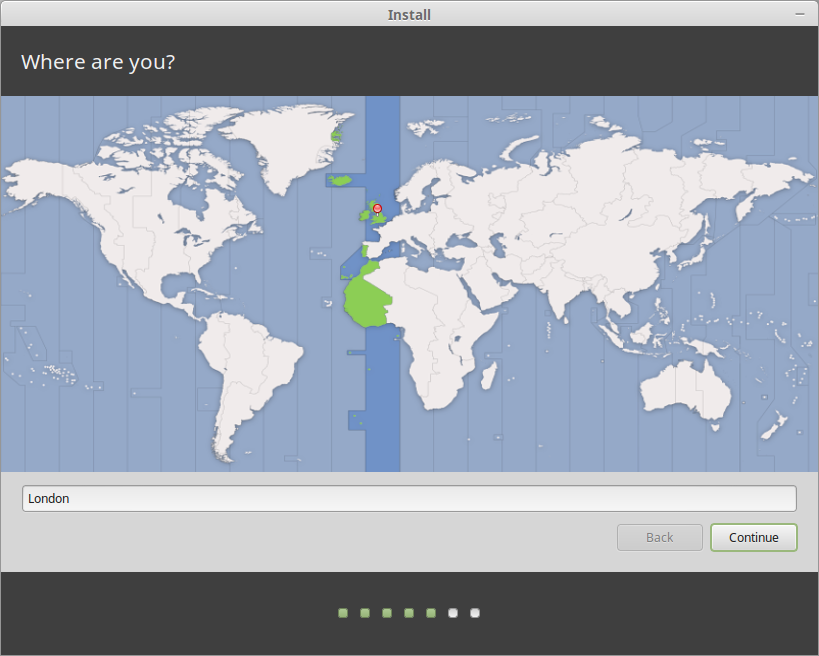
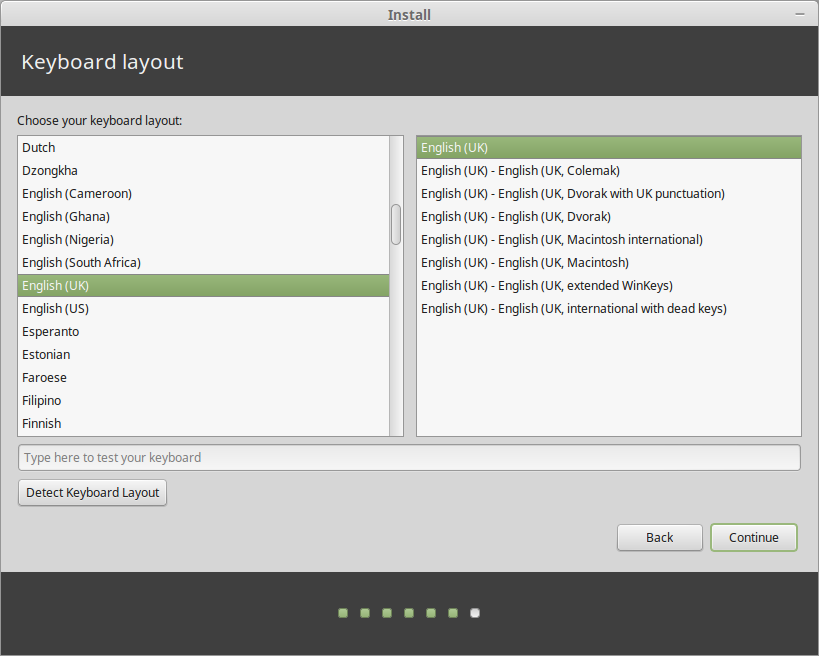
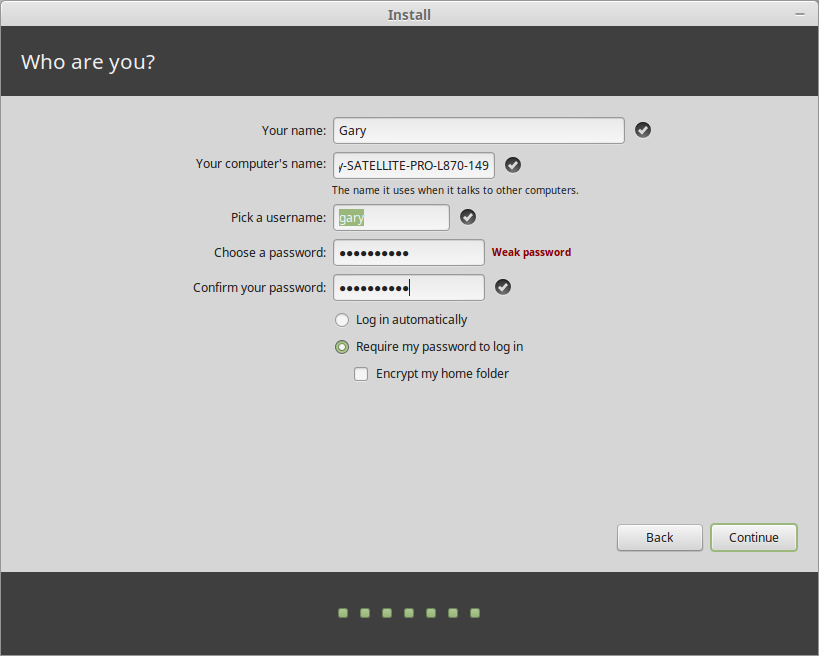
I have also written a guide showing how to install Xubuntu to your hard drive.
Alternatively, Click here to buy a Xubuntu USB drive.
First Impressions

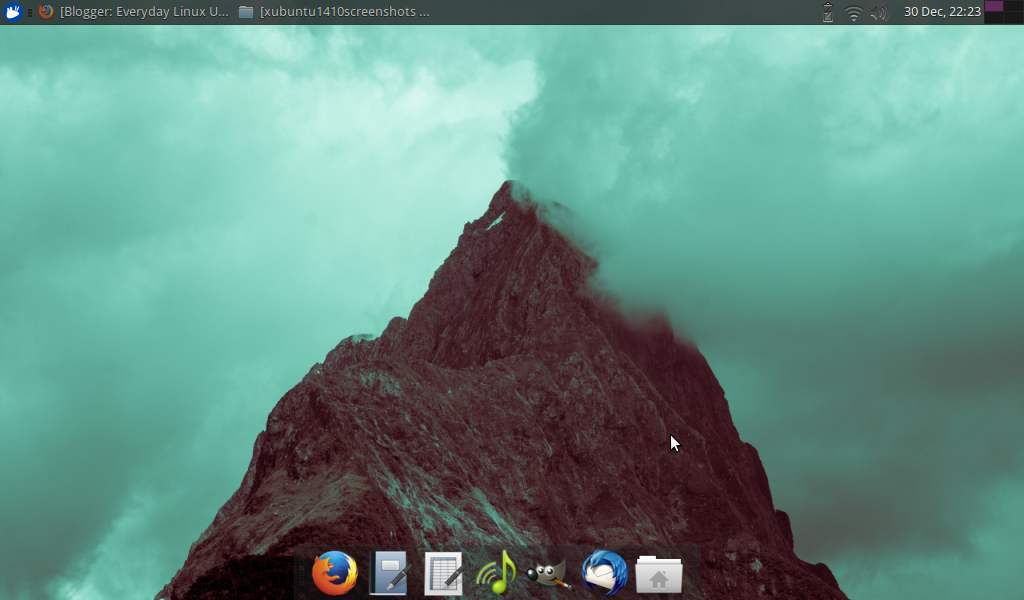
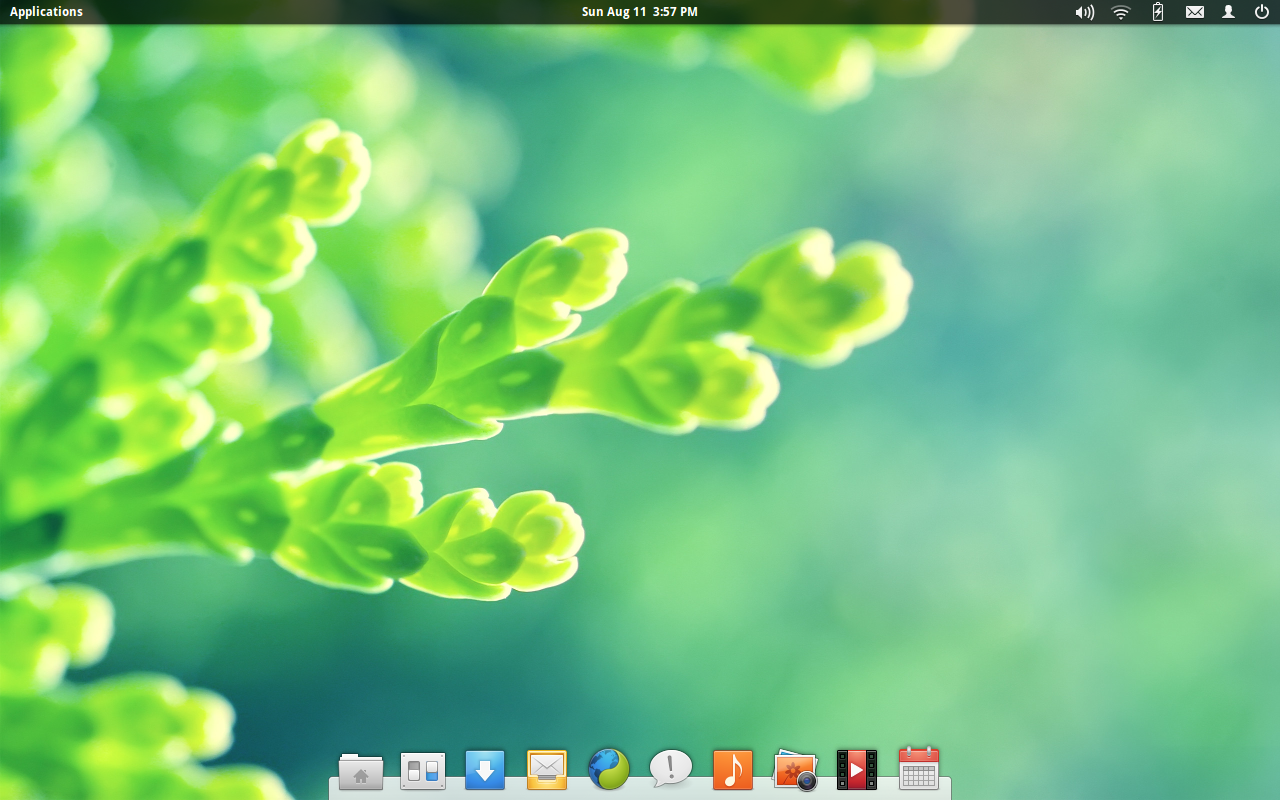
The XFCE interface that comes with Xubuntu has been greatly simplified. There is now just a single panel at the top of the screen and a handful of icons on the desktop.
In previous versions there used to be a second docking panel at the bottom of the screen which included launchers to commonly used applications. This is no longer there.
The top panel has a single menu icon in the left corner and in the right corner, icons for power settings, network settings, audio settings and the all important clock.

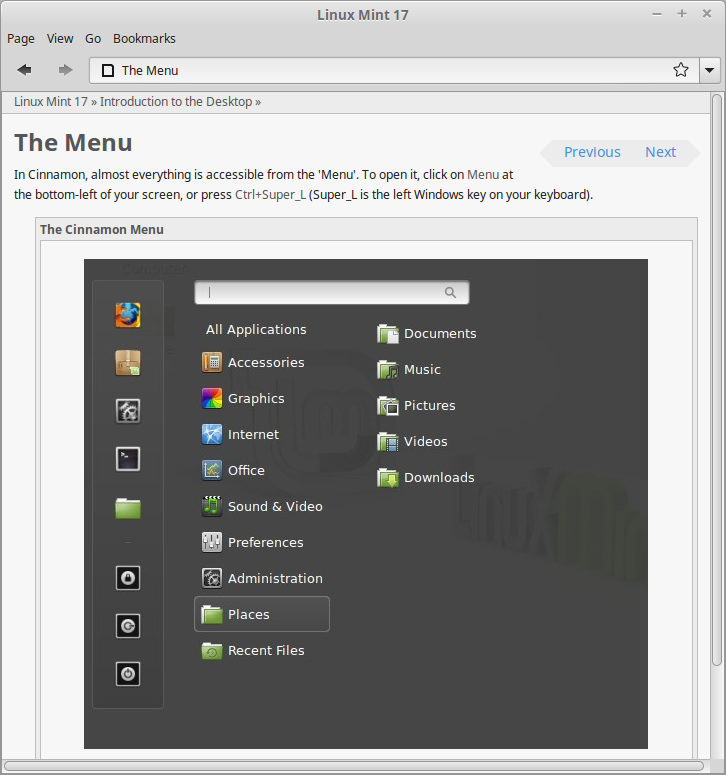
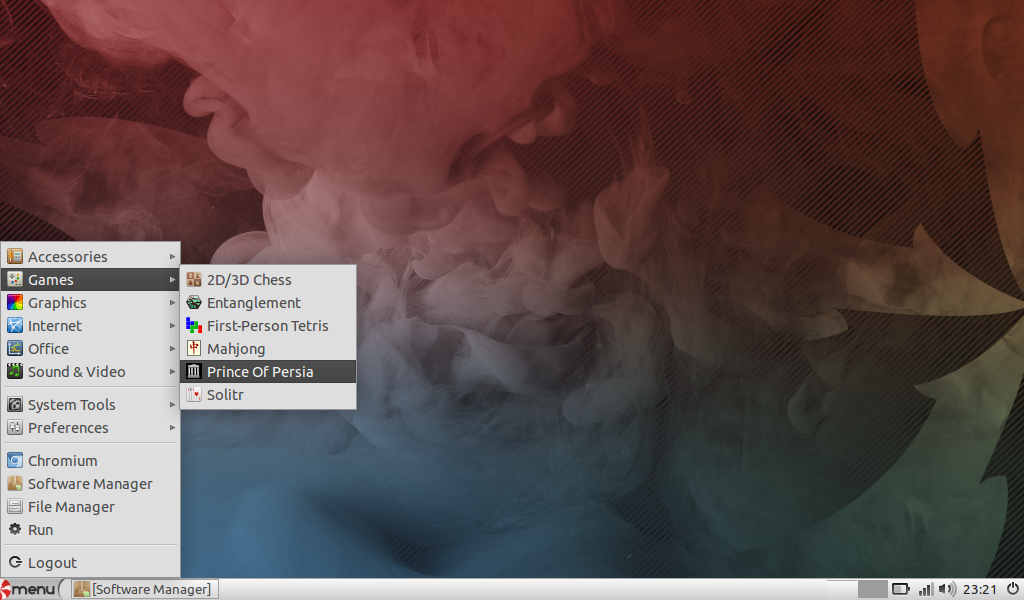
The new menu has a really nice user interface with a search box at the top, a list of categories to the right and the applications listed in the main panel to the left.
The items in the menu change depending on the category that you have selected. By default your favourite items are shown.
You can add items to the favourites menu by right clicking on them and selecting "add to favourites".
Customising Xubuntu
I have a full article lined up about how to customise Xubuntu and so I'm not going to go too far into it here but needless to say that the XFCE desktop makes Xubuntu the perfect playground for people who like to pimp their distro.Lets start with a few basic things. First of all changing the desktop background is simply a case of right clicking on the desktop and choosing "Desktop Settings".
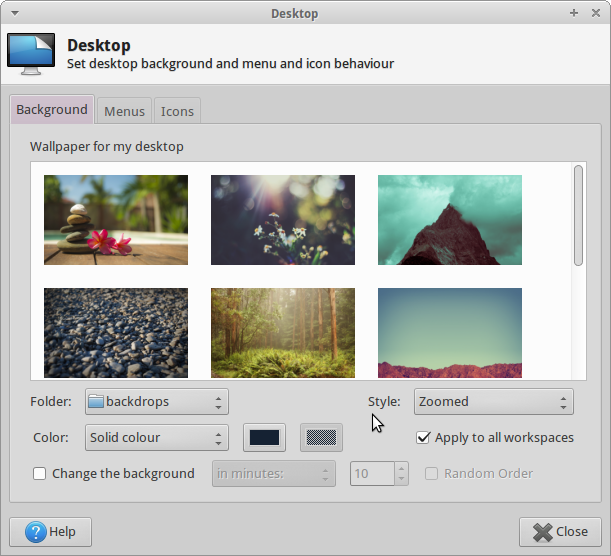
To choose one of your own images click on the folder dropdown and change it to the location where your background image resides.
Alternatively copy the background image to /usr/share/xfce/backdrops.

Click on the icons tab from within the desktop settings screen.
From the icons tab you can choose the size of the icons and the default desktop icons such as file system, wastebasket and removable devices.

Scroll down to the bottom of the list and click on "Workspace Switcher" and then "Add".
The workspace switcher will appear after the clock. You can move it along a bit by right clicking on it and selecting "move".
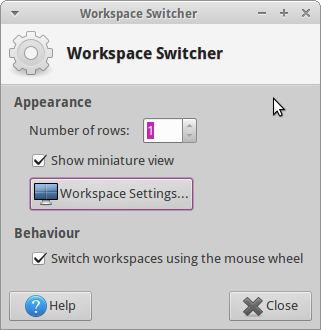
Click the "Workspace Settings" button and from the window that opens increase the number of workspaces to the amount you require.
When you get back to the properties window increase the number of rows and click close.


Drag the panel down to the bottom of the screen.
Change the mode to "Horizontal".
Adjust the row size, set the length and check the "automatically increase the length" checkbox.
I always set the length to a value shorter than required so that it expands automatically.
Click on the items tab to start adding items.
For me, the point of the 2nd panel is to add launchers to my most commonly used applications.
You can add new items to the bottom panel in the same way you added a new item to the top panel.

Connect To The Internet
Connecting to the internet using Xubuntu is fairly straight forward. Click on the network icon in the top right corner and choose the wireless network you wish to connect to (unless you wish to connect via ethernet cable in which case just connect up and go).After selecting a wireless network you will be asked to enter the security key. (You only have to do this once, on subsequent boots the key will be remembered)
Flash And MP3
Nothing has really changed with Flash and MP3 settings within Xubuntu (or Ubuntu) since the outset.During the installation stage you have the chance to check a box that enables you to play Flash videos and MP3 audio.
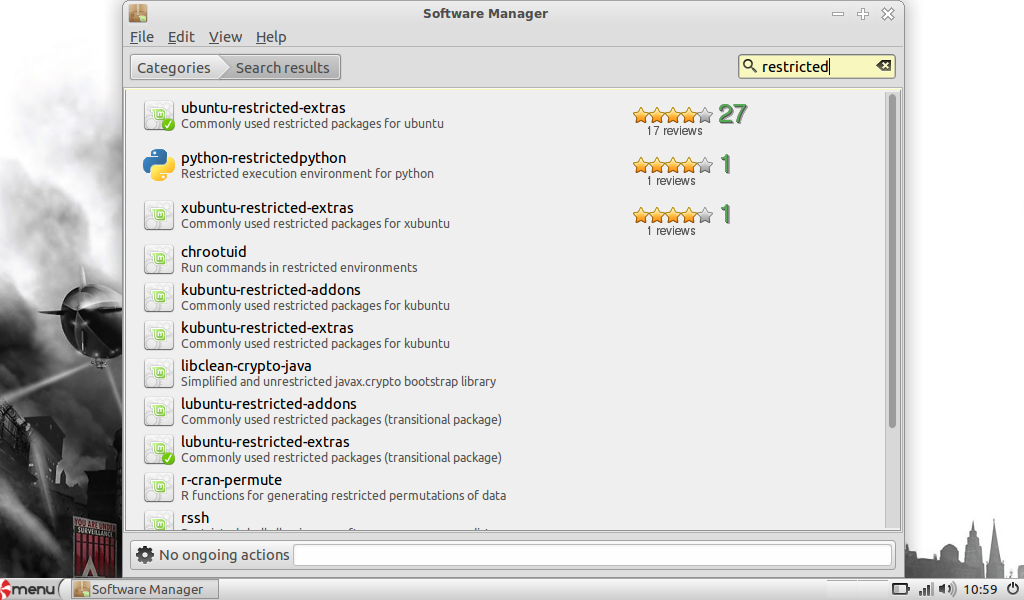
If you chose not to check the box during the installation stage, you will still be able to install the Xubuntu Restricted Extras package.
Flash is a bit of an issue now within Linux as no further updates are released for it. The best way to overcome this is to install Google's Chrome browser. Flash will hopefully become a non-entity in the future.
Applications
As mentioned during the introduction. Xubuntu has enough applications to get you started and then it is up to you to install anything else you need.The applications are lightweight and responsive which makes Xubuntu great for older hardware and netbooks.
Accessories
- Archive Manager
- Calculator
- Catfish File Search
- Thunar File Manager
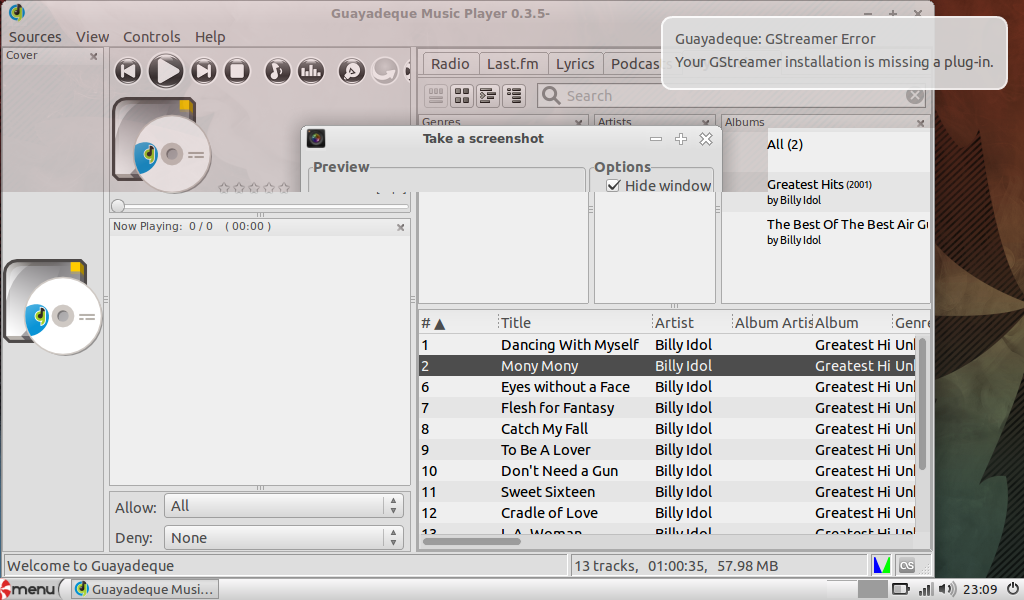
- Screenshot
- Terminal Emulator
- Xfburn Disk Burning
Games
- Mines
- Sudoku
Graphics
- Document Viewer (PDF viewer)
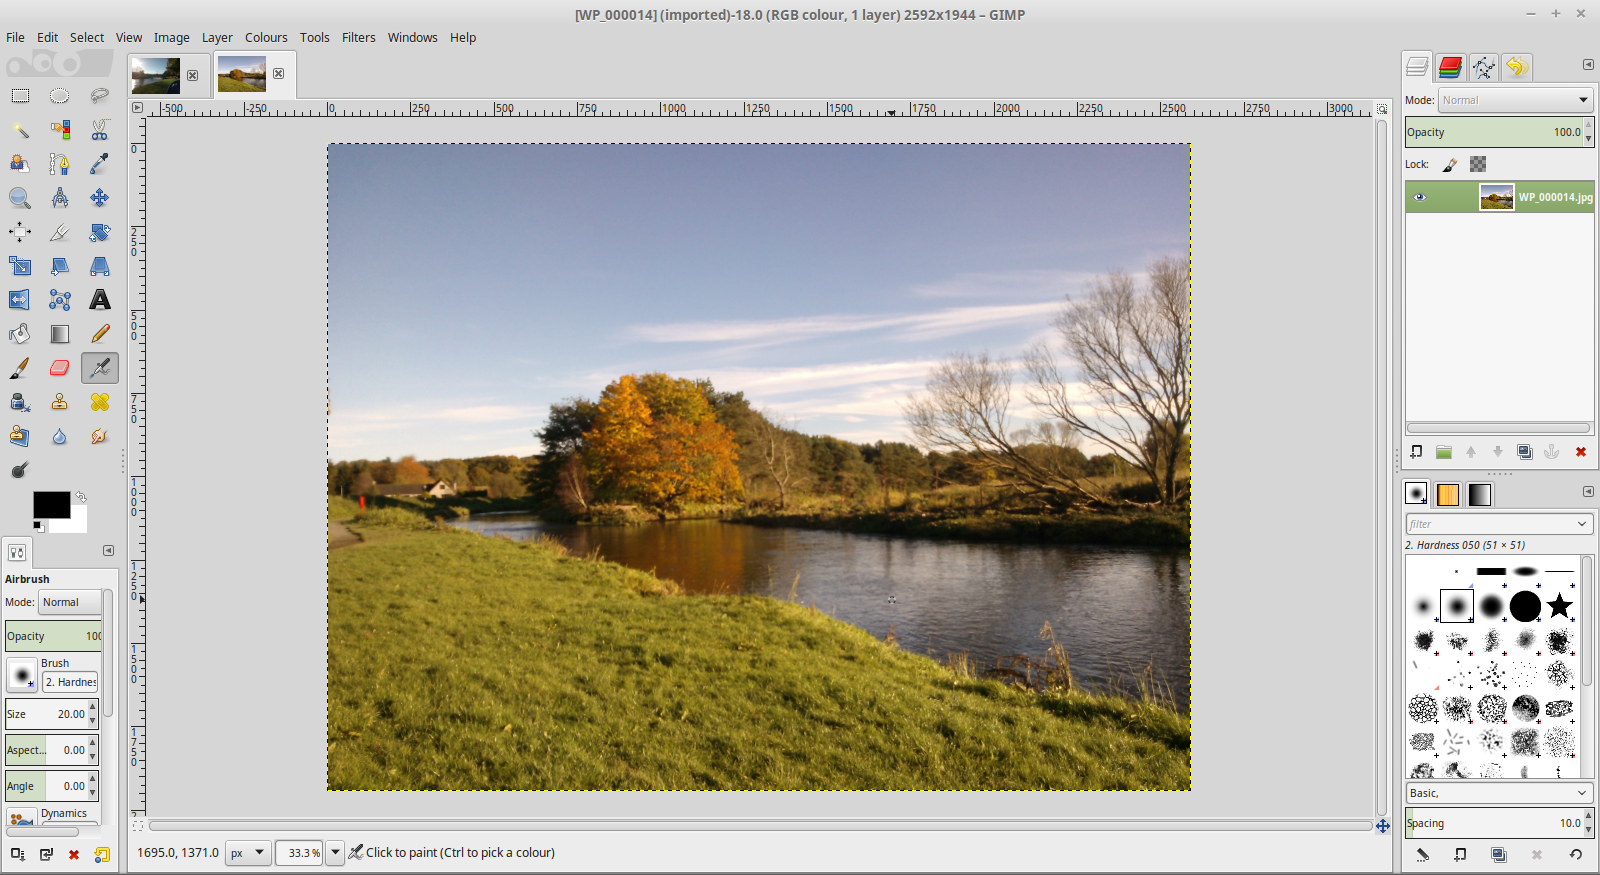
- GIMP Image Editor
- Ristretto Image Viewer
Internet
- Firefox Web Browser
- Pidgin Instant Messenger
- Thunderbird Email Client
- Transmission Bittorrent Client
Multimedia
- gmusicbrowser Audio Player
- Parole Media Player
Office
- Abiword Word Processor
- Gnumeric Spreadsheet
- Orage PIM
You won't find a better image editor for Linux than GIMP and I find it interesting that this application is included because it isn't at all lightweight in nature.
Thunderbird is one of the best email clients available for Linux and Firefox is arguably the best web browser.


Installing Applications
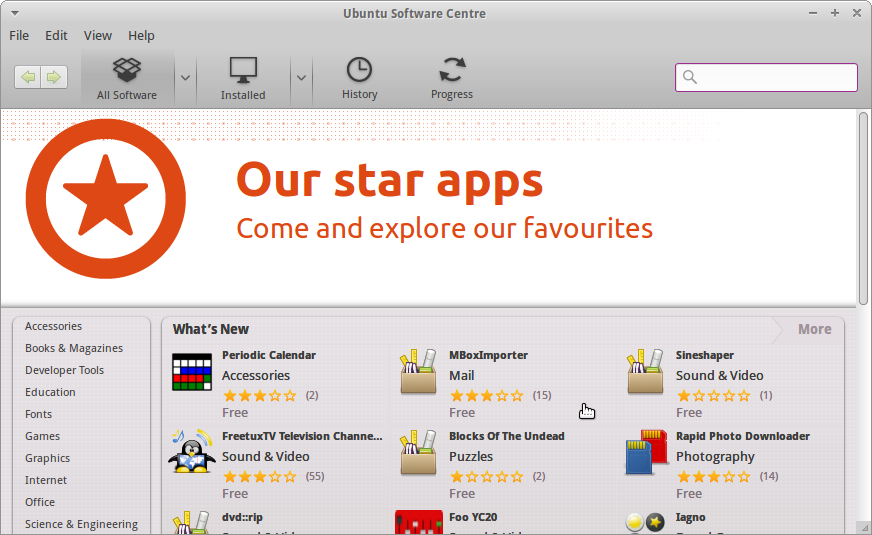
The software centre has a list of categories down the left and a list of new and top rated items.
The most useful part of the interface is the search box.
Enter the name of the application or a keyword to describe the application in the search box to reveal a list of results.
What's new?
The release notes for Xubuntu 14.10 can be found here.Issues
I have been using Xubuntu on one of my laptops since October and I can honestly say that I haven't seen any nasties.There are some listed issues within the release notes though as follows:
- com32r error on boot with some live usb sticks (1325801)
- Virtualbox can start with a black screen (1378423)
- Black background to Try/Install dialogue (1365815)
- Qt apps don't use the Gtk+ style by default, workaround is to install qt4-qtconfig and set the style there
Summary
Xubuntu just keeps rolling on really. If you are looking for a distribution to customise or something lightweight then there aren't any other distributions that I would consider before Xubuntu.I don't like the fact that the bottom panel has been removed and I instantly put it back again. (Hardly a reason for me to consider using anything else).
If you want to get serious work done then with a bit of customisation Xubuntu will stay out of your way.
If you want to jazz your desktop up then Xubuntu lets you add all the glitz and glamour you require.
Xubuntu works great on old and new hardware.
I have nothing at all bad to say about Xubuntu. It is still one of my favourite distributions.
Thankyou for reading.
Other Useful Links
- Customise the XFCE desktop
- Ubuntu vs Xubuntu
- Install XFCE on Ubuntu
- Create a Xubuntu bootable USB
- How to install Xubuntu


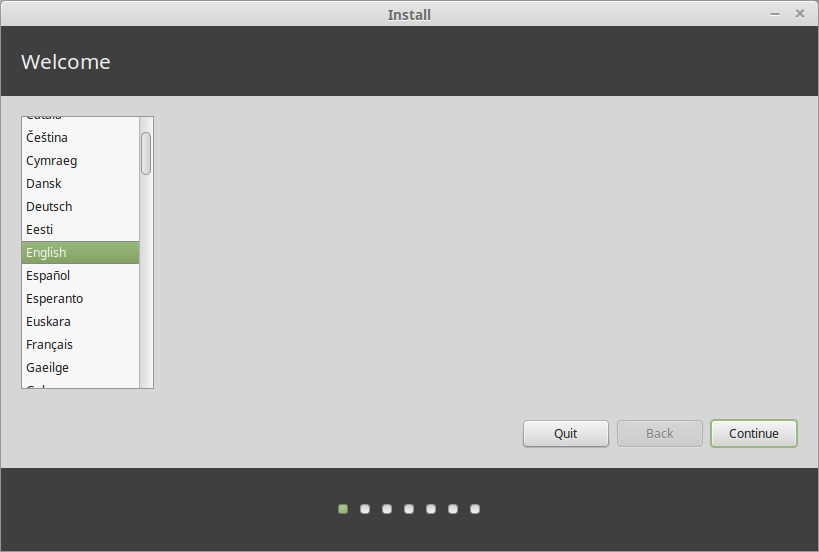
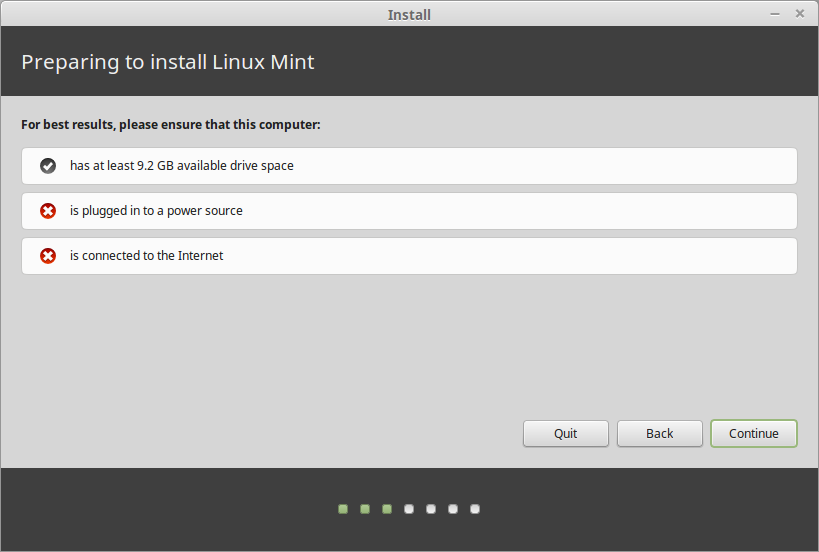
 In order to create a live Linux Mint USB drive you will of course need a blank USB drive.