Introduction
Over the past month or so I have been looking at classic gaming from an Everyday Linux User's point of view.I started off by looking at retrogaming in general within Linux including the options available such as where to get games and how to set up controllers.
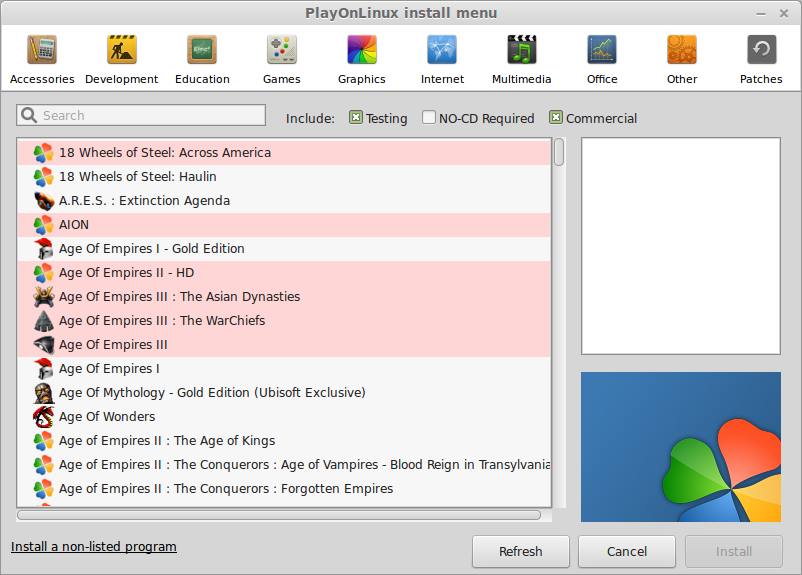
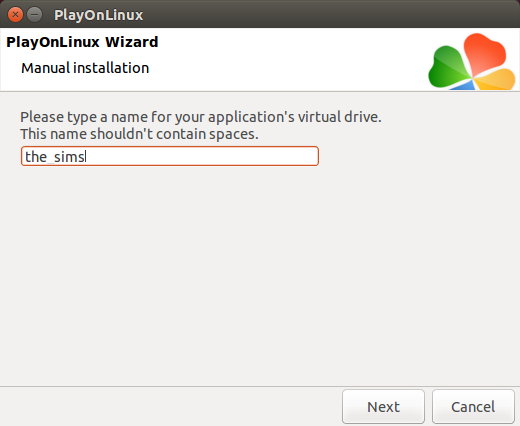
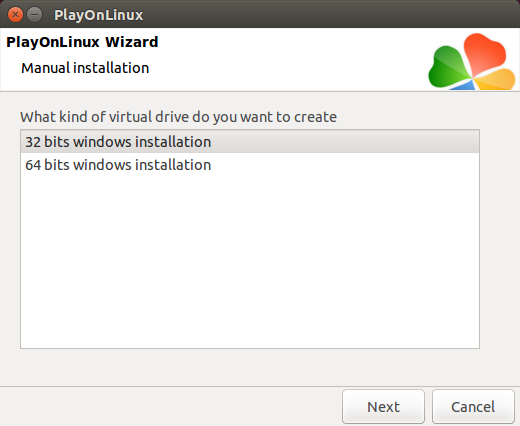
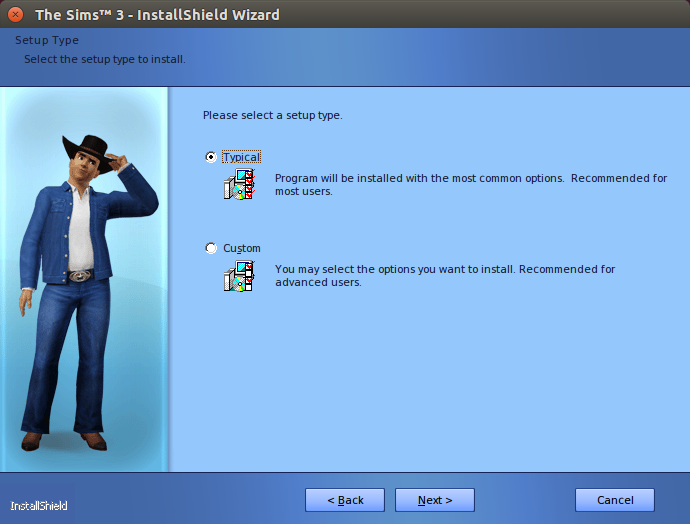
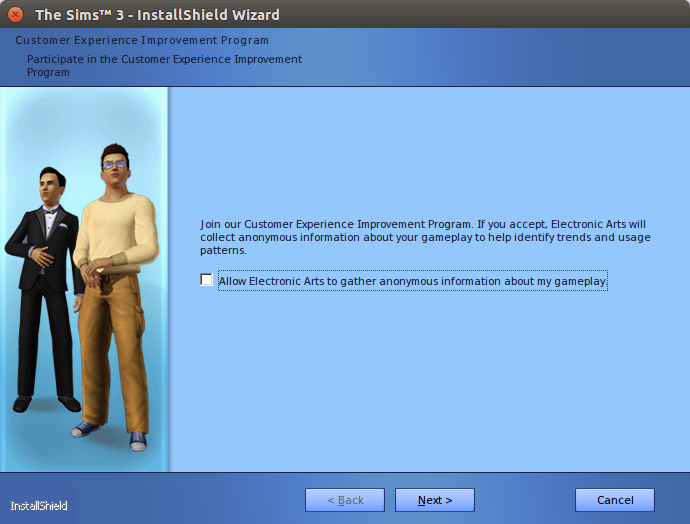
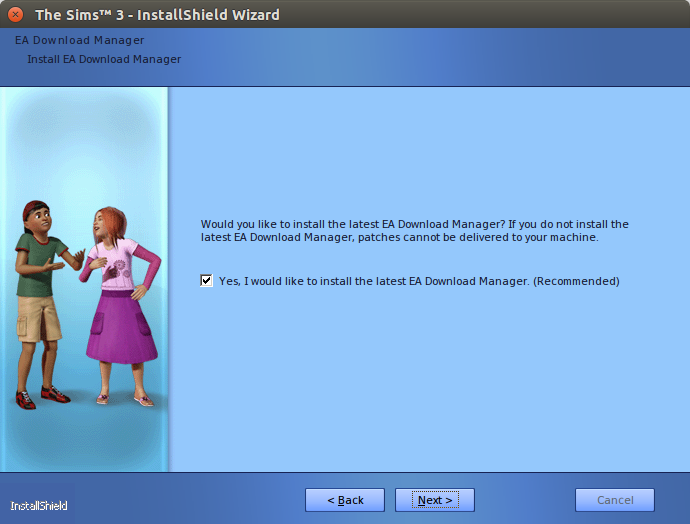
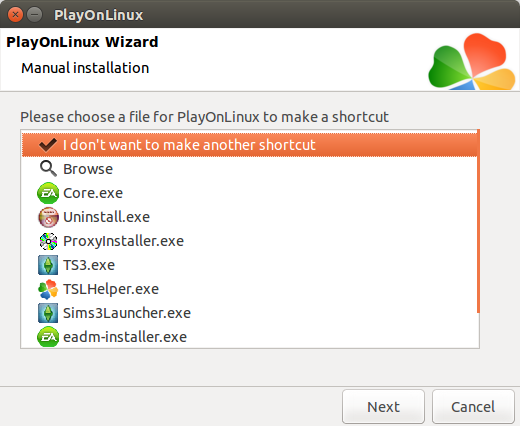
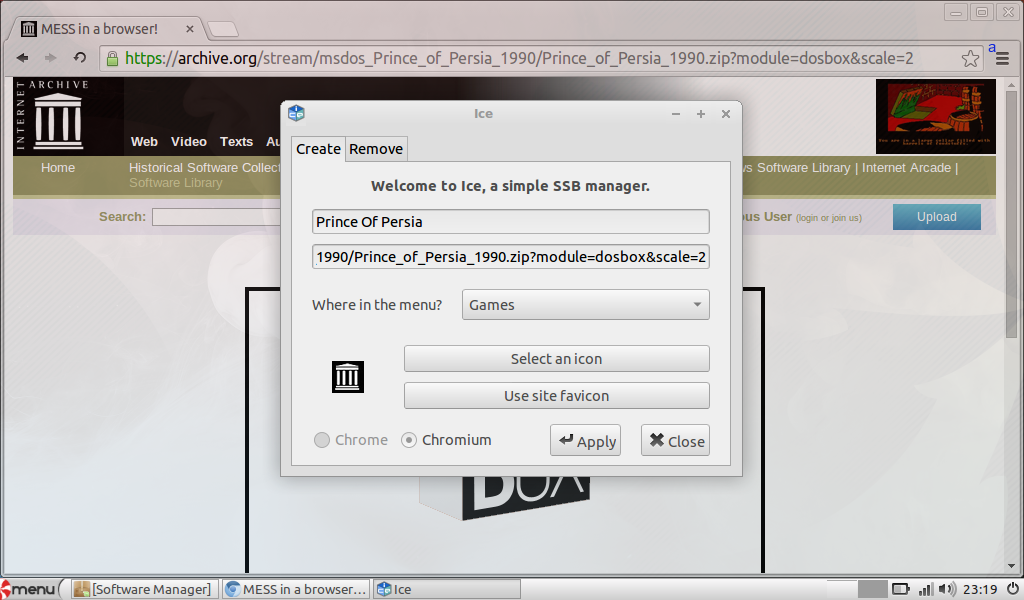
I followed up that article with a guide showing how to run DOS games using PlayOnLinux. The importance of using PlayOnLinux for this purpose comes into play when you also want to run classic Windows games within PlayOnlinux. Being able to play all the games you want using one application as a launchpad has to be a good thing. For those of you wanting to run DOS games using DOSBox on its own there is a guide for that as well.
Last week I wrote a review about a Linux distribution designed for gamers called Play Linux. The intentions of Play Linux are clear and that is to be the best gaming Linux distribution around.
This week has been somewhat challenging as my internet connection let me down once more. I was however afforded more time to test this week's distribution which is SparkyLinux Gameover Edition and that is the topic of today's review.
Before I start though I wanted to mention another article you might be interested in which looks at 5 of the best games emulators for Linux that I wrote for linux.about.com.
Installation
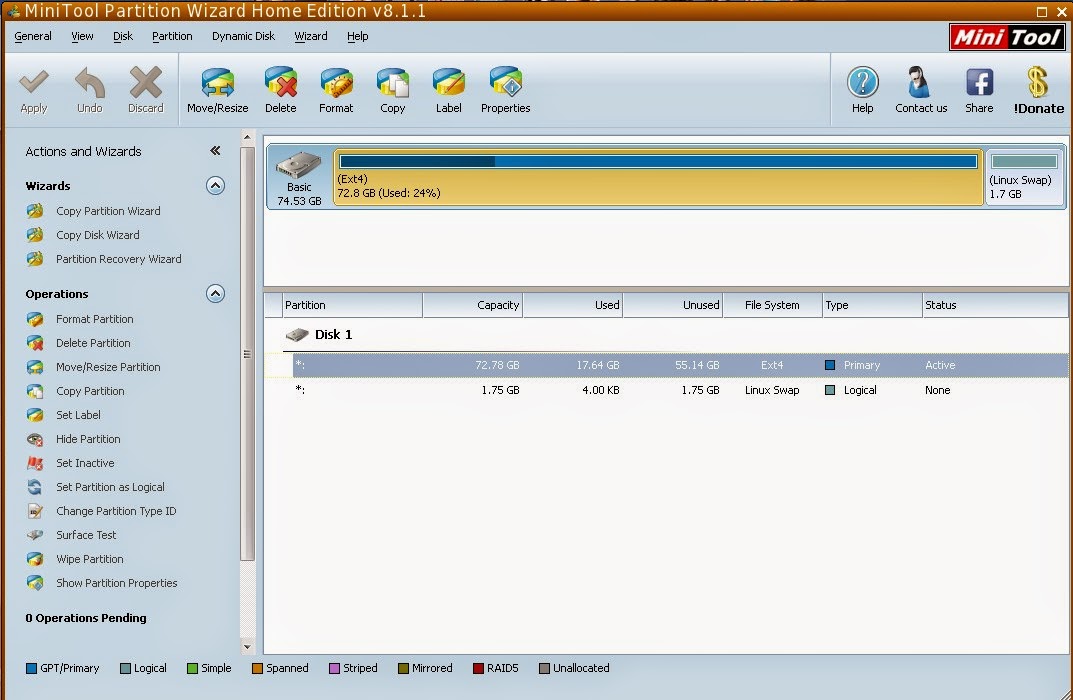
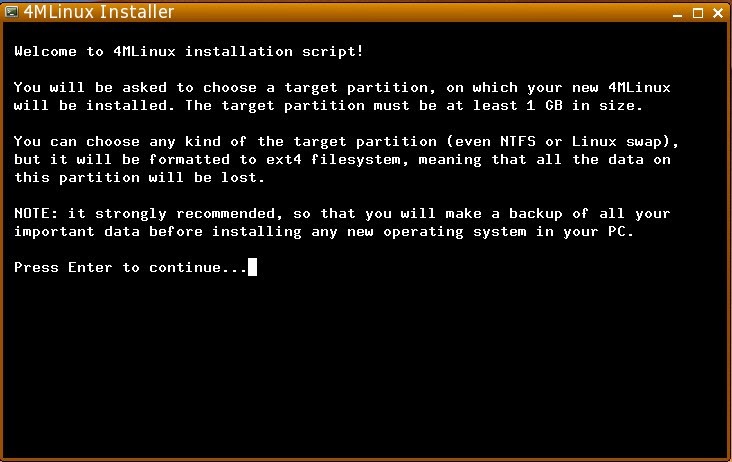
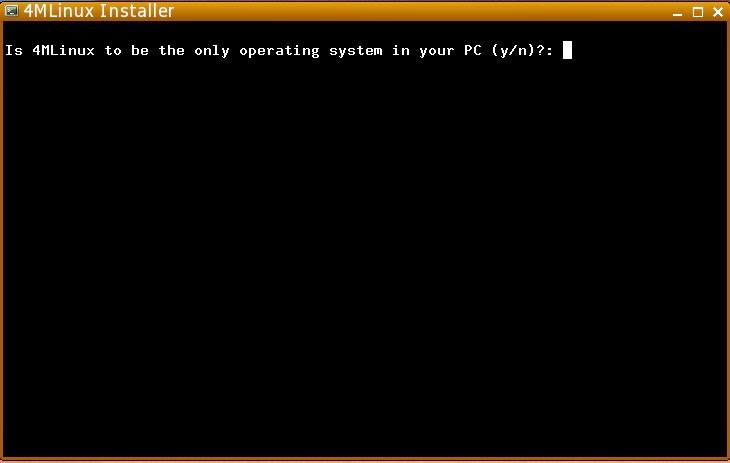
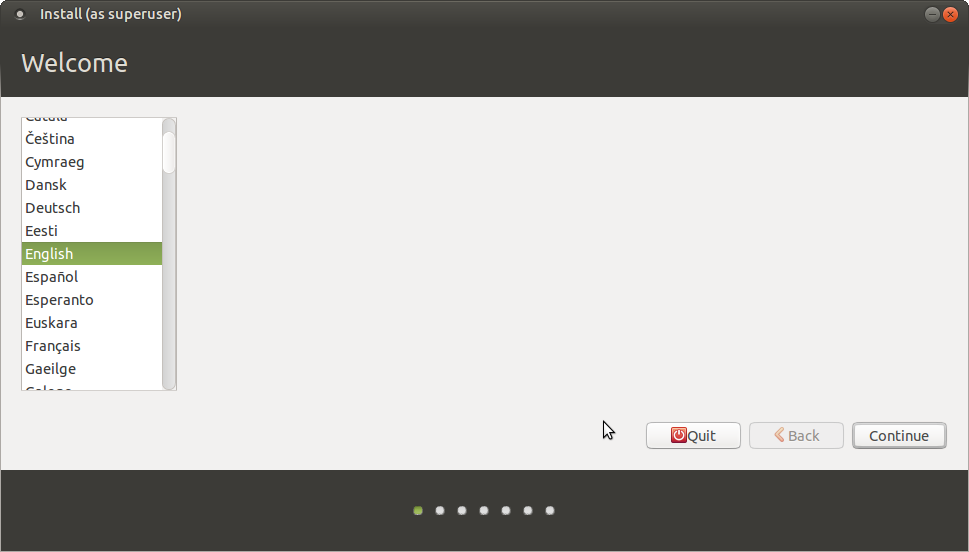
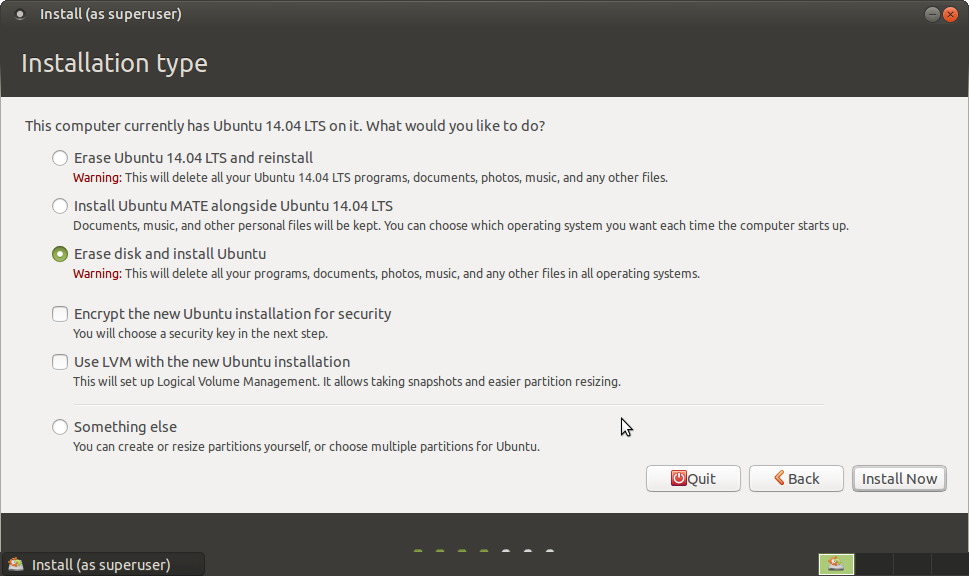
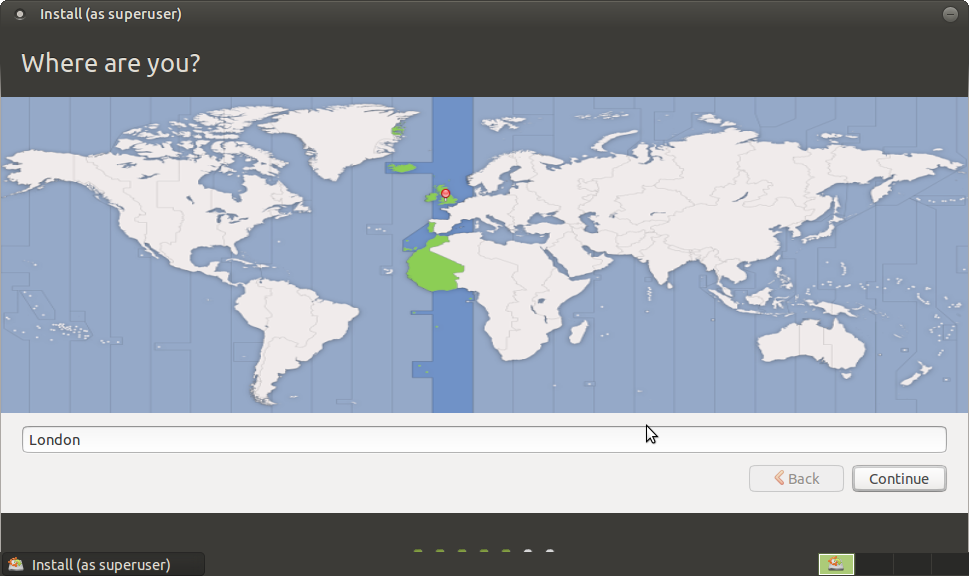
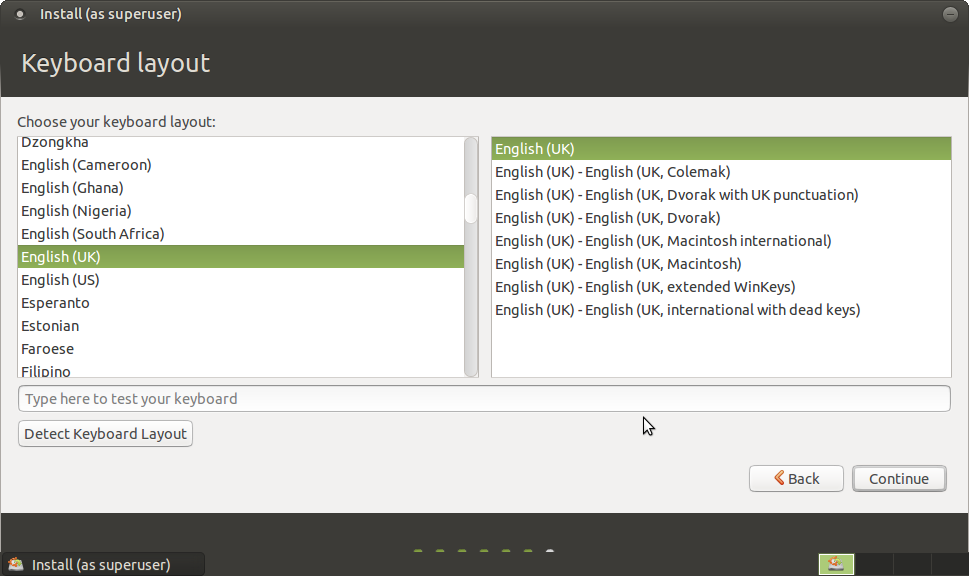
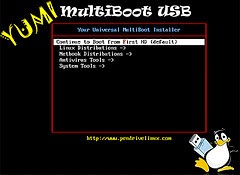
I mentioned in my previous review of SparkyLinux that the installer isn't as straight forward as some of the others that are available.To download SparkyLinux visit http://sparkylinux.org/download/.
The GameOver edition of SparkyLinux is 3.8 gigabytes in size so If you have a poor internet connection you can always buy a DVD or USB drive with SparkyLinux pre-installed.
The SparkyLinux website has a full installation guide available at http://sparkylinux.org/hard-drive-install/
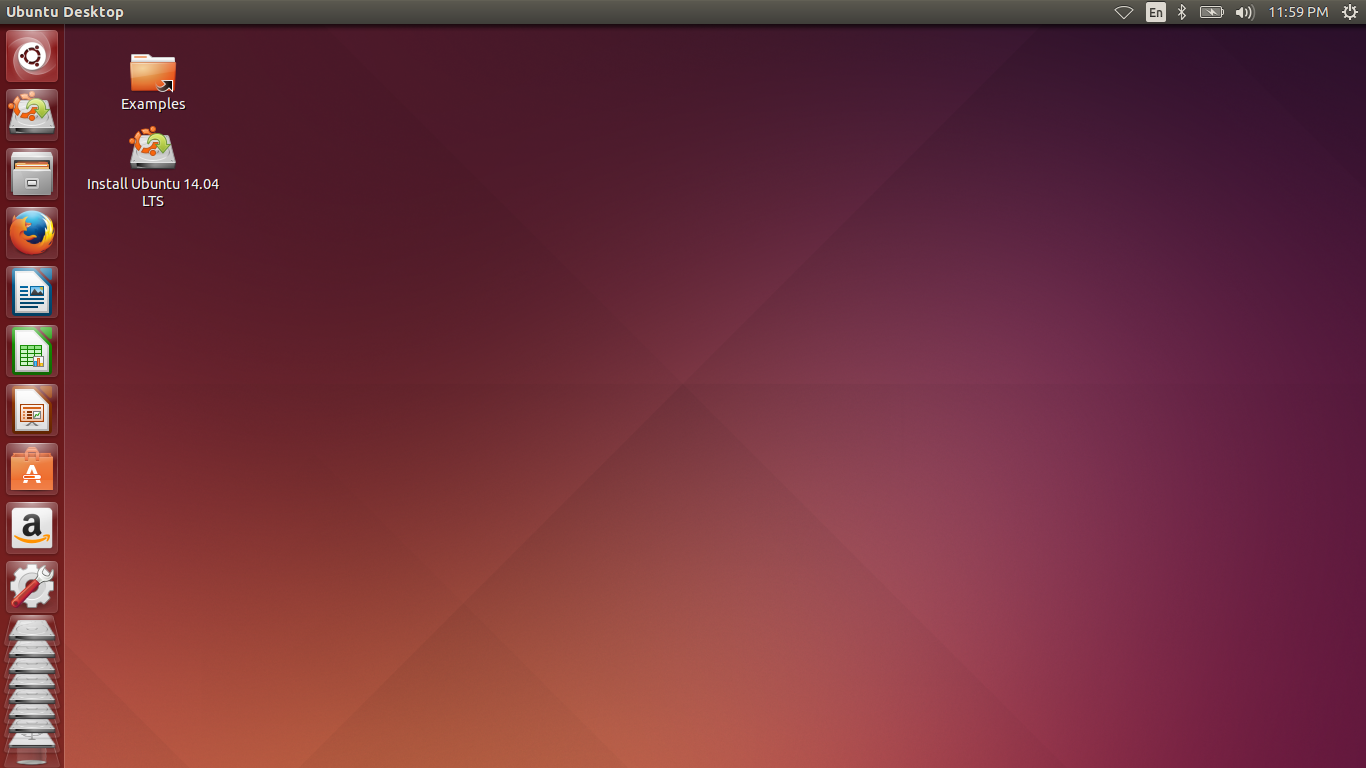
First Impressions

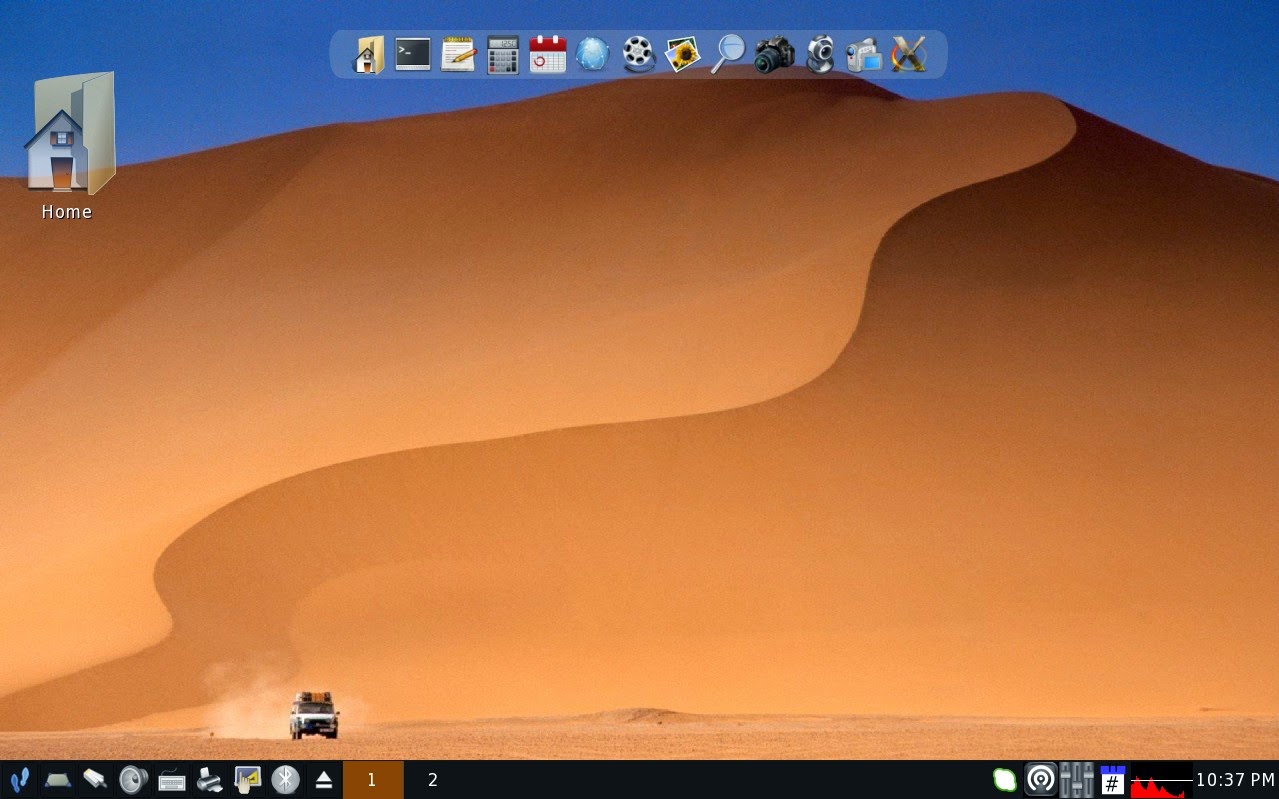
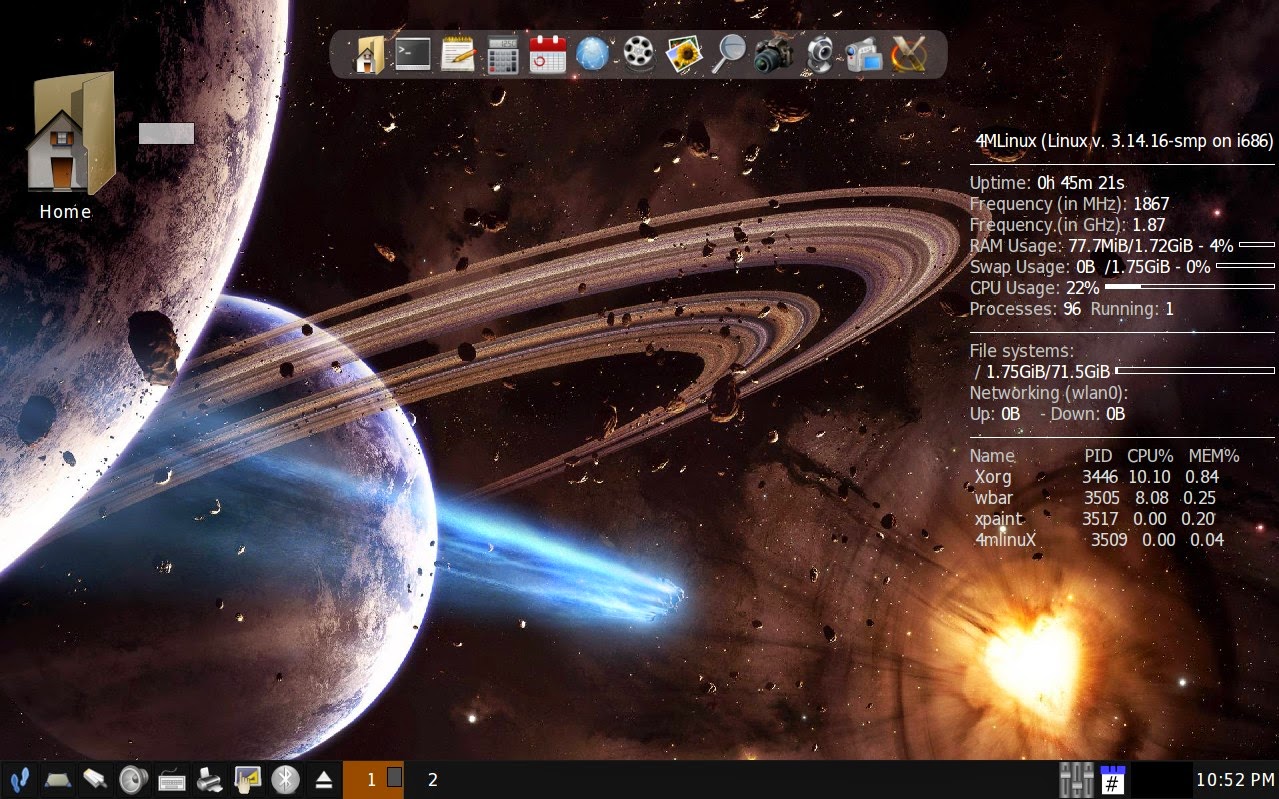
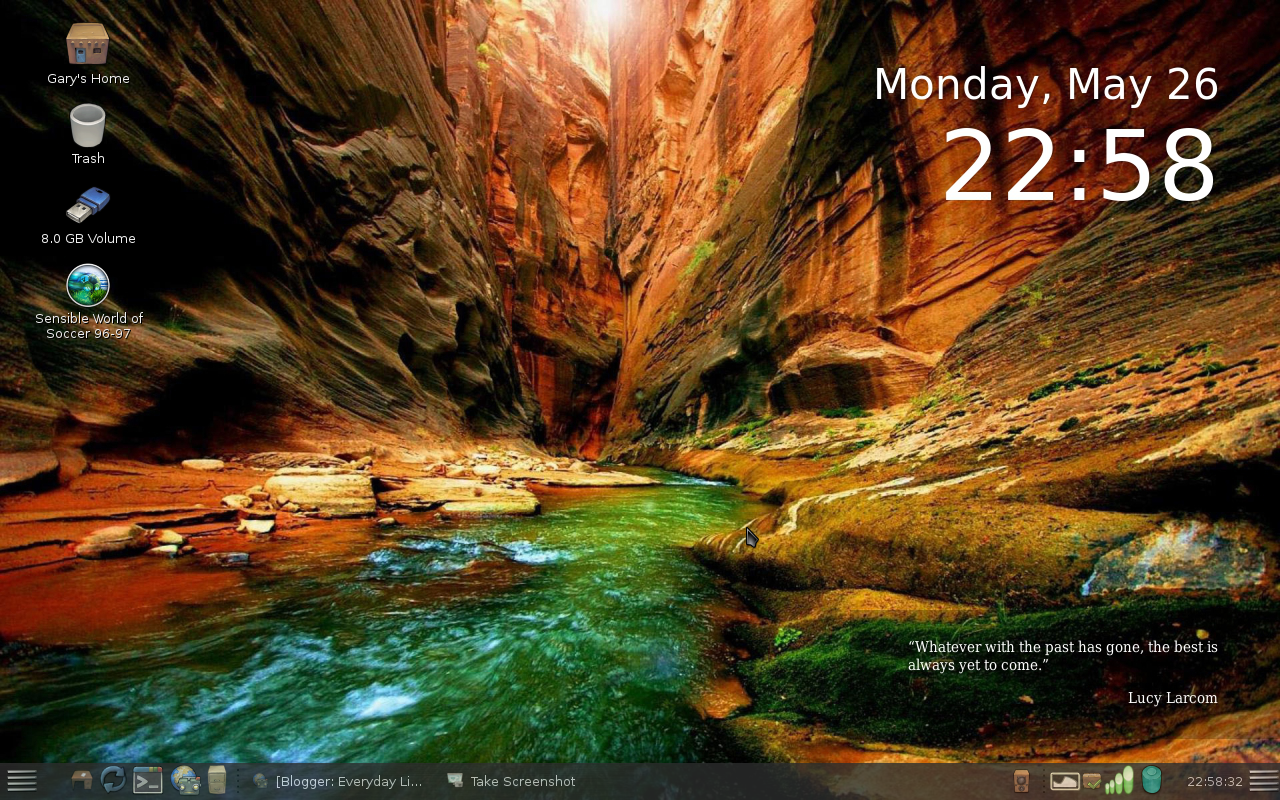
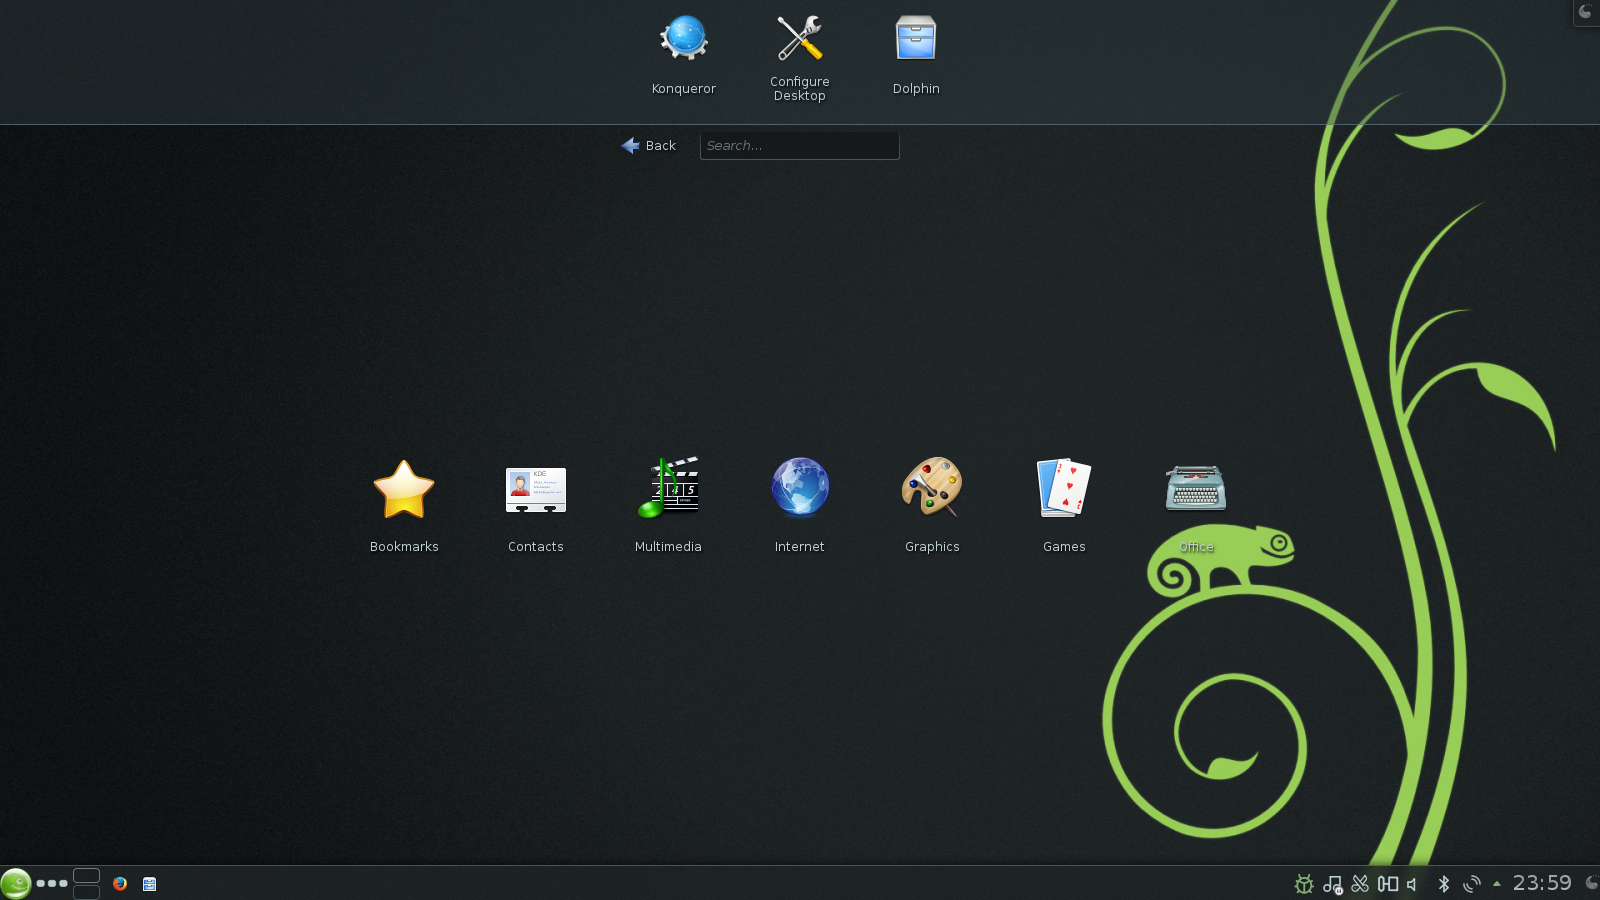
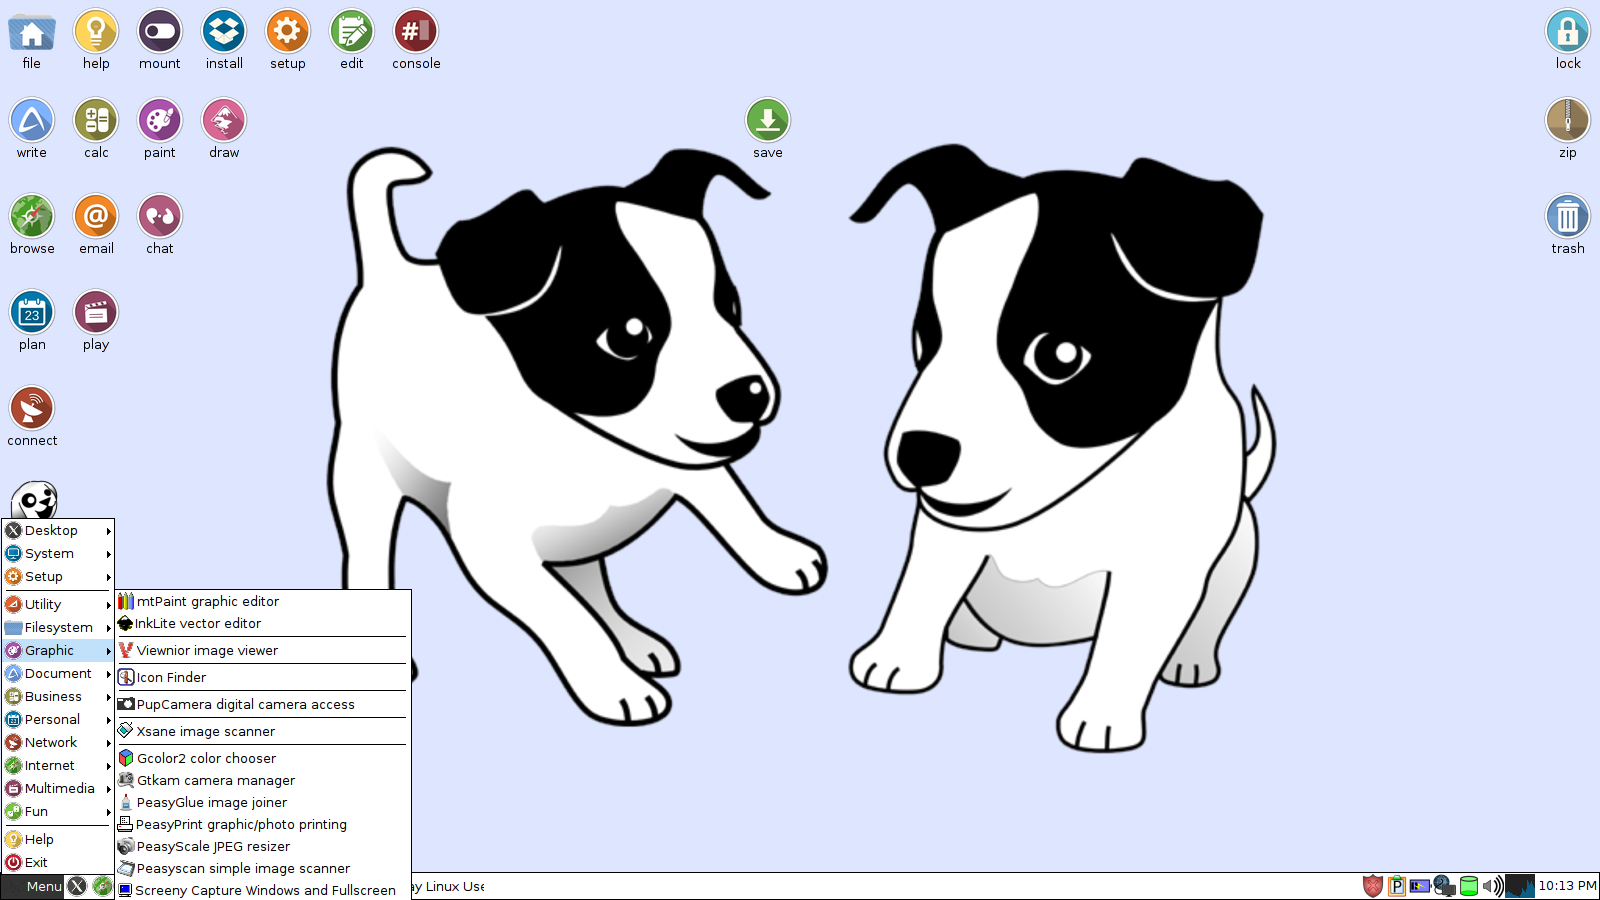
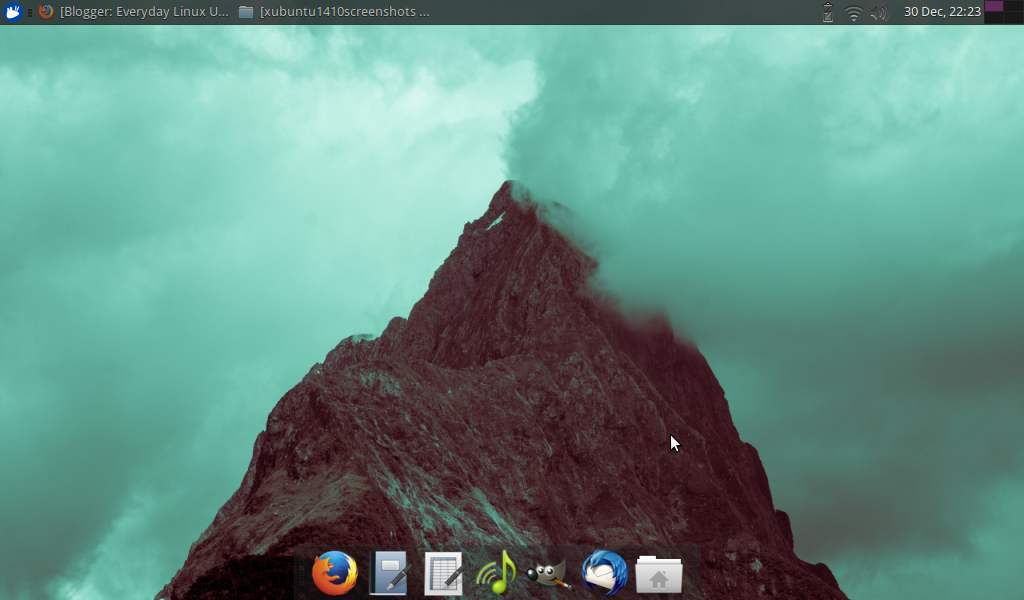
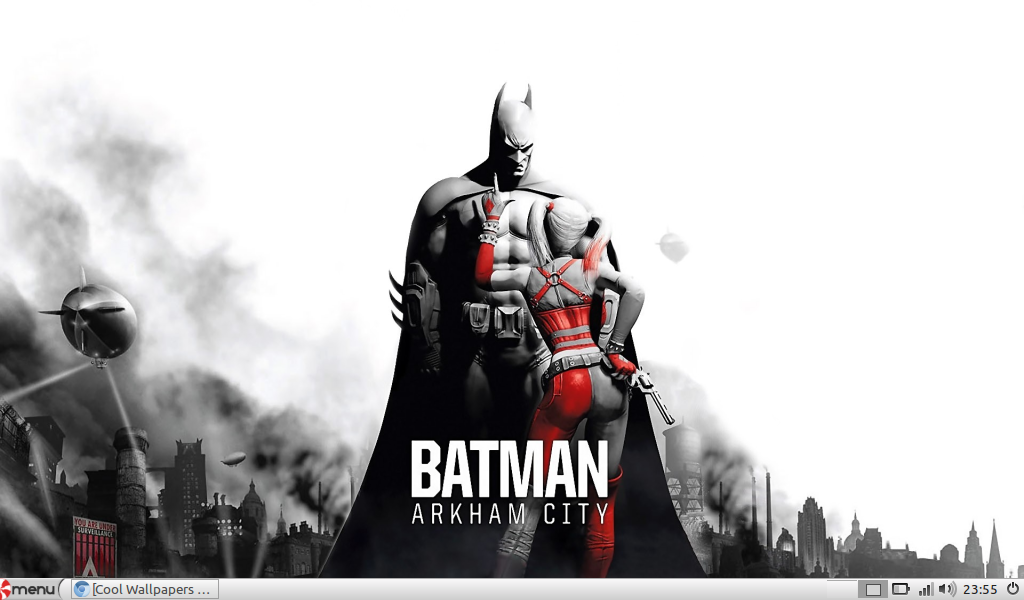
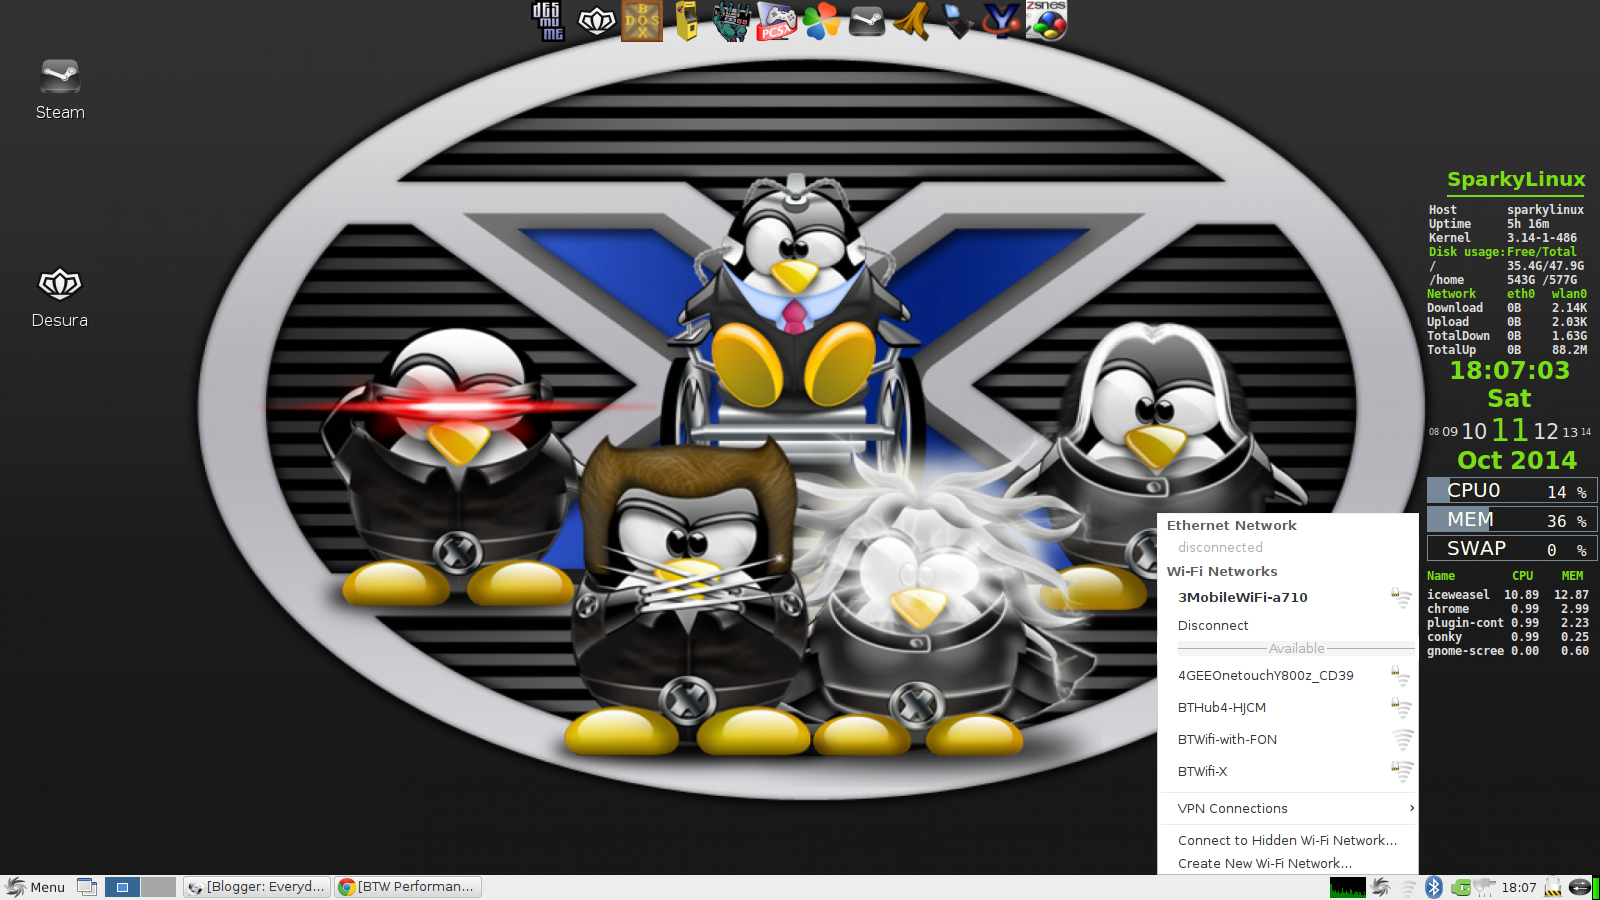
SparkyLinux Gameover Edition uses a basic LXDE setup and the whole distribution is geared towards games with no frills and spills for anything else.
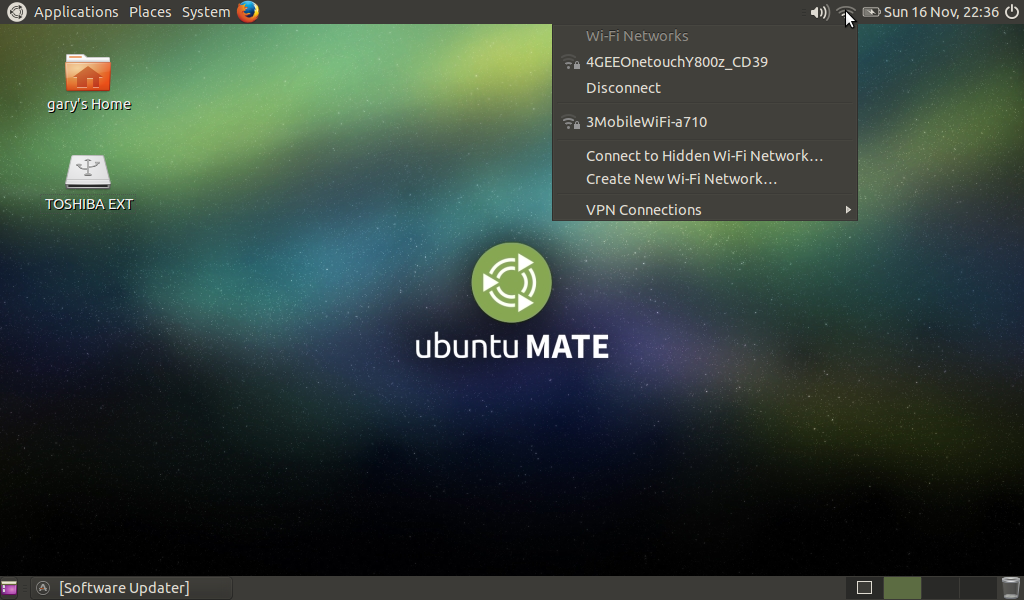
There is the standard LXDE panel at the bottom with a menu, the ability to switch between virtual desktops and icons for setting up bluetooth, wireless networks, audio settings and the all important clock. (Actually the clock is very important because you can easily lose track of time. I was up until 1 a.m the other day playing Sensible Soccer).
On the right side of the screen a list of useful metrics are displayed via the Conky interface. CPU usage and memory usage are probably the most useful pieces of information.
At the top of the screen is another LXDE panel with icons to key games, Steam, PlayOnLinux, DOSbox and a number of different games emulators.
Connecting To The Internet
Let's get the standard review features out of the way first.
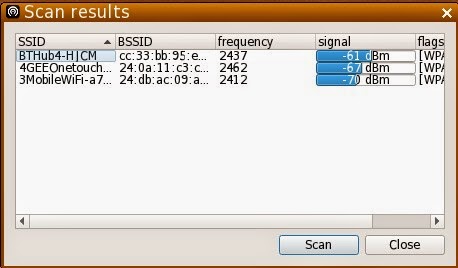
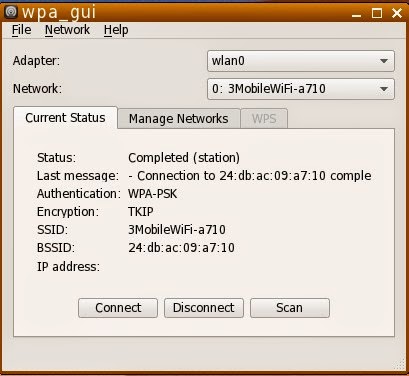
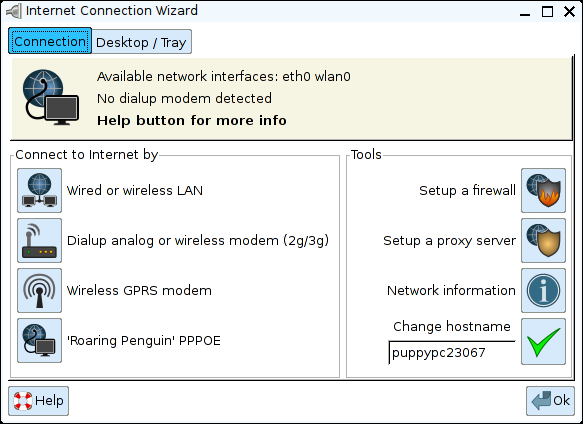
To connect to a wired or wireless network click on the network icon in the system tray and choose the network you wish to connect to and enter the security key if required.
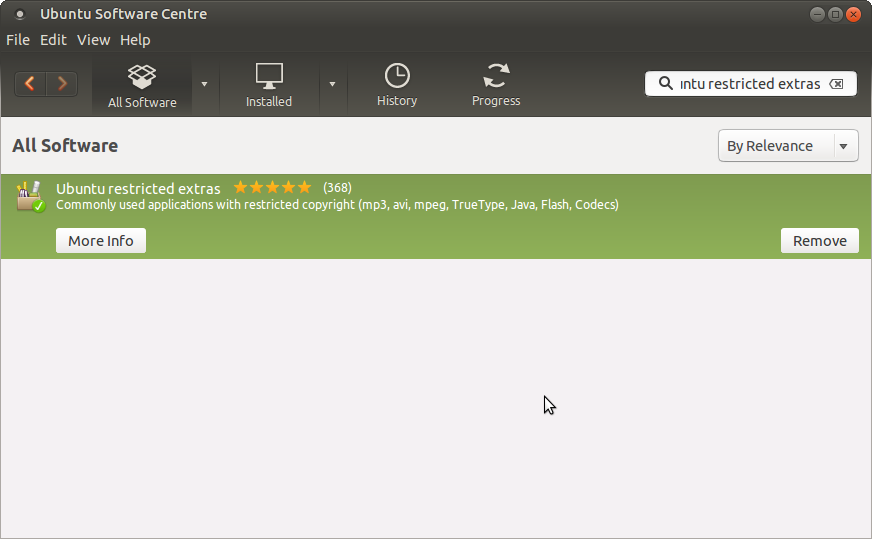
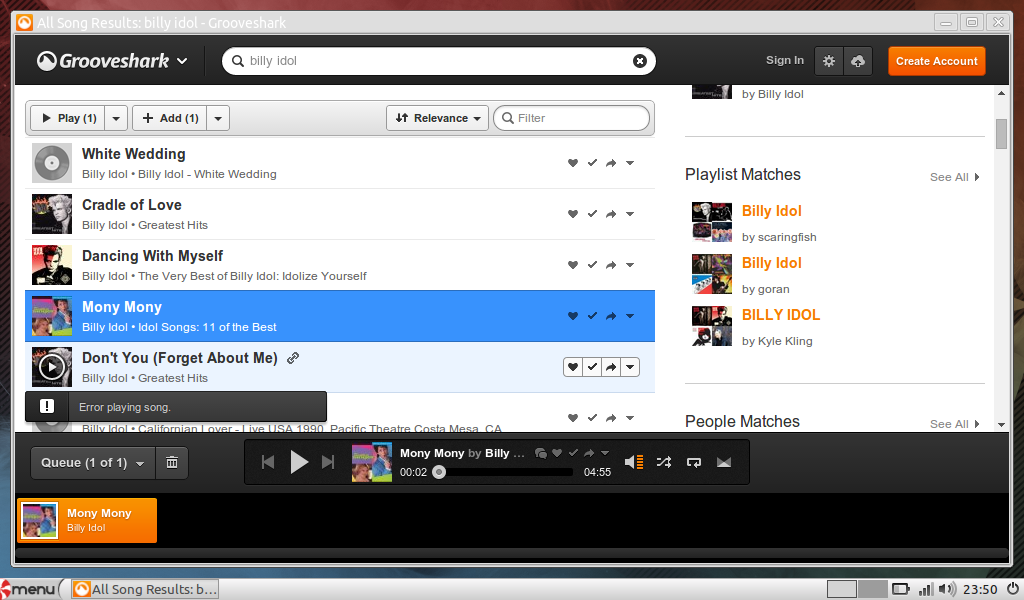
Flash and MP3
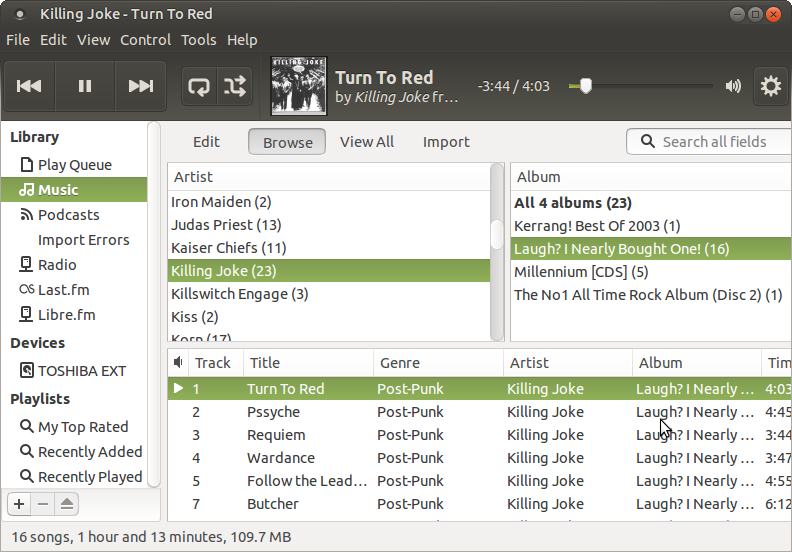
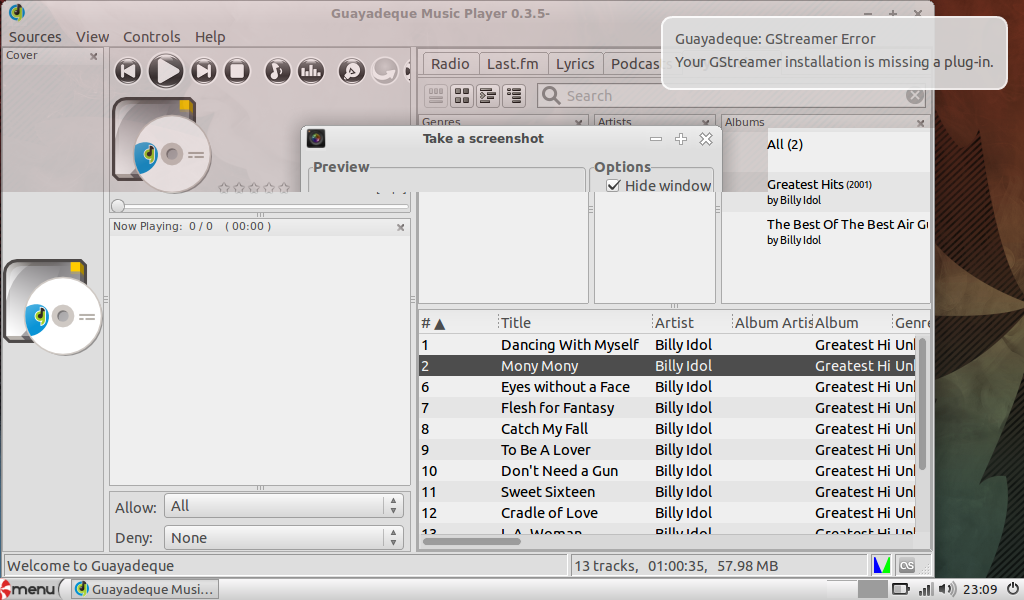
As with the Razor-QT version of SparkyLinux, Flash works without a hitch and MP3s are playable with no extra steps required.
Applications
In this section I would normally list all the applications for a distribution but with the Gameover edition it isn't possible. I will try and cover as much as possible though.Accessories
- Conky (Displays system settings)
- PCManFM (File Manager
- Sparky Screenshot (Screengrabber)
- USB Image Writer (Writes ISO images to USB drives)
- USB Stick Formatter (Formats USB drives)
- XFBurn (Burn images and audio to disk)
- XArchiver (Zip file management)
Graphics
- Camorama (Webcam viewer)
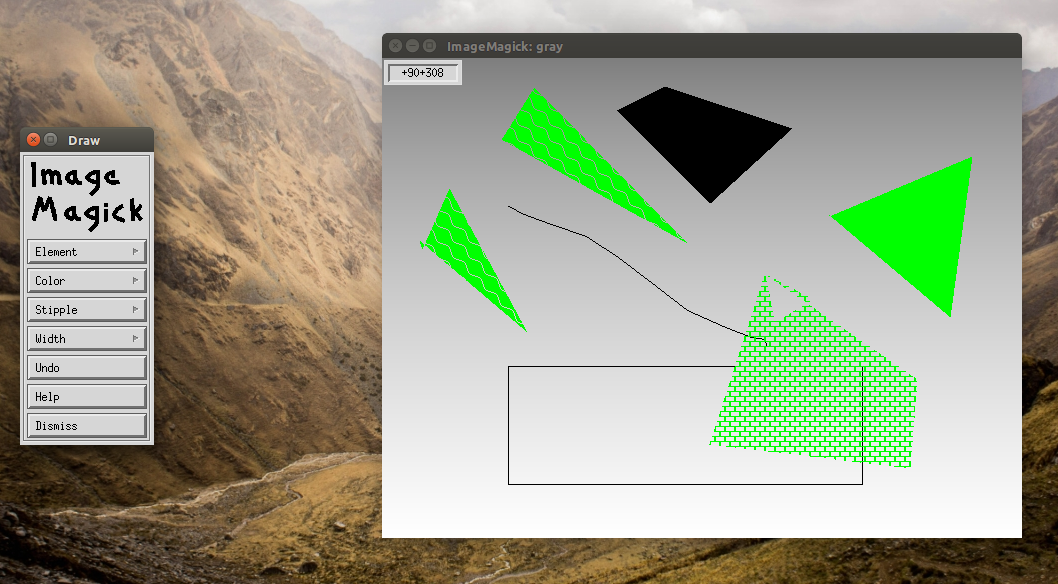
- ImageMagick (Image editing)
- XPDF (PDF viewer)
Internet
- Dropbox (Online file storage)
- Iceweasel (Web browser)
- Pidgin (Instant messenger)
- Transmission (Bittorrent client)
- uget (Download management)
Sound and Video
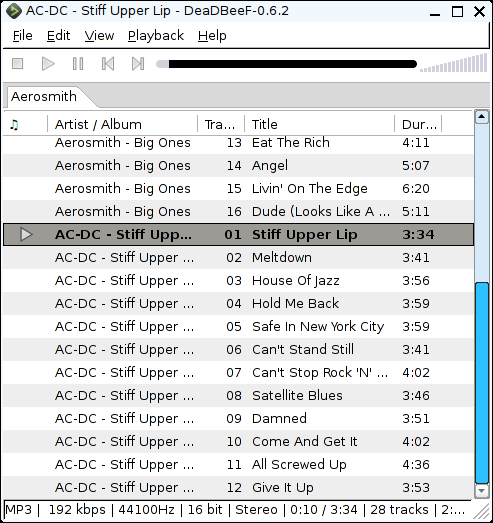
- Radiotray
- VLC Media Player
Games
- 0 A.D, 3D Chess
- Airstrike, Alien Blaster, Amphetamine, Armagetron Advanced, Ascii Jump, Asylum, Atomix
- Balder 2D, Barrage, Battle For Wesnoth, Battle Tanks, Berusky, Billiard-GL, Biniax 2, Black Box, Blobby Volley 2, Bloboats, Blow Wars, Blockout 2, Brain Party, Bygfoot
- Chess, Chromium BSU
- DesMuMe (Nintendo DS Emulator), Desura, Dosbox (DOS Emulator)
- Einstein, Extreme Tux Racer
- Five or more, Flare, FooBilliard, Four in a row, Freecraft, Freedroid, Frozen Bubble, Funny Boat
- Gnome Video Arcade (GUI for MAME), Gnubik, Gnugo, GTKAtlantic, Gunroar,
- Hearts, Holding Nuts
- Iagno, I have no tomatoes
- Klotski
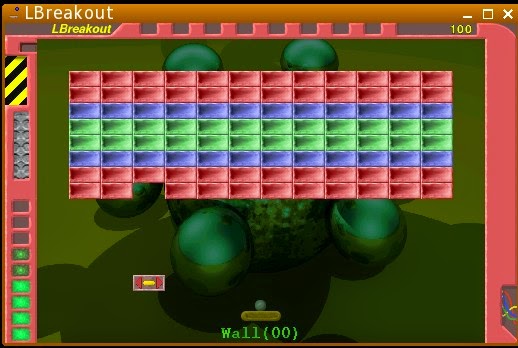
- LBreakout 2, Lights Off, Liquid War, LTris
- Maelstrom, Mahjongg, Mastermind, Megaglest, Mines, Minestest, Mokomaze, Monsterz, Moonlander
- Nestopia (NES Emulator), Netpanzer, Neverputt, Neverball, Nibbles
- OpenArena
- PCSX (Playstation Emulator), Performous, Pingus, PlayOnLinux (GUI for WINE)
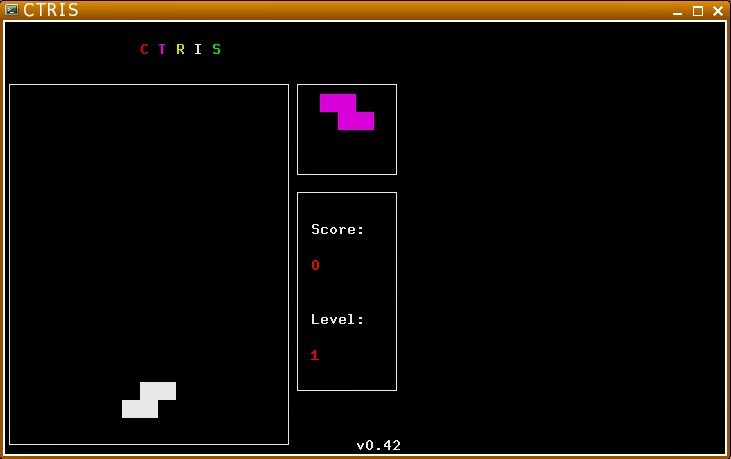
- Quadrapassel
- Robots
- Scorched 3D, Secret Maryo Chronicles, Slime Volley, Snake 4, Snowballz, STEAM, Stella, Sudoku, SuperTux, SuperTuxKart, Swell Foop
- Tali, Teeworld, Tennix, Tetravex, Tetzle, Transcend
- Virtualboy Advance (Gameboy Advance Emulator)
- Warzone 2100, Widelands
- XMoto
- Yabause (Sega Saturn Emulator)
- Zaz, ZSNES
I like the fact that Radiotray was included. Radiotray lets you choose to listen to a large number of online web radio stations by choosing them from a menu linked to the LXDE panel.
Steam is obviously included, as is PlayOnLinux. Last week when I reviewed Play Linux I suggested that maybe there wasn't enough to make it stand out on its own as yet but the Gameover Edition of SparkyLinux cannot be accused of the same thing.
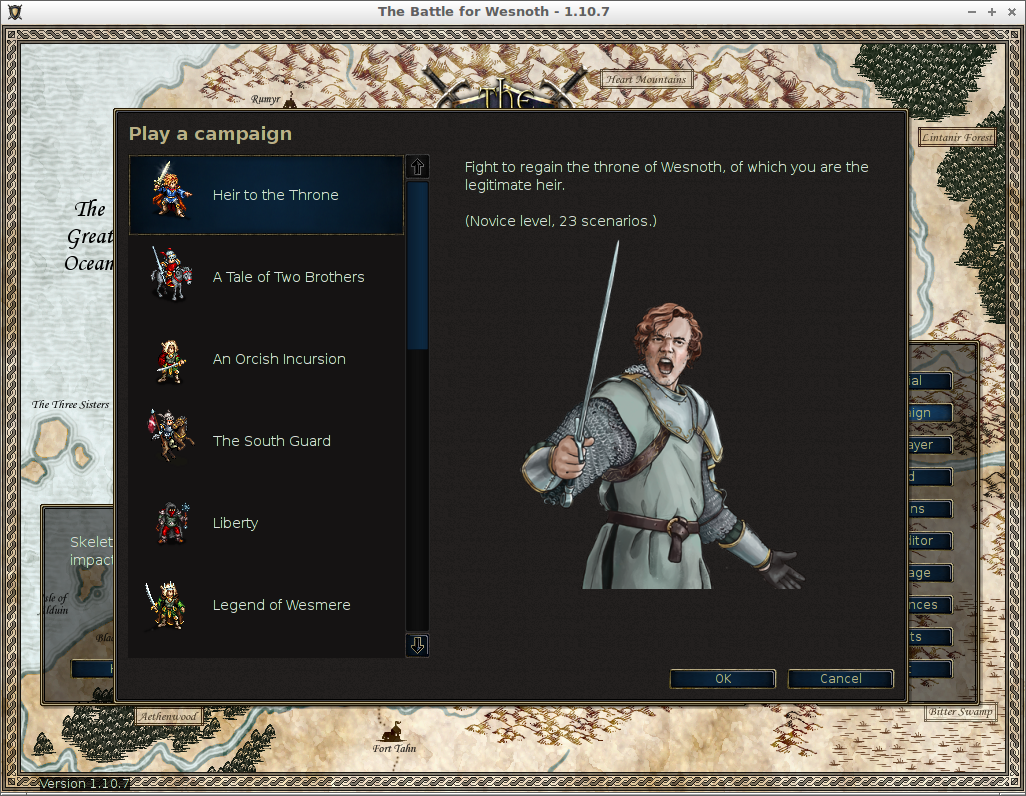
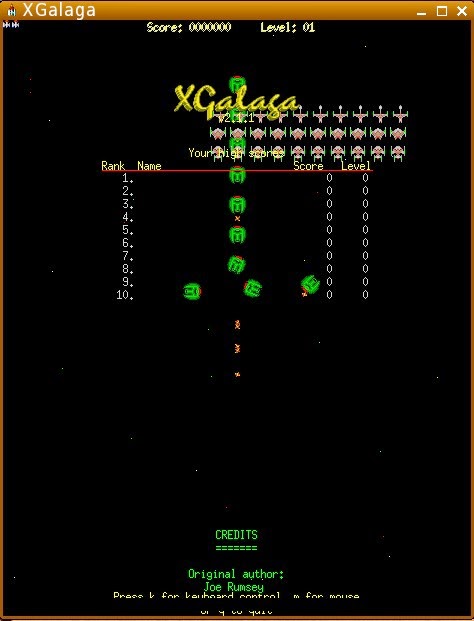
There are games in the bucket full including a whole host of Linux specific titles such as Battle For Wesnoth, SuperTux and SuperTuxKart.
There are emulators available for most of the best games consoles from the past 30 years although there are some notable exceptions such as a Nintendo 64 emulator.

For those of you who like really old games there is Stella which emulates the Atari 2600.

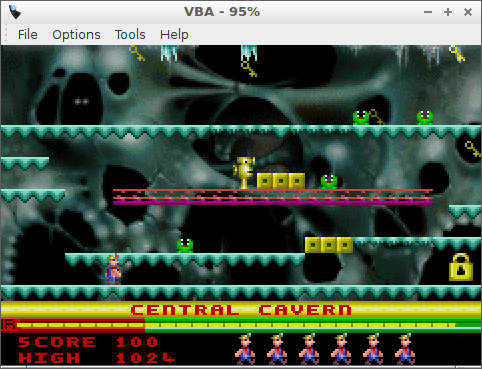
Videoboy Advance is a Gameboy Advance emulator. As well as allowing you to play Gameboy Advance games you can also run Gameboy Colour and standard Gameboy games as well.
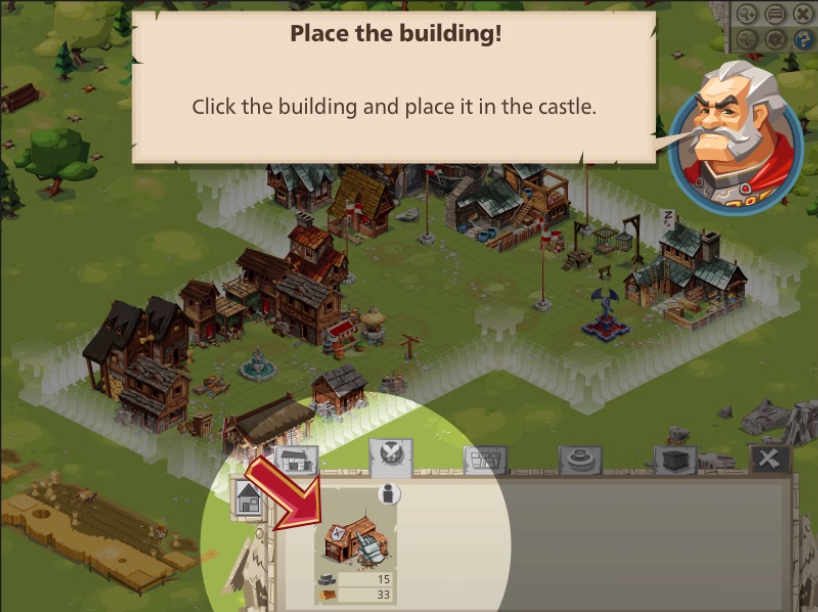
The screenshot above is for Manic Miner which was excellently updated for the Gameboy Advance. If you want to emulate DS games there is DesMuMe.
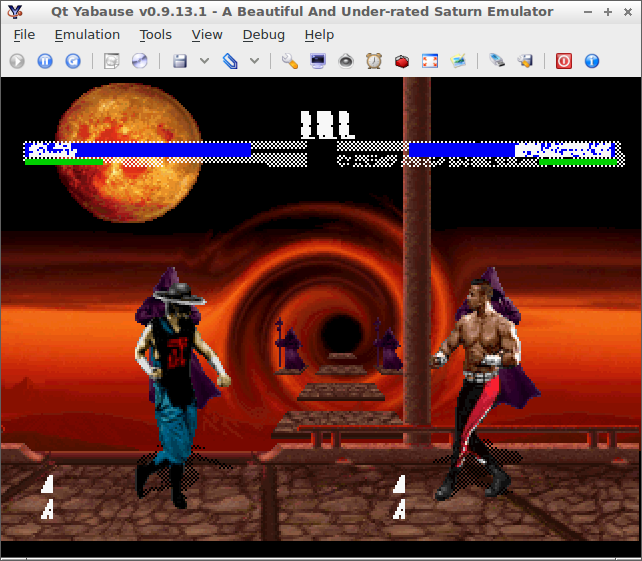
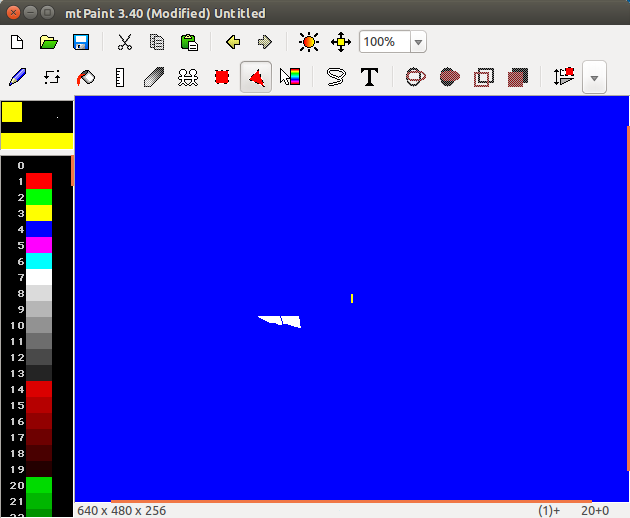
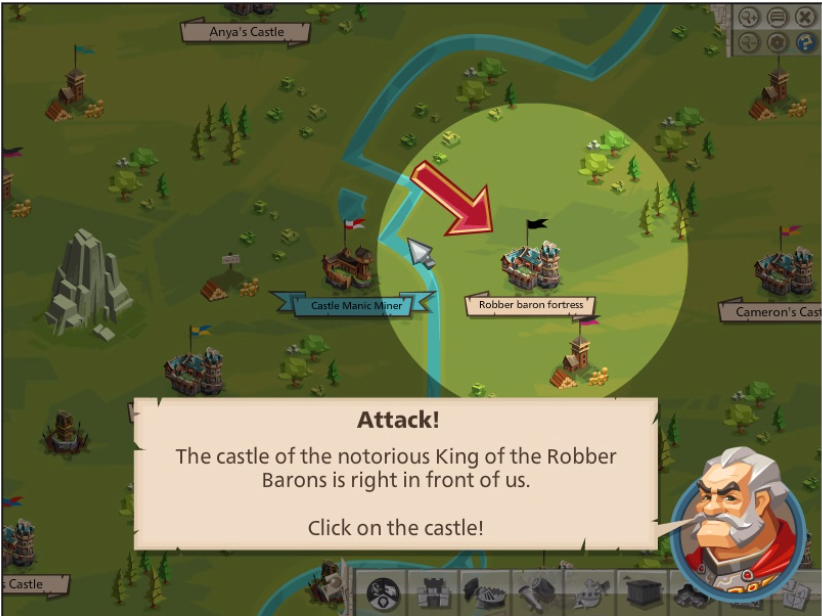
The Yabause emulator lets you play Sega Saturn games but as you can see from the image above the results aren't always perfect. SparkyLinux lacks an emulator for Sega Mastersystem, Megadrive, Genesis and Gamegear games. To be honest there aren't that many good Sega emulators out there. My own personal preference is Kega Fusion.
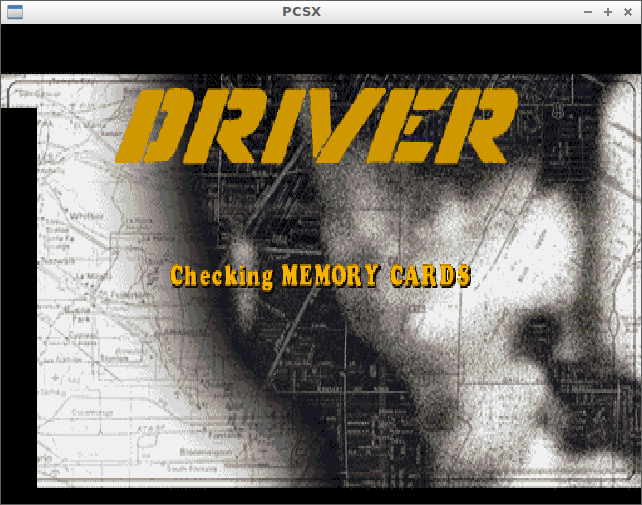
For Playstation fans there is the PCSX emulator which works reasonably well although there is the odd glitch.
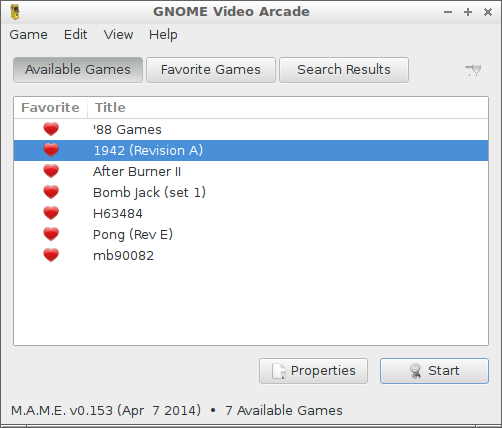
For MAME users the Gnome Video Arcade has been included which provides a nice graphical user interface for choosing games.
I found it quite difficult at first working out where to put the ROM files but got there in the end. (/usr/share/games/mame/roms).
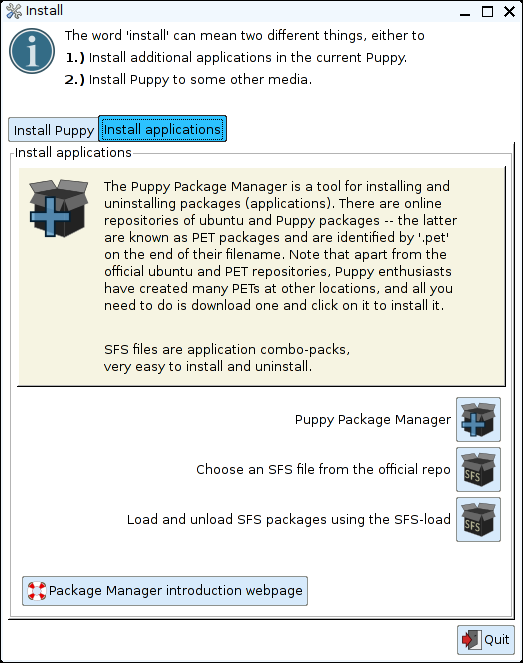
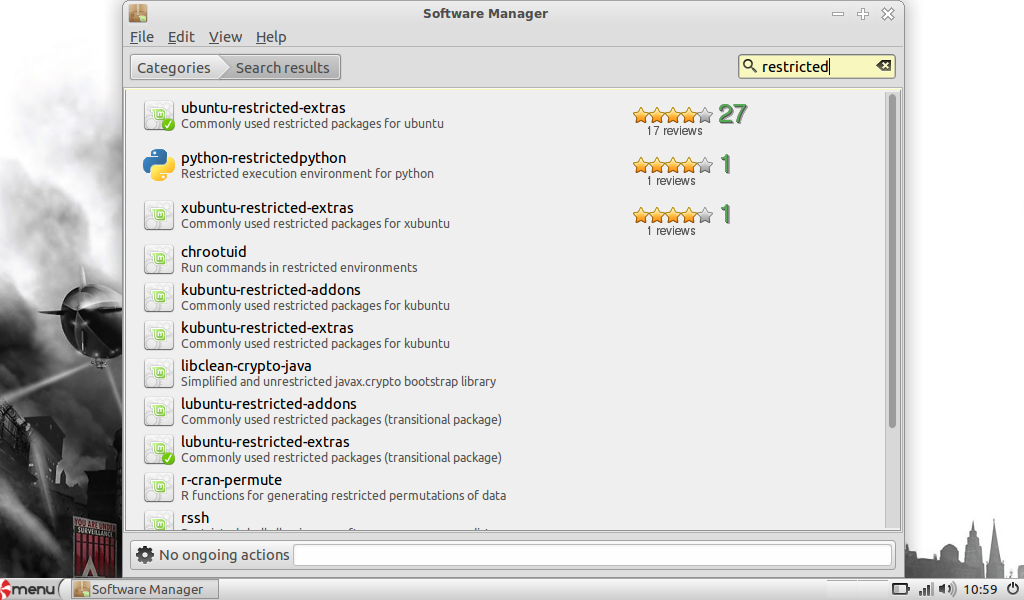
Installing Applications
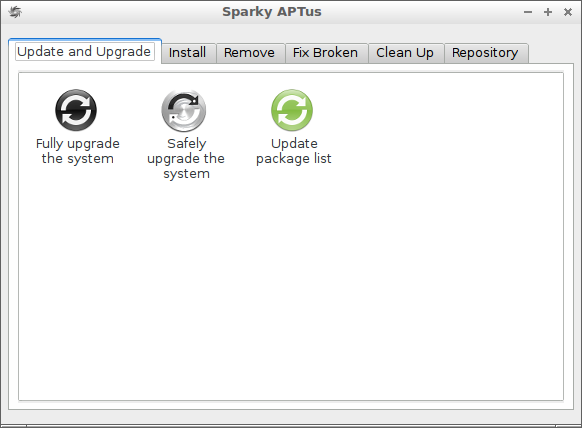
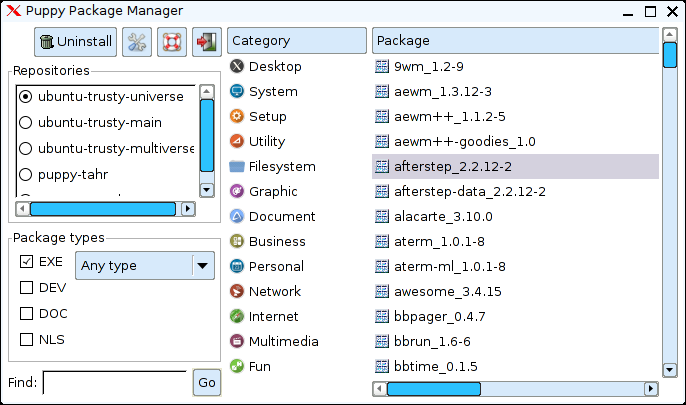
SparkyLinux has a tool called APTus which combines a few key system tasks such as upgrading the system, updating package lists, selecting repositories and of course installing new programs.
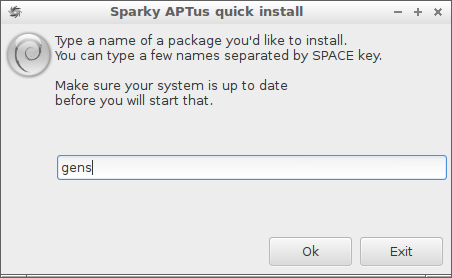
The APTus installer simply asks for the name of the program you wish to install which is great if you know the name of the program but not so good if you don't.
Fortunately Synaptic is also included which provides a decent search facility.
Controllers
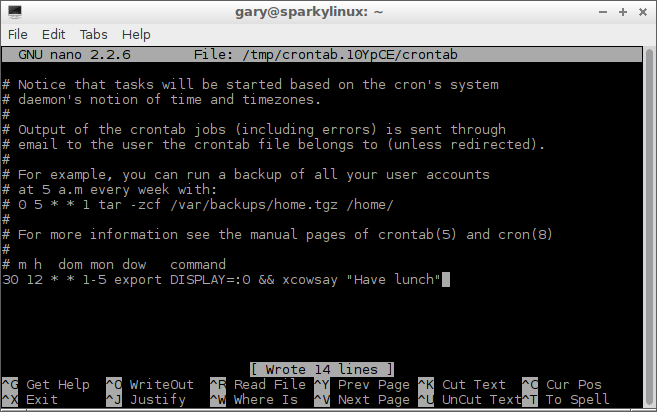
SparkyLinux has a joystick calibration tool to enable you to configure your joysticks but it might be worth reading my article about Retrogaming with Linux as it provides advice on how to set up controllers for older games.Summary
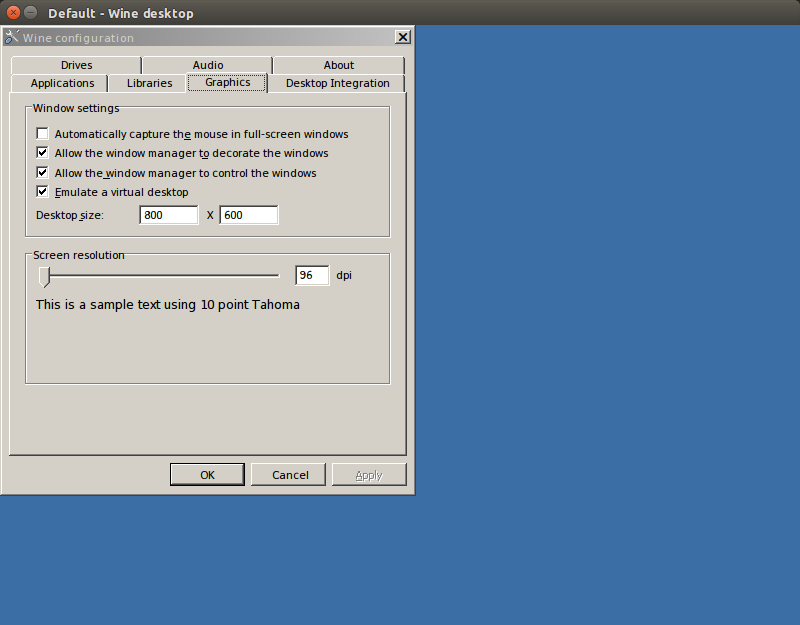
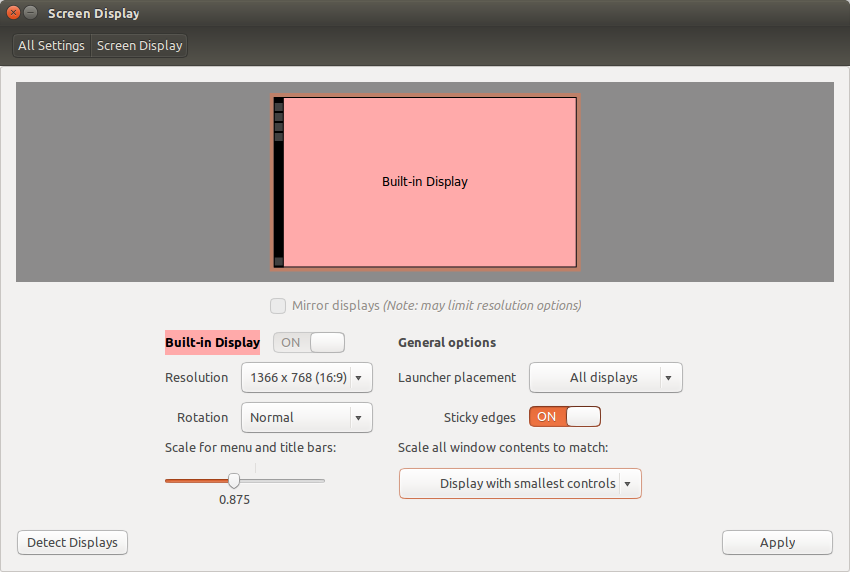
There is a lot to like about Sparkylinux Gameover Edition with its abundance of games, choices of emulators and the fact it comes with Steam, PlayOnLinux and Dosbox pre-installed.The system was stable in the most part but you can't always guarantee what an emulator is going to do and on the odd occasion my screen resolution changed.
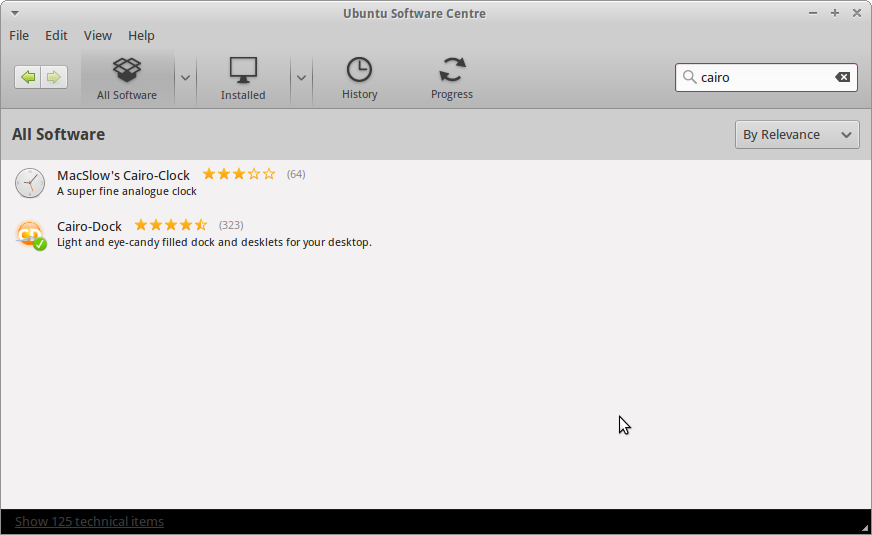
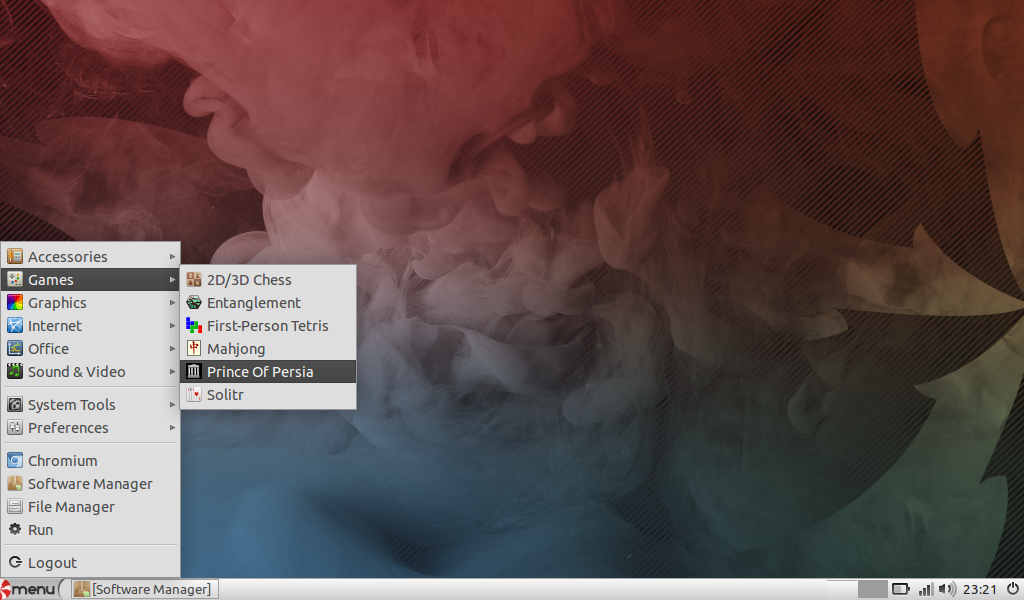
With so many games available the LXDE menu system felt a bit overloaded. Ways around this problem include adding your favourites to the panel at the top or installing either Slingscold for a nicer dash style display or Cairo as a dock.
All in all, SparkyLinux Gameover Edition provided me with the most fun that I have had in ages and it has been a welcome guest during my internet free week.
Thankyou for reading.