Introduction
This is the year of Linux for the everyday user.I have already written reviews for Ubuntu 14.04 and Linux Mint 17 and they are both exceptionally good for the average computer user.
This review is about Netrunner 14.
There are two versions of Netrunner available. This article looks at the Standard Release which is based on Kubuntu 14.04. The other version is a rolling release based on Manjaro.
System Requirements
I am listing the requirements as stated on the FAQ - Installation page on the Netrunner website.It appears the requirements have been set from the fact that they were tested on a netbook.
- CPU - 1.6ghz Intel Atom
- RAM - 1 gigabyte
- Hard Drive Size - 10 gigabytes
- Graphics Card - Intel GMA 945
- Video Memory - 128 megabytes
- Intel i5 quad core
- 8 gigabytes RAM
- 2 terabyte hard drive
How to get Netrunner
To download Netrunner visit http://www.netrunner-os.com/download/There are 32 bit and 64 bit versions of both the standard and rolling release.
To create a bootable USB drive I used UNetbootin.
If you have a poor internet connection or you are unsure about creating a bootable USB drive you can always click here to buy a bootable DVD or USB drive.
How to install Netrunner

First of all boot into the Live version of Netrunner by inserting either a live USB or live DVD into the drive and turning on your computer and then click on "Install Netrunner 14 LTS".

The first thing you have to do is choose the installation language and click "Continue".
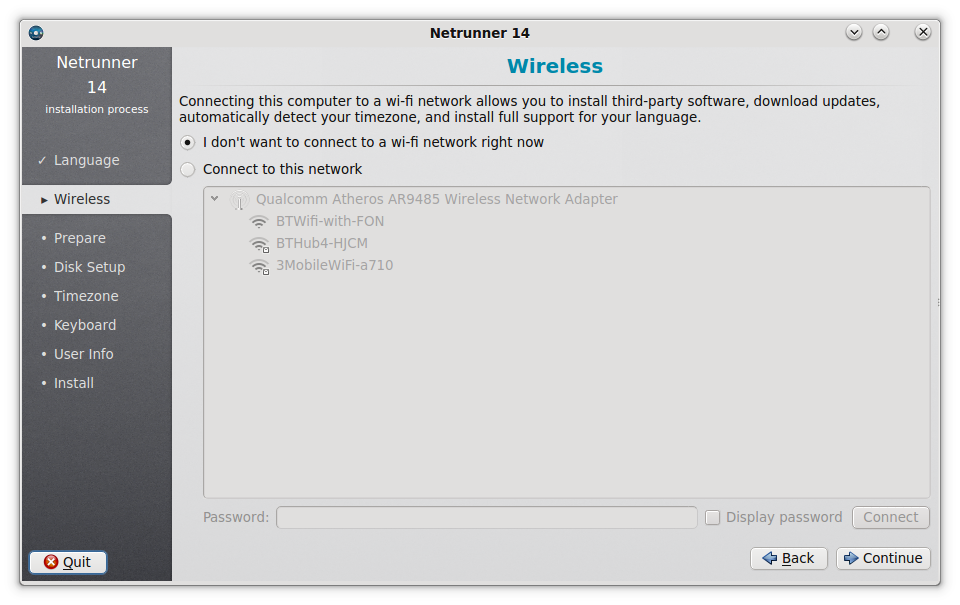
You can now set up your internet connection if you so wish. Setting up the internet automatically chooses your timezone, installs third party software and downloads updates.
It is an optional choice whether to connect or not. My preference, because I have a poor internet connection, is to not connect and download the updates later. The third party software is installed by Netrunner anyway.
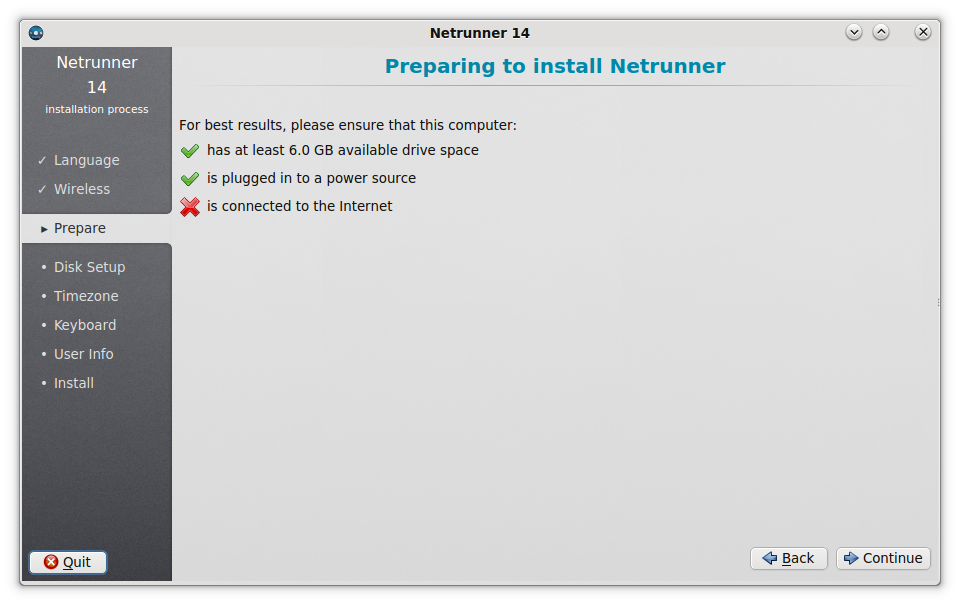
The third screen shows how prepared you are to install Netrunner. As long as your computer is plugged in (or has enough battery life) and it has enough disk space you are good to go.
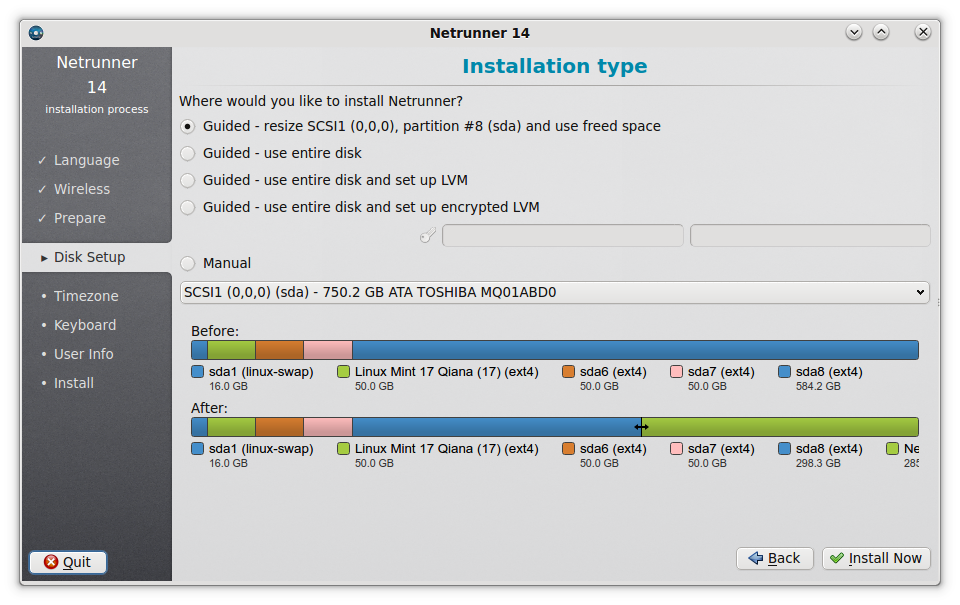
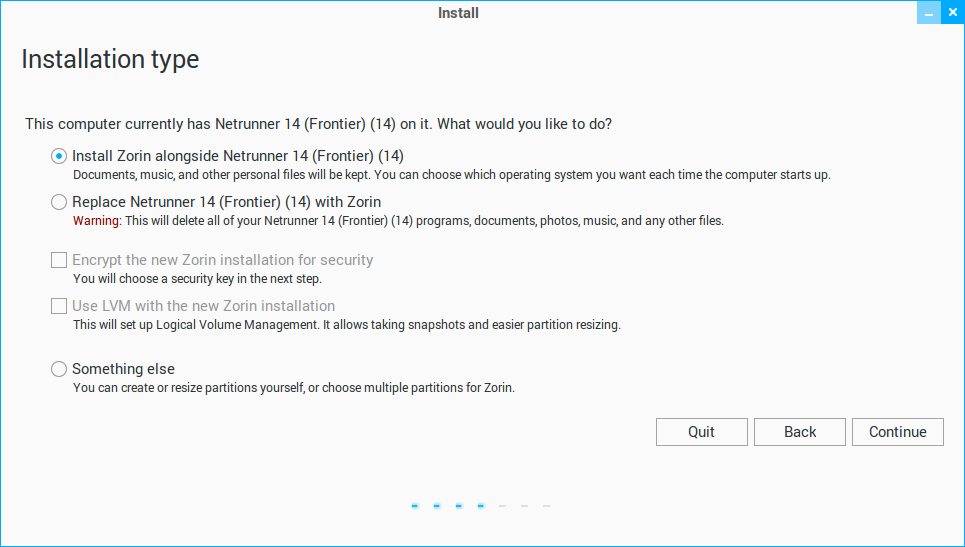
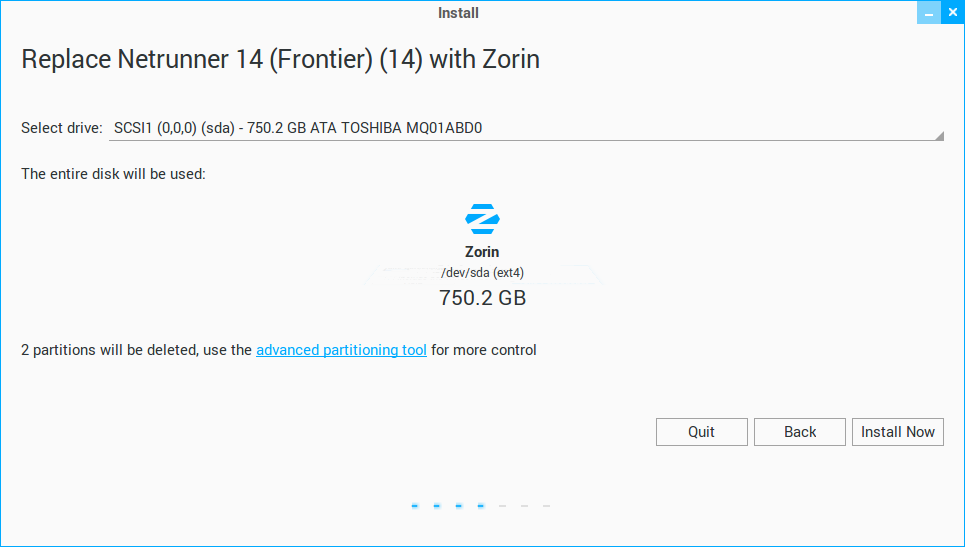
The disk setup screen isn't as easy to follow as the one provided with Linux Mint. If you read the options carefully though it is quite straight forward.
The options above are basically saying
1. Install Netrunner alongside Linux Mint (I had Linux Mint installed previously)
2. Replace Linux Mint with Netrunner (use entire disk)
3. Replace Linux Mint with Netrunner and use LVM
4. Replace Linux Mint with Netrunner and use encryption with LVM
5. Perform a manual installation and setup the disk layout yourself
I chose option 2 to replace Linux Mint.

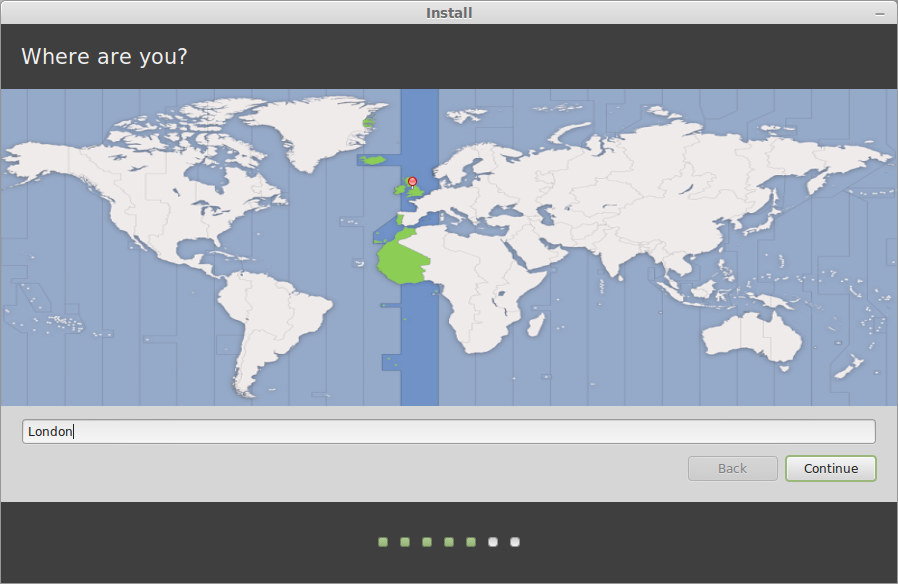
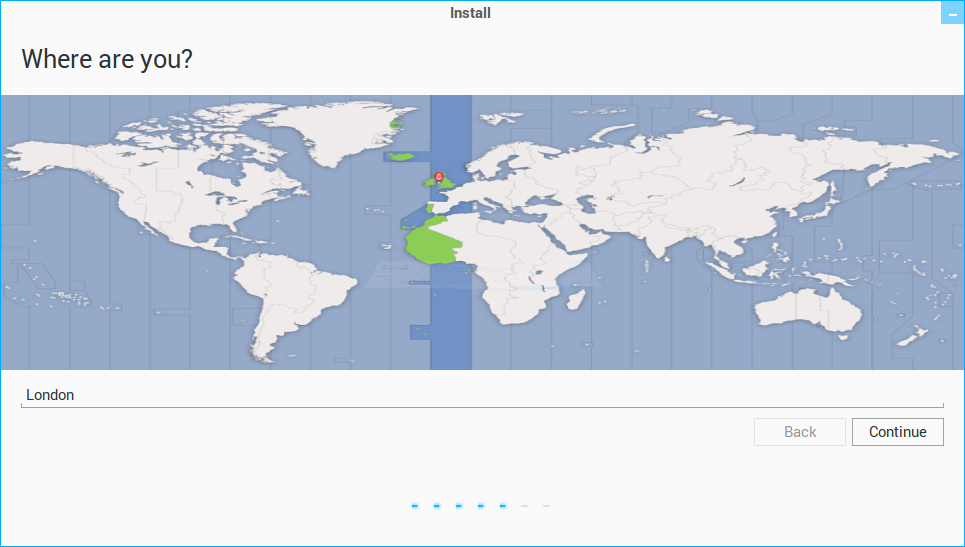
Now you have to choose your timezone by clicking on the map or selecting from the drop downs.

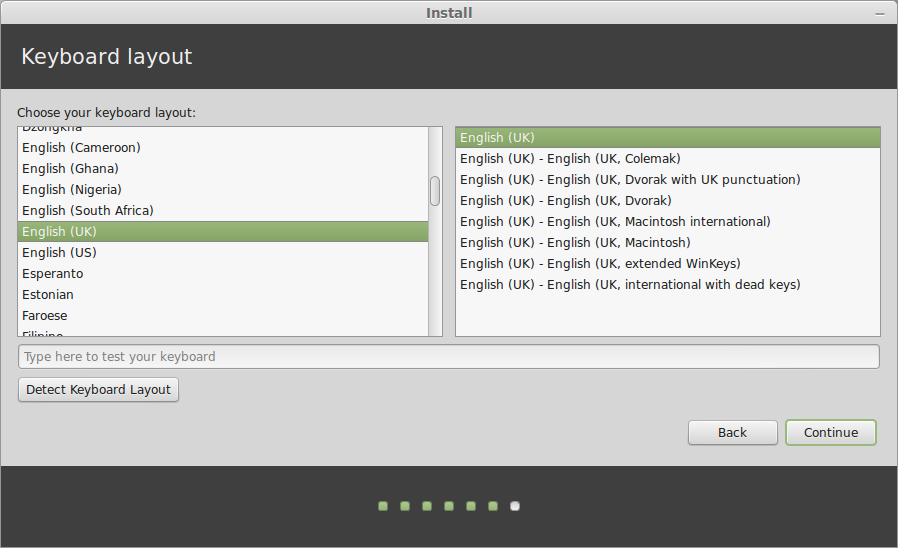
Choose your keyboard layout.

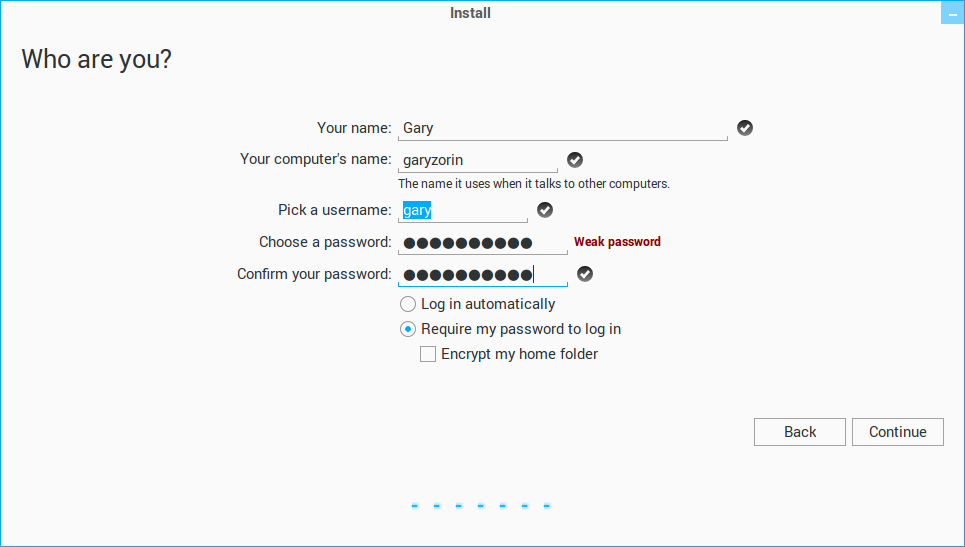
Finally create a default user by entering your name, a username, a password and a name for your computer.
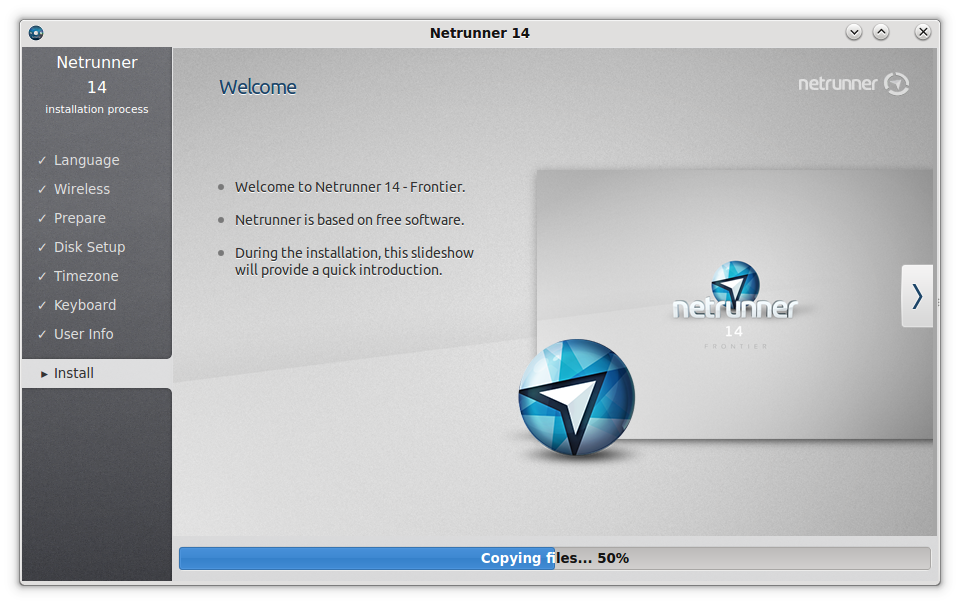
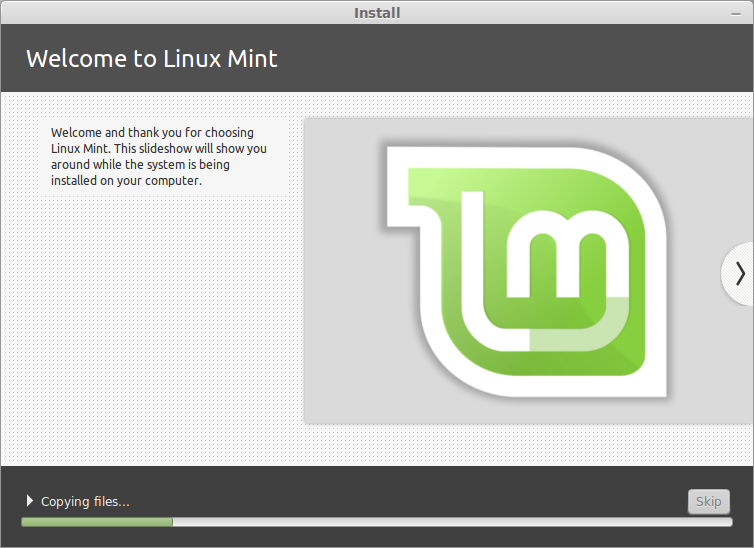
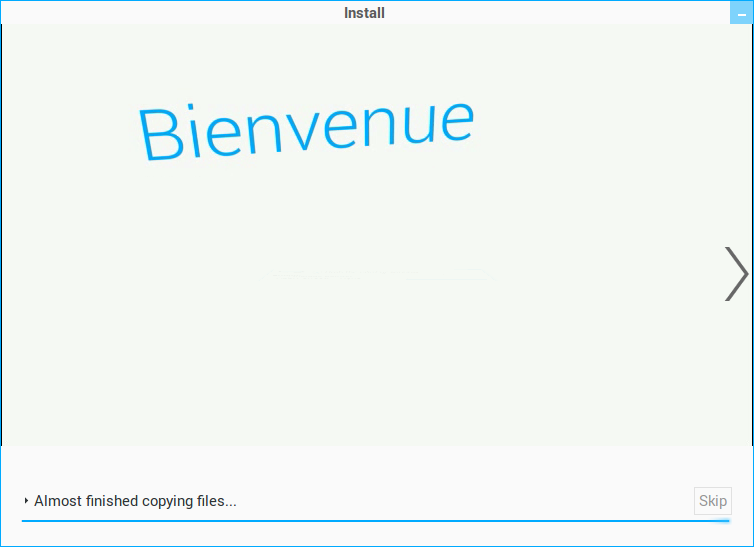
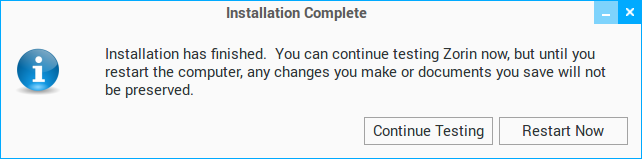
The files will now be copied and your hardware will be detected and setup.
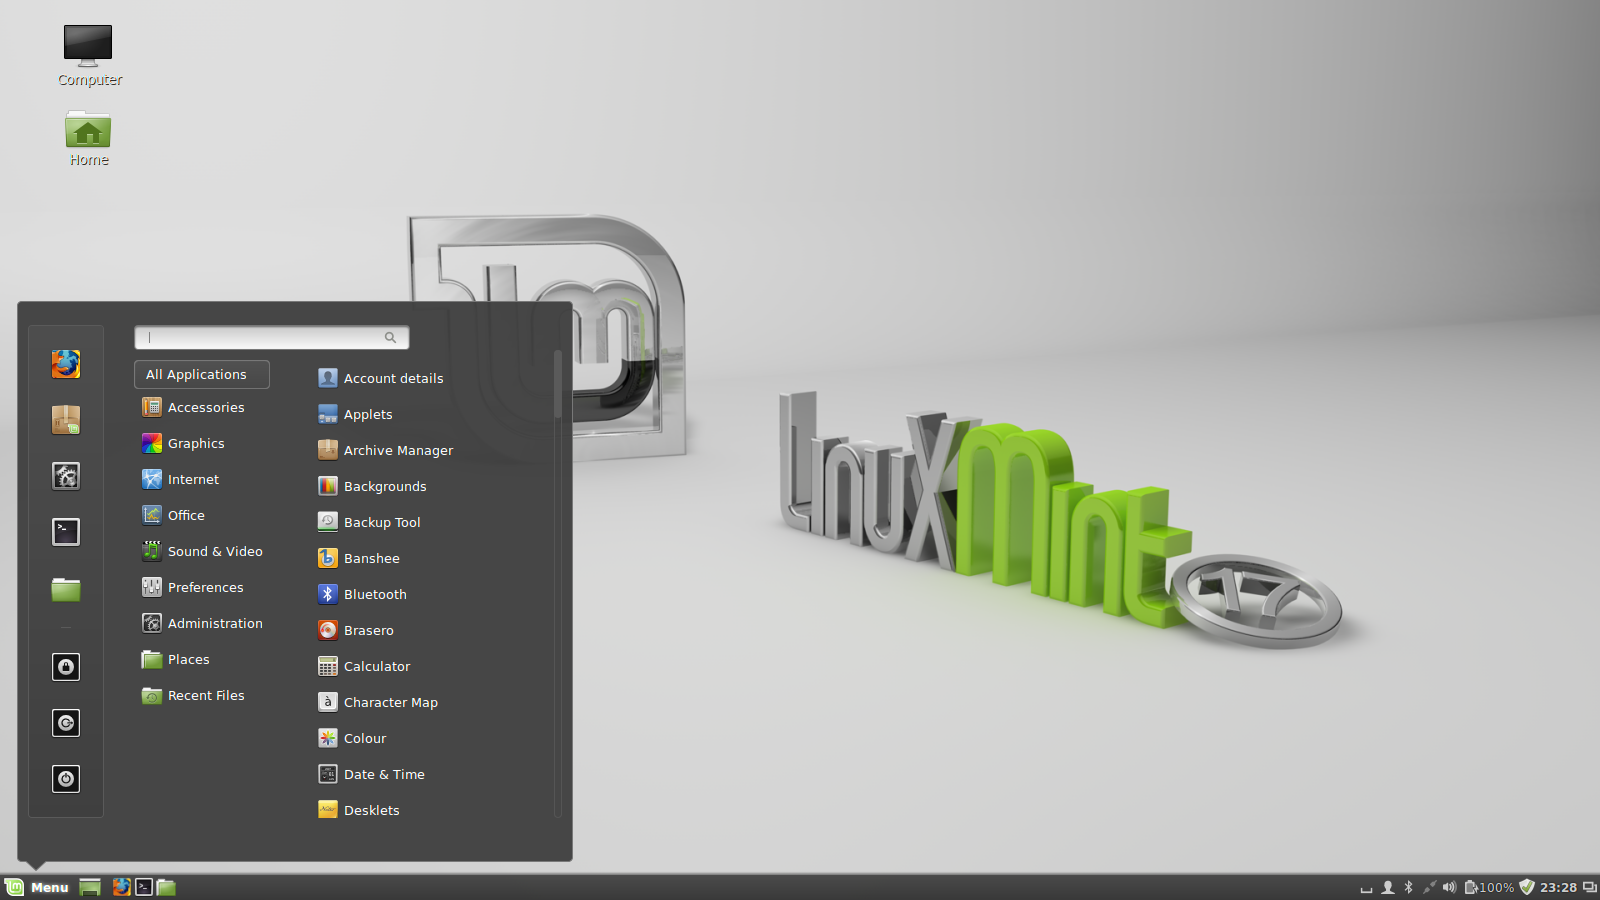
First Impressions
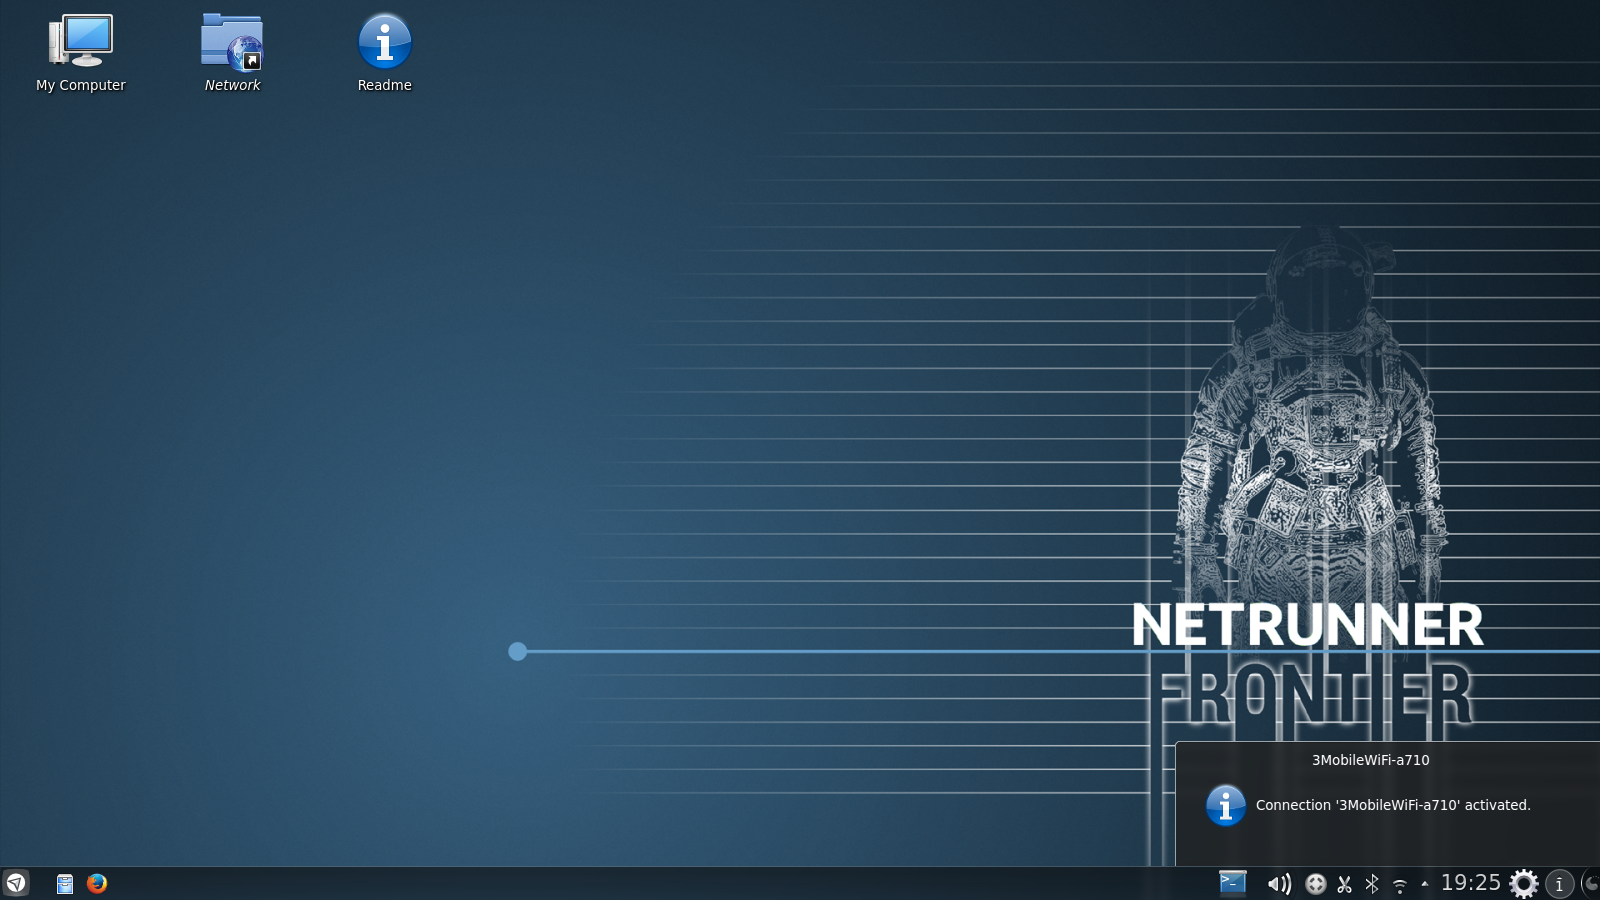
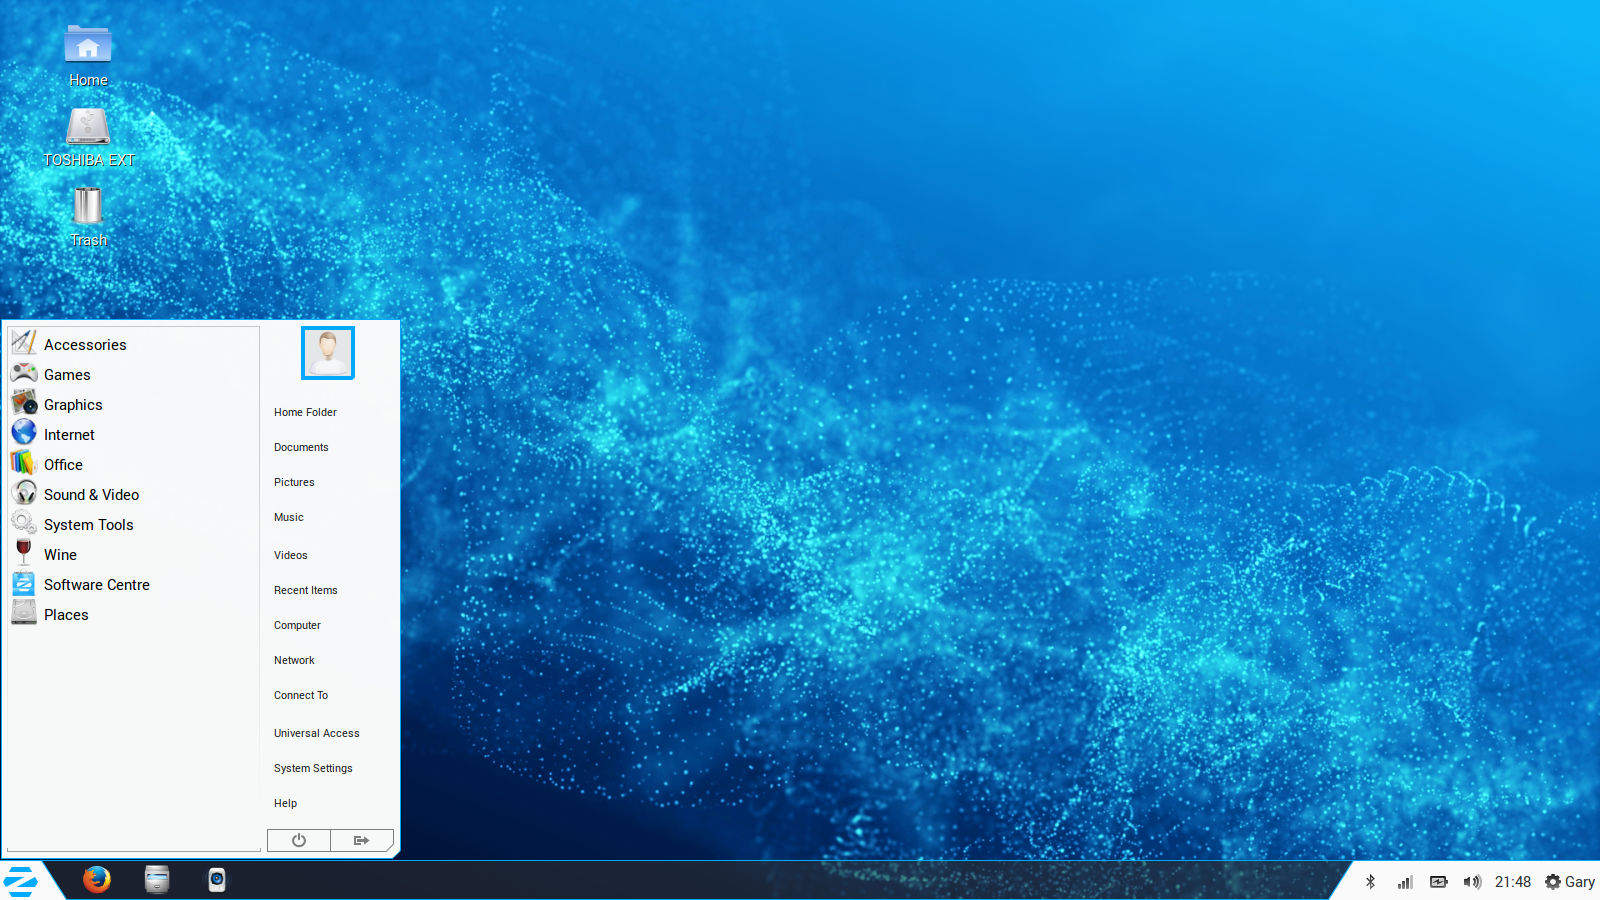
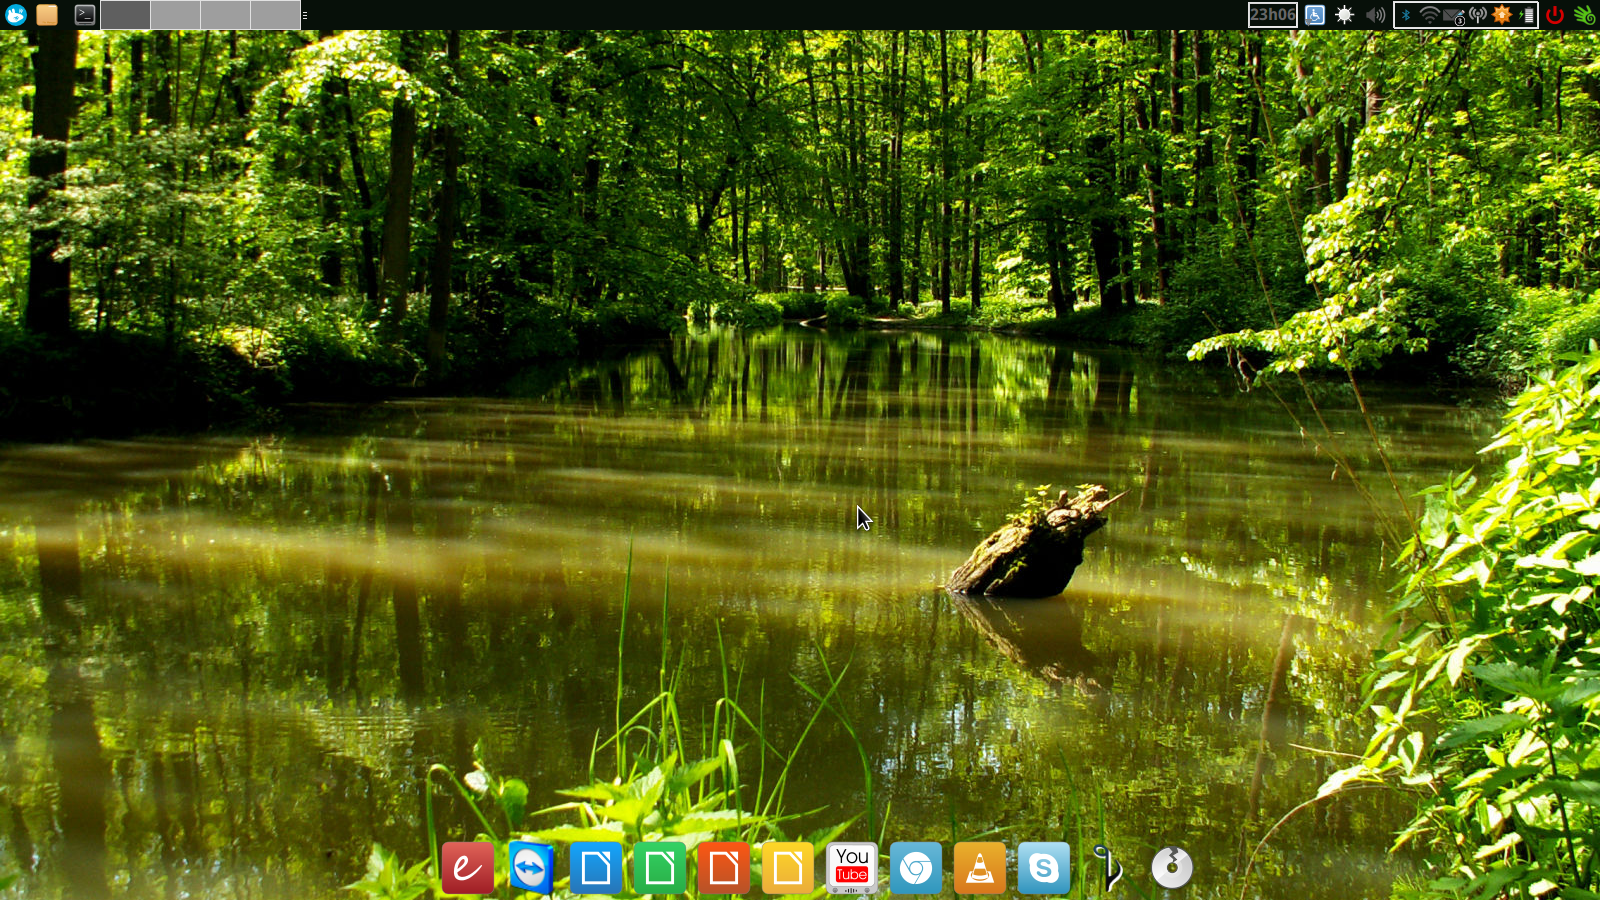
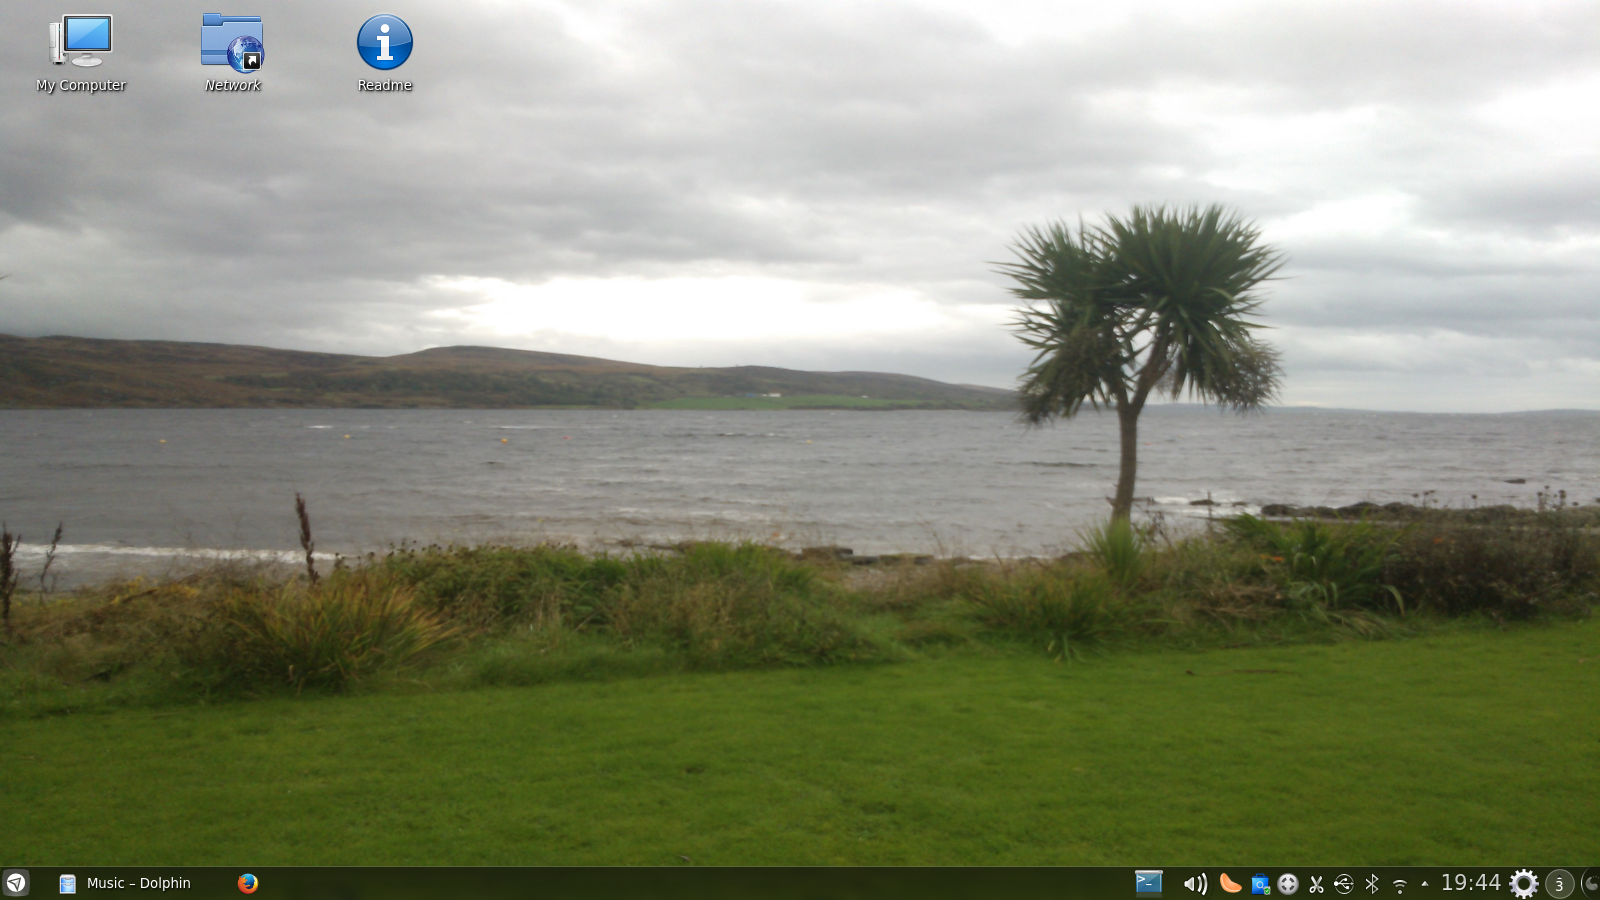
Netrunner boots into a plain looking desktop. As with Linux Mint everything should look familiar to most people who have used computers before.
There is a panel at the bottom with a menu and quick launch icons in the bottom left and a system tray in the bottom right.

There are also some icons on the desktop. The "My Computer" icon shows you details about your computer such as the processor, memory, disk usage and operating system. The "Network" icon lets you connect to network drives. Finally the "Readme" takes you to the Netrunner website which contains some useful tutorials.

The quick launch part of the panel has an icon which brings up the menu, access to the file manager and an icon for the Firefox web browser.

The system tray has a multitude of icons which by default are as follows:
- a terminal window
- audio settings
- software updates
- contacts
- clipboard manager
- bluetooth
- network settings
- clock
- search bar
- notifications
- activities

To add icons to the favourites list, right click on them in the menu and select "Add to favourites".
Customising the desktop
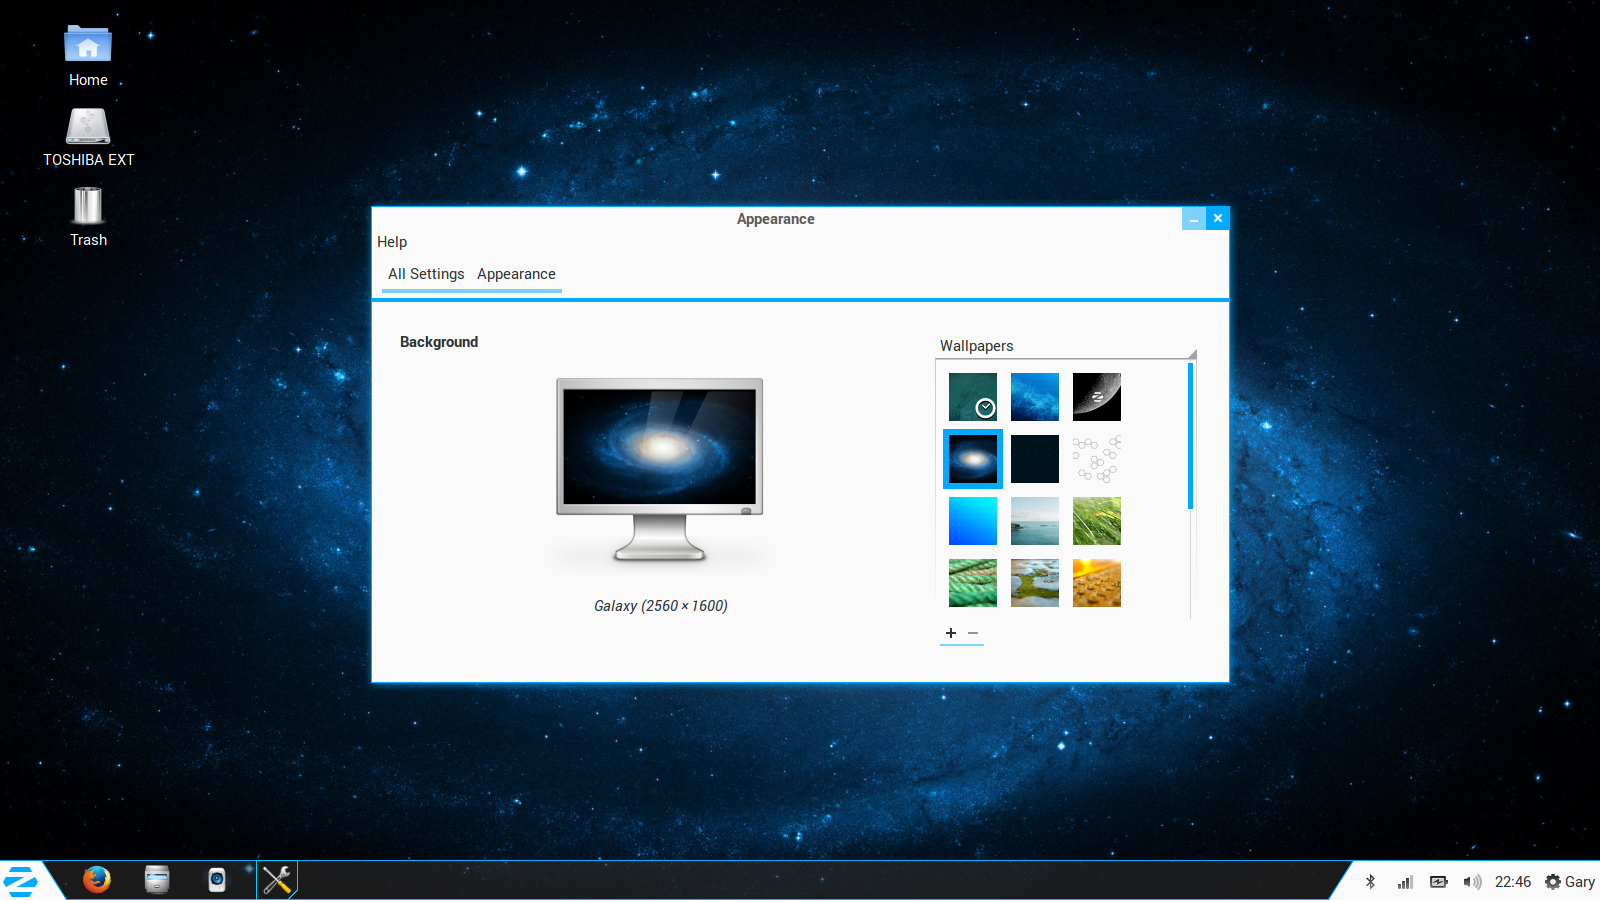
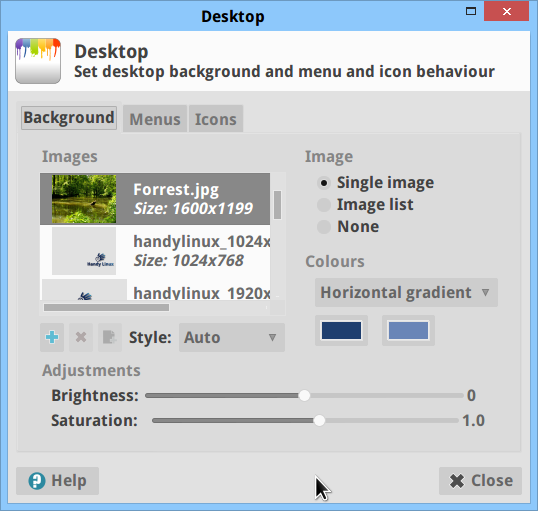
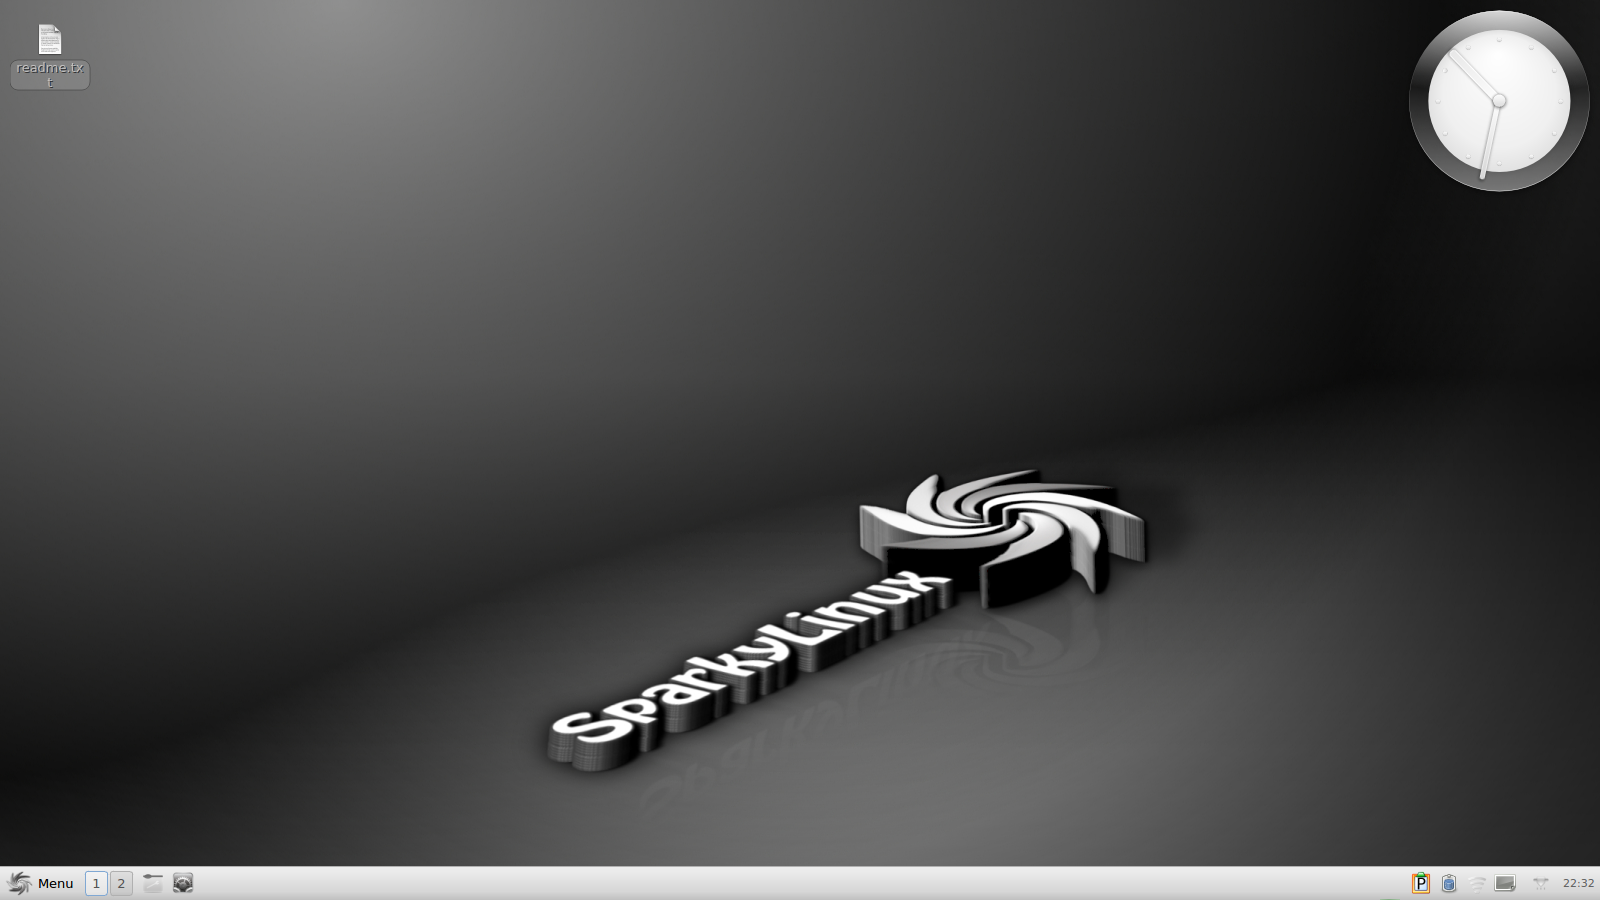
The KDE desktop is highly customisable and there is just too much to discuss for including in this review.Starting off nice and easy though you can change the desktop wallpaper. Simply right click on the desktop and select "Netrunner Desktop Settings".
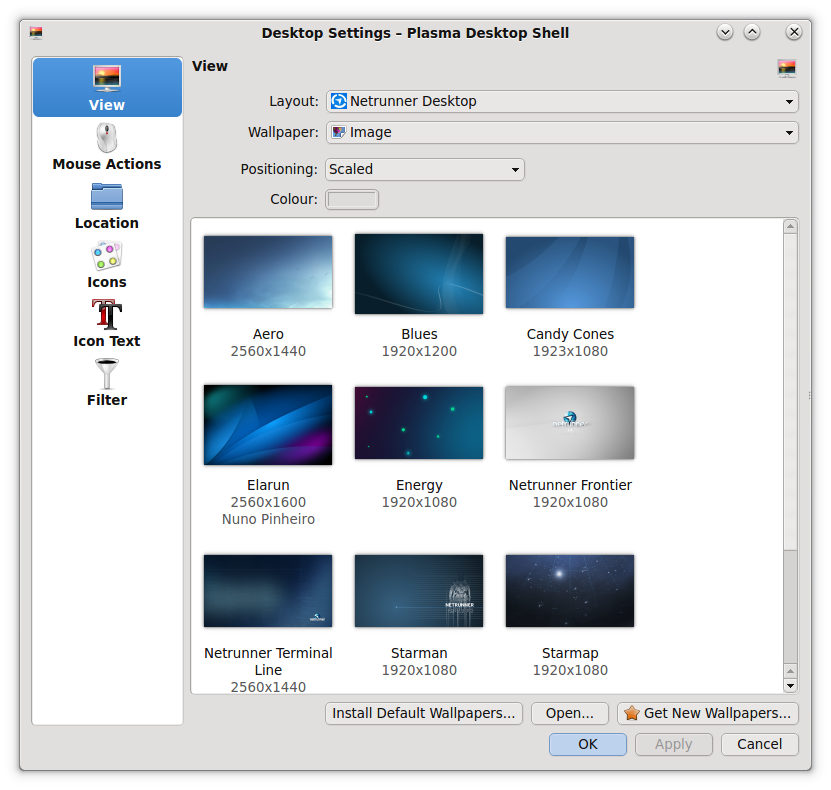
There are a number of wallpapers available with Netrunner and they all appear to have a very blue theme to them.
You can choose your own wallpaper by clicking on the "Open" button and finding the image you wish to use or you can click the "Get new wallpapers" button to search online for more.
You can adjust the items that appear on the panel by right clicking on the panel and clicking "add panel items". You can also add new panels to the display.
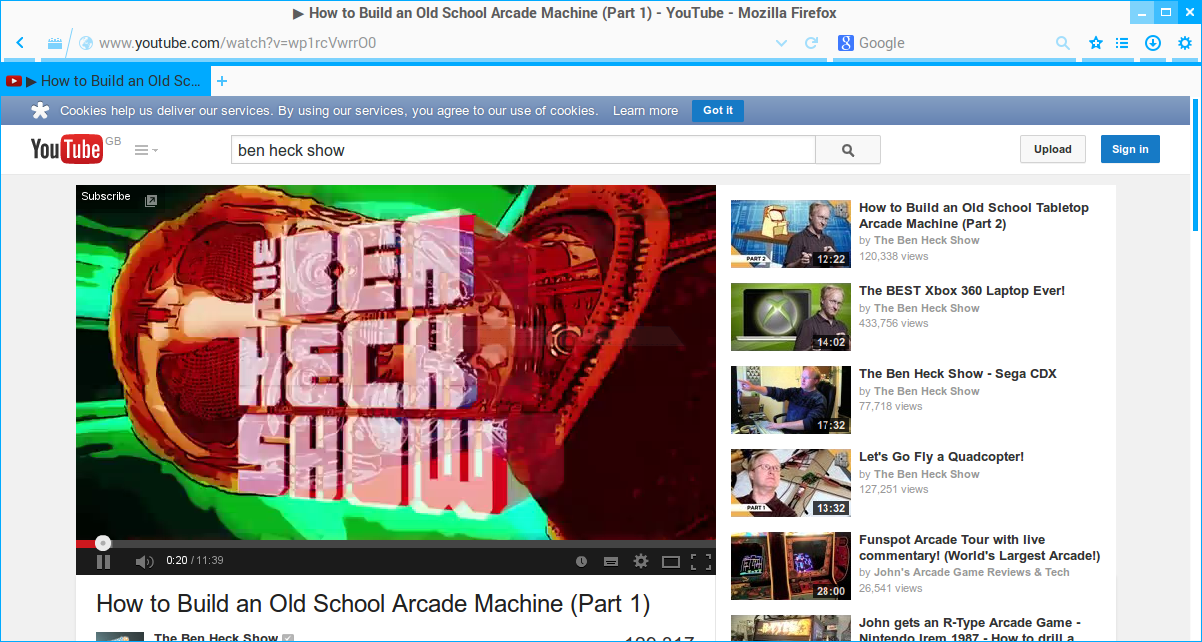
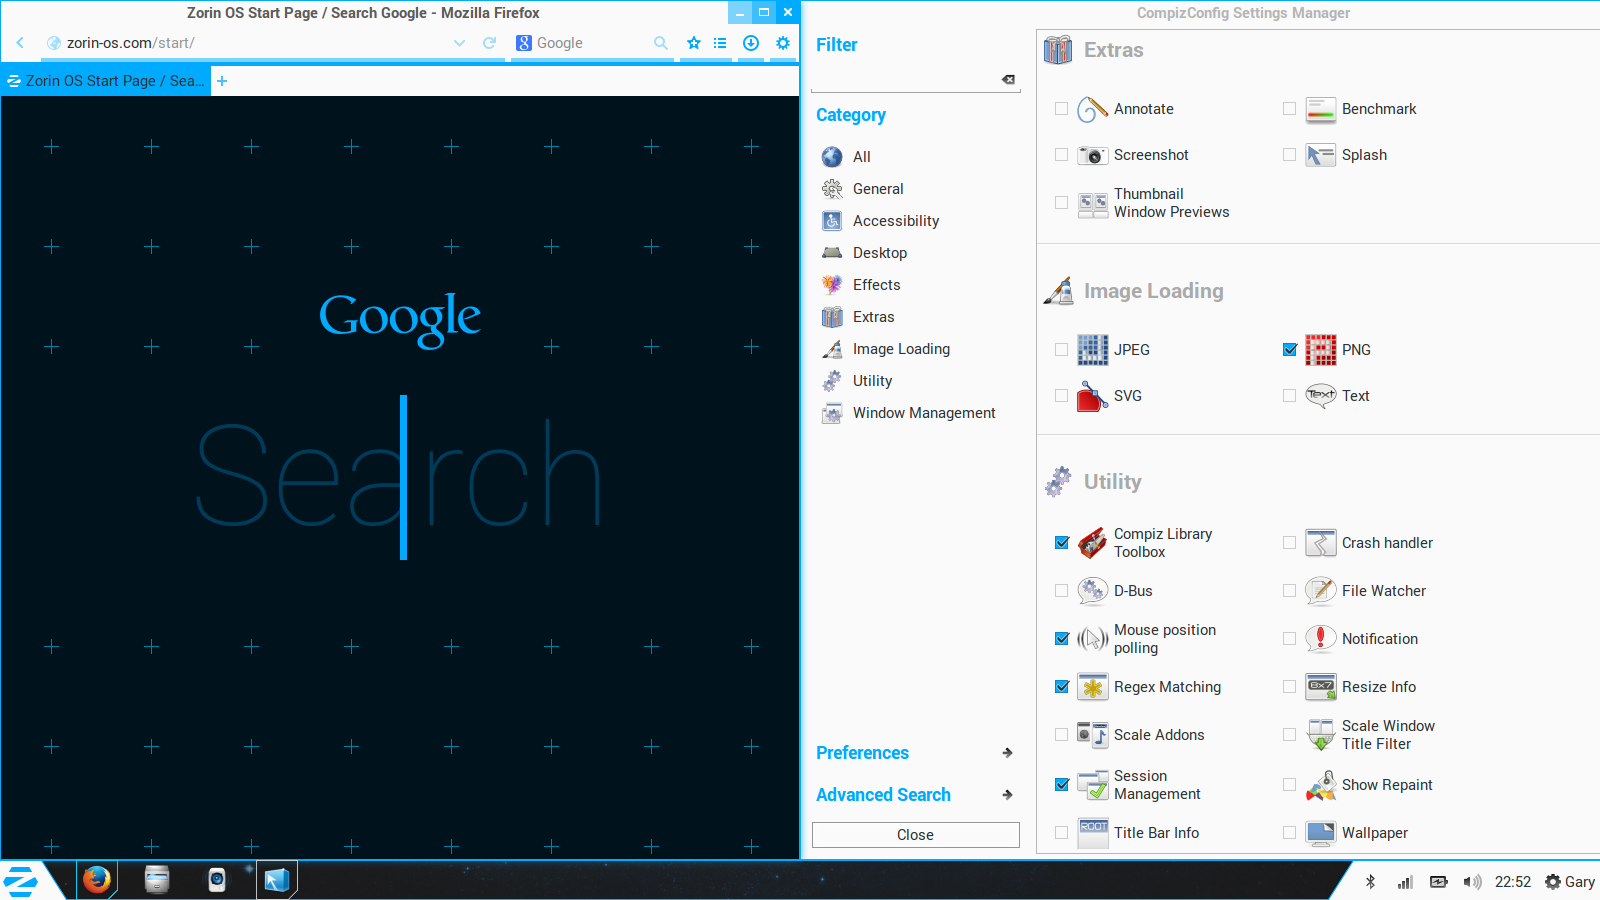
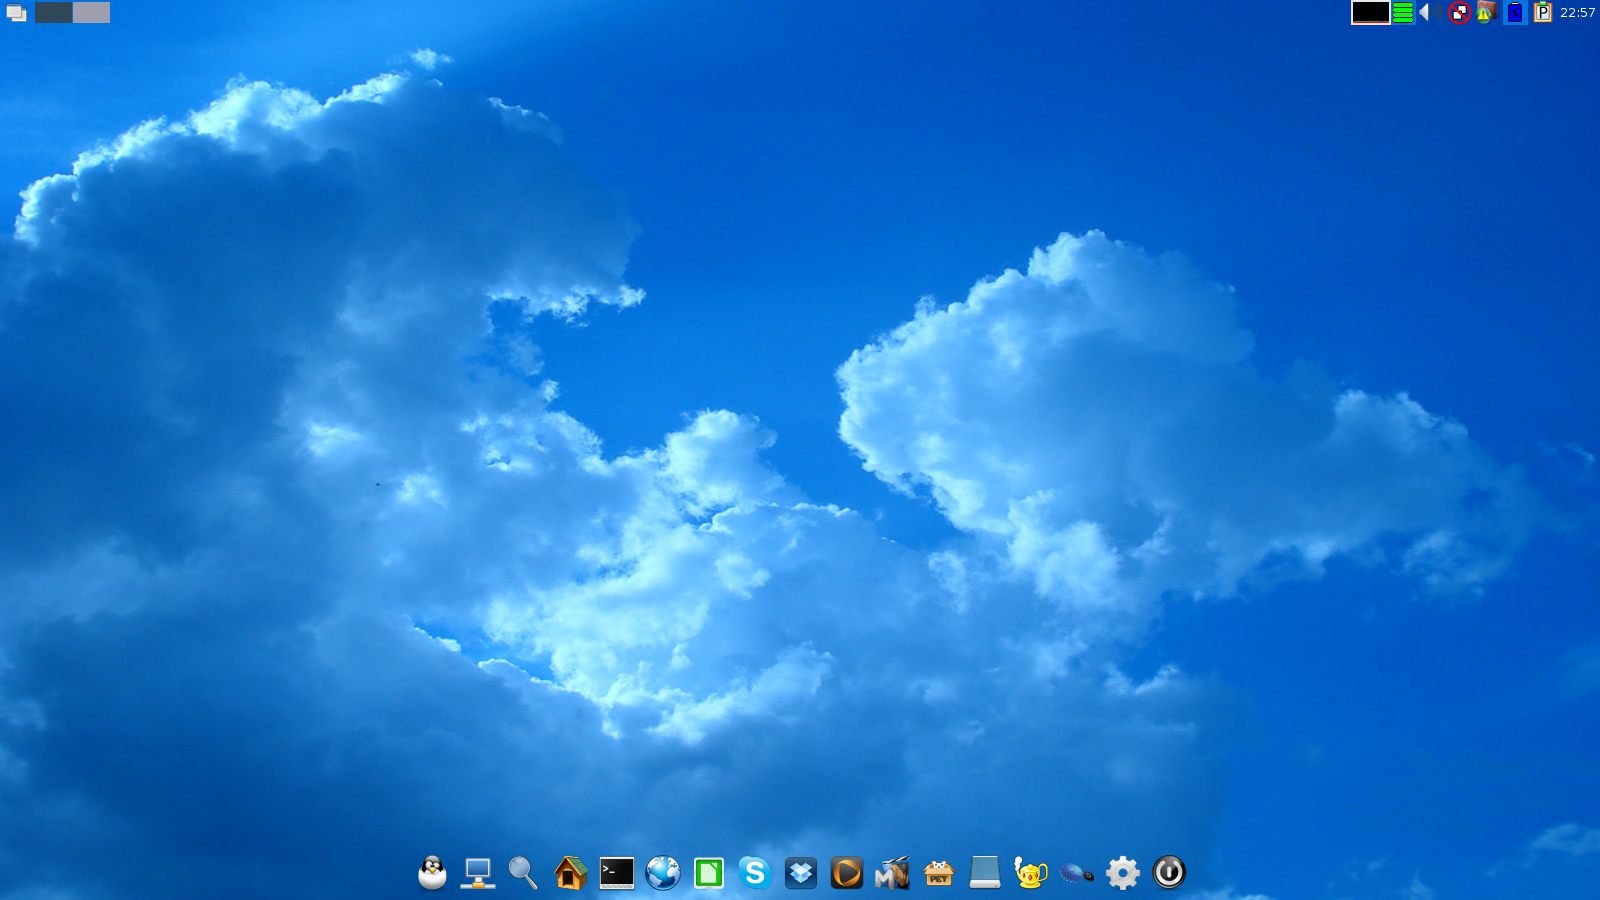
The KDE desktop also has the concept of activities which is like a new play on the virtual workspaces concept.
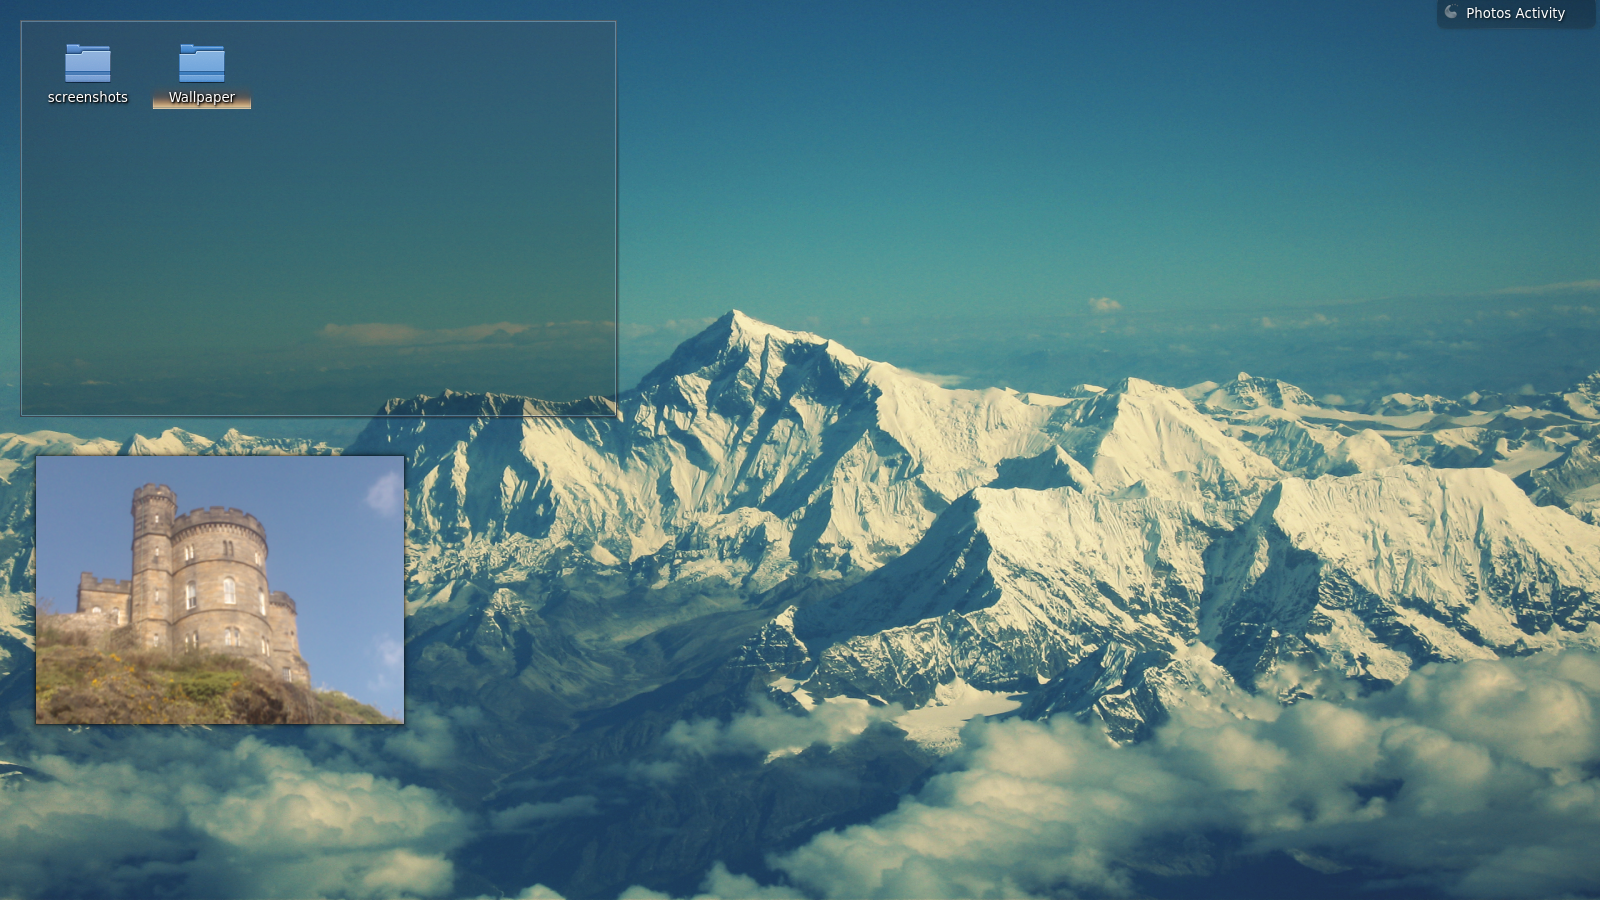
The choice of activities isn't as expansive in Netrunner as it is for openSUSE but you can download more if you need to.
The above image shows the photos activity.
Connecting to the internet
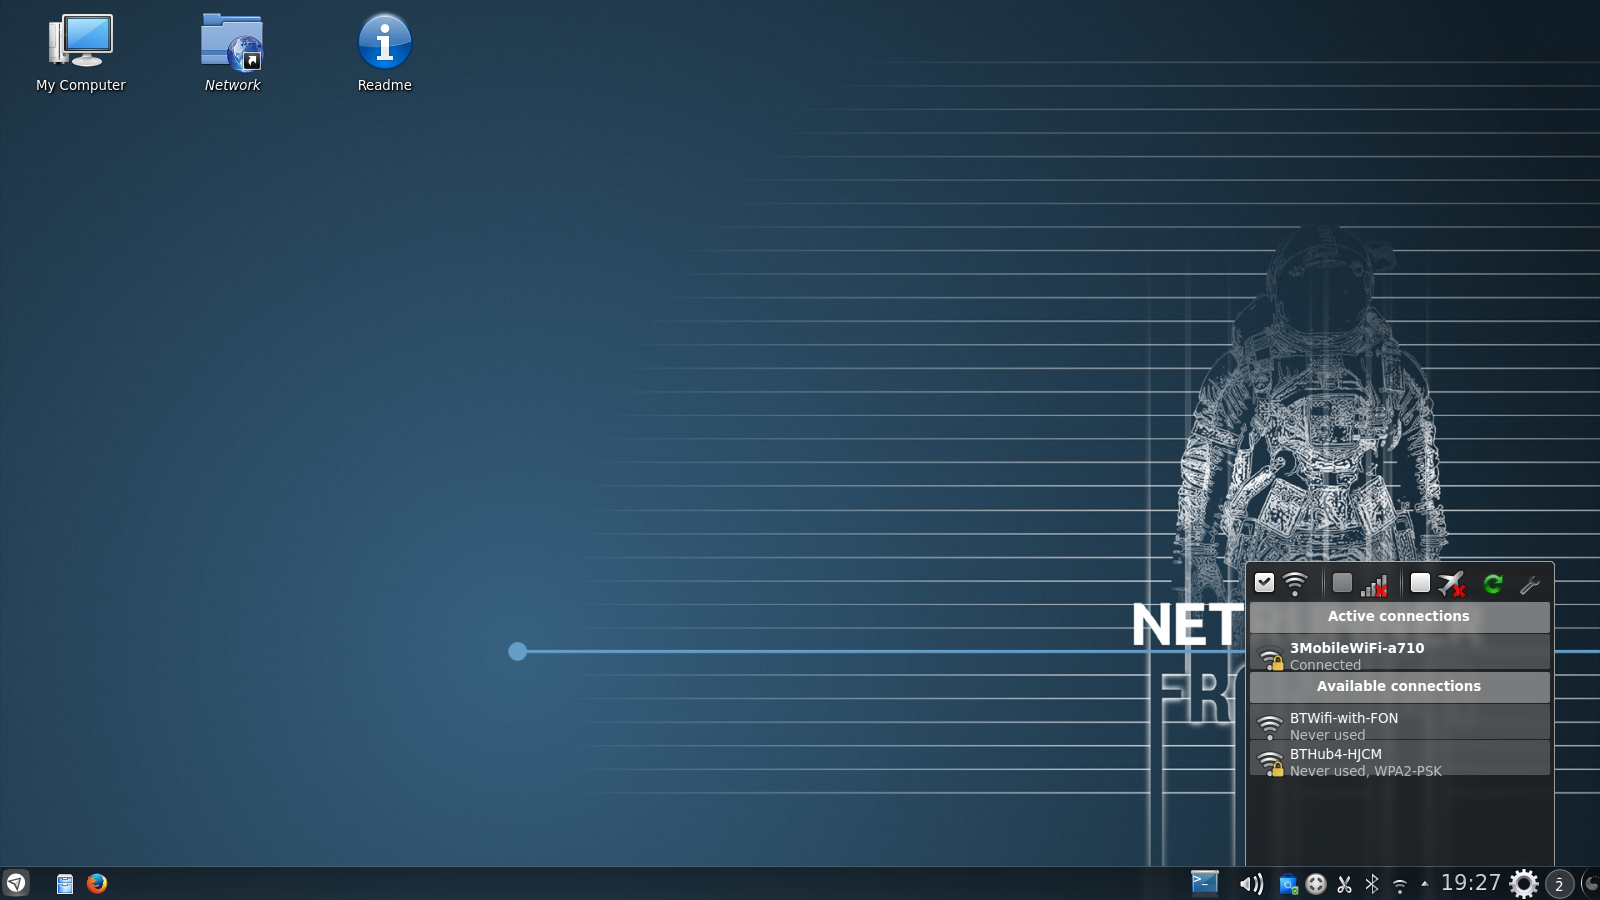
As long as you have a fairly standard network card, connecting to the internet should be as easy as clicking on the network icon in the system tray and choosing your wireless connection.
You will need to enter the security key if one is required.
The default web browser in Netrunner is Firefox.
Flash and MP3

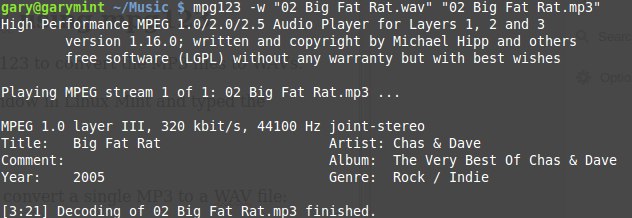
Netrunner has everything you need to get started installed by default and as such Flash videos work and you can play MP3 audio without installing any further software.
Applications
Netrunner has a really good set of applications installed at the outset.Games

- Burgerspace
- Chess
- Duckhunt
- Frozen Bubble
- glTron
- GNUDoQ
- KBreakout
- KDiamond
- KMahjongg
- KDiamond
- KMines
- KPatience
- KSnake
- KDuel
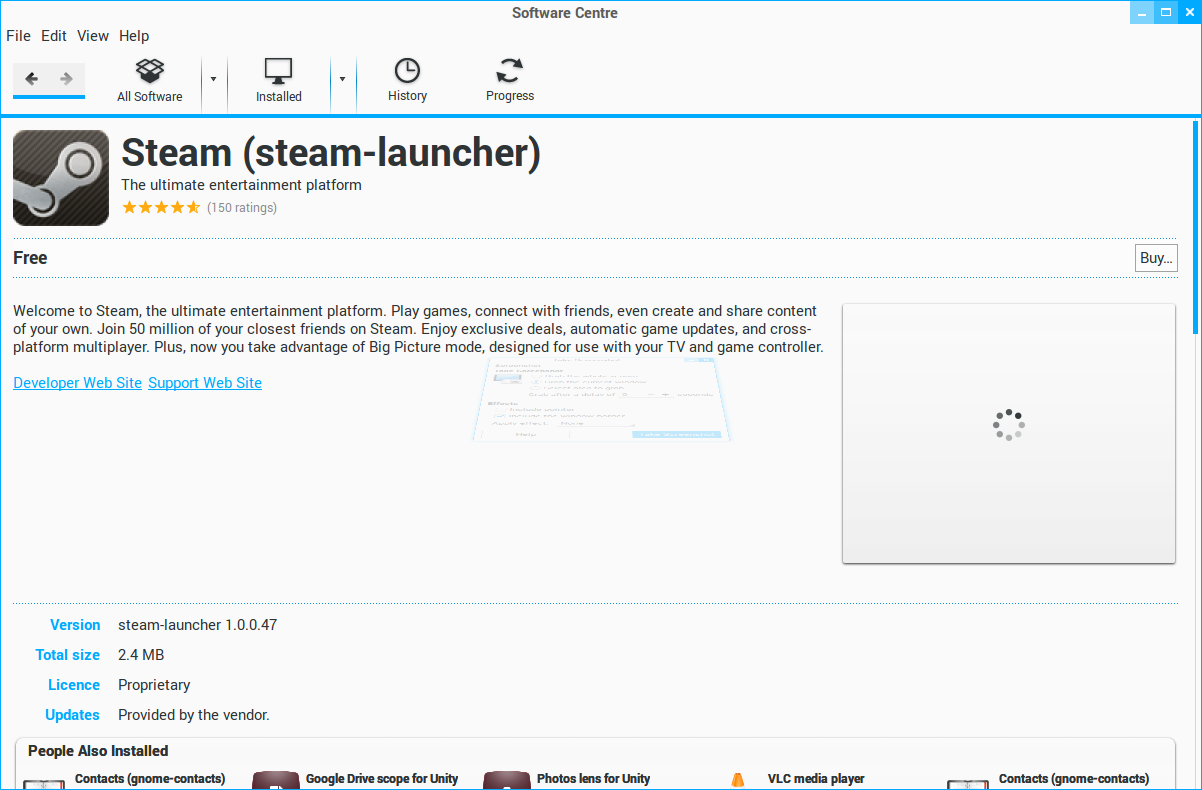
- STEAM
More importantly is the inclusion of STEAM. I think the thing that annoys me with STEAM (and this is the same with every distribution that includes STEAM) is that as soon as you click the icon it downloads 200+ megabytes of updates.
STEAM is the best thing to ever happen to Linux gaming and provides 500+ games for the Linux desktop.
Graphics
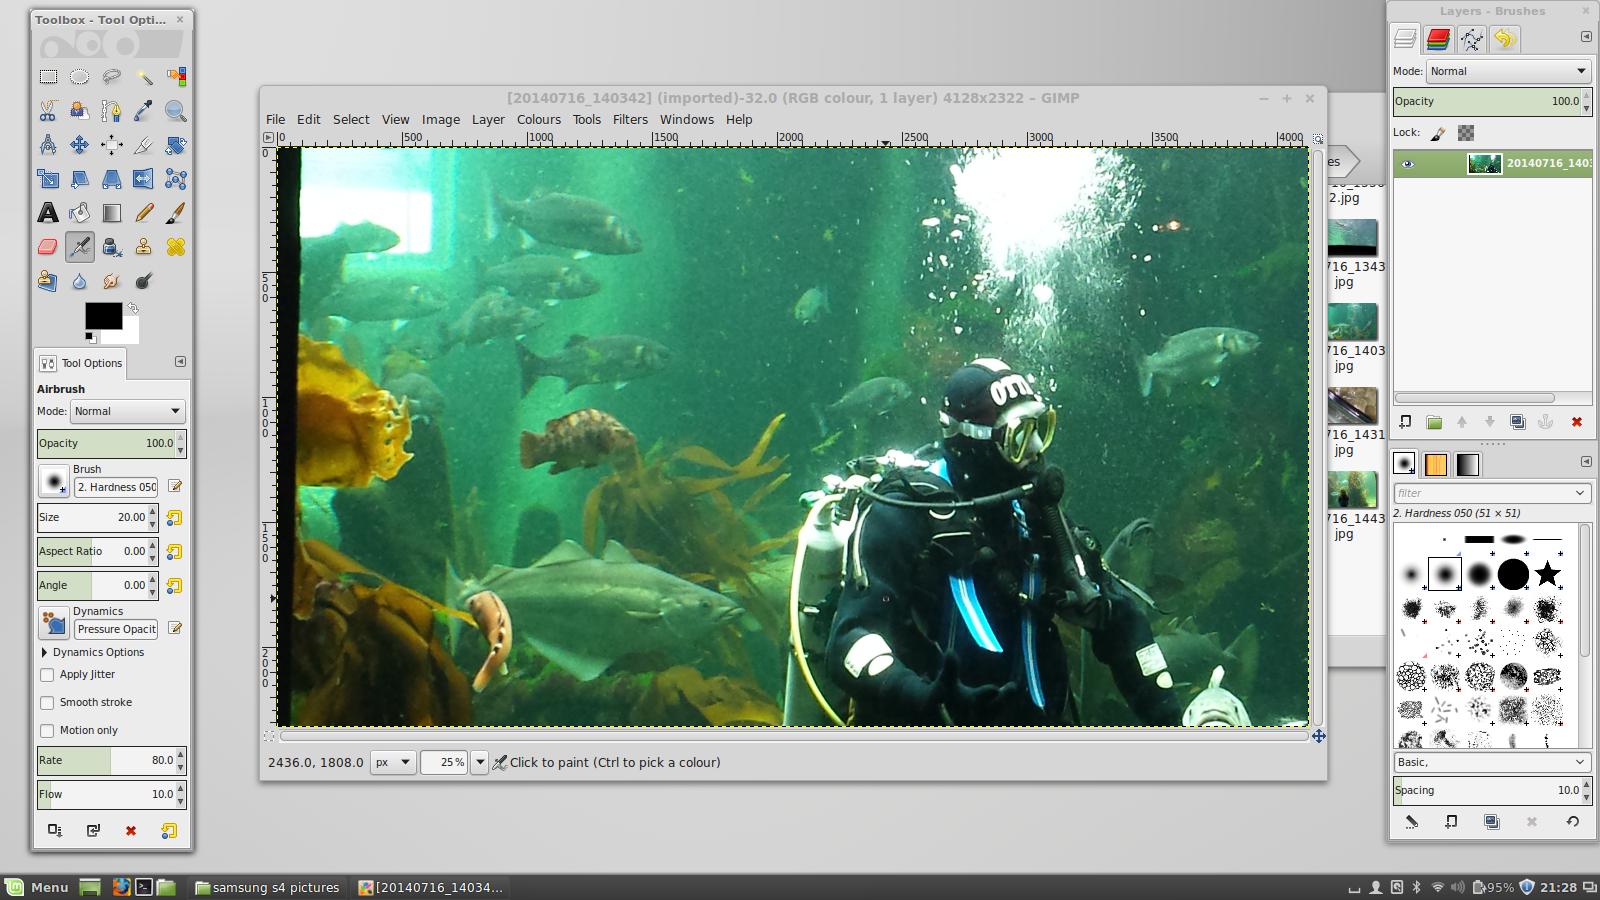
- GIMP Image Editing
- Gwenview Image Viewer
- Kamoso Webcam Viewer
- Karbon Vector Graphics Drawing Application
- Krita Digital Painting
- KSnapshot Screenshot
- Skanlite Scanning Application
Internet
- FireFox Web Browser
- Kontact Address Book
- Pidgin Instant Messenger
- QTransmission BitTorrent
- Skype
- Telepathy Instant Messenger
- Thunderbird Email Client
Skype is a good default choice.
Multimedia
- Clementine Audio Player
- KDenlive Video Editing
- KMix Audio Mixer
- Qmmp Audio Player
- VLC Media Player
- Vokoscreen Screencasting

I wrote an article not so long ago comparing Clementine with Amarok in which I mentioned the virtues of a clean easy to use interface. Clementine really is the best that KDE has to offer.
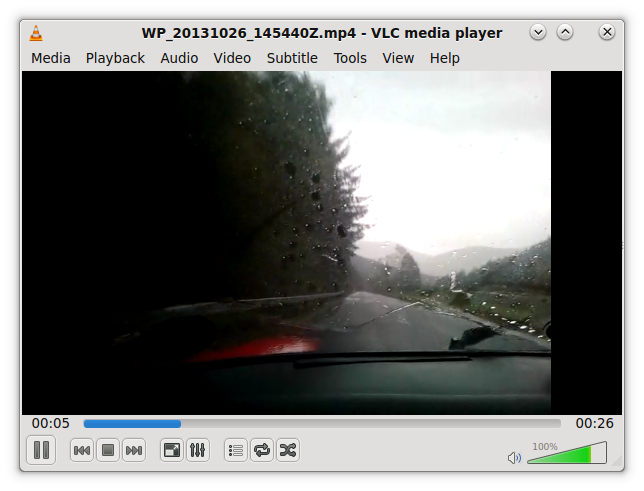
For watching videos there is the VLC media player, which allows you to watch videos that are local to your PC or online.
Netrunner also includes a video editor and screencast tool which is something you don't see in many other distributions but which are welcome inclusions.
Office

- LibreOffice Writer
- LibreOffice Calc
- LibreOffice Impress
- LibreOffice Base
- LibreOffice Math
- Okular
Okular is included as a PDF viewer.
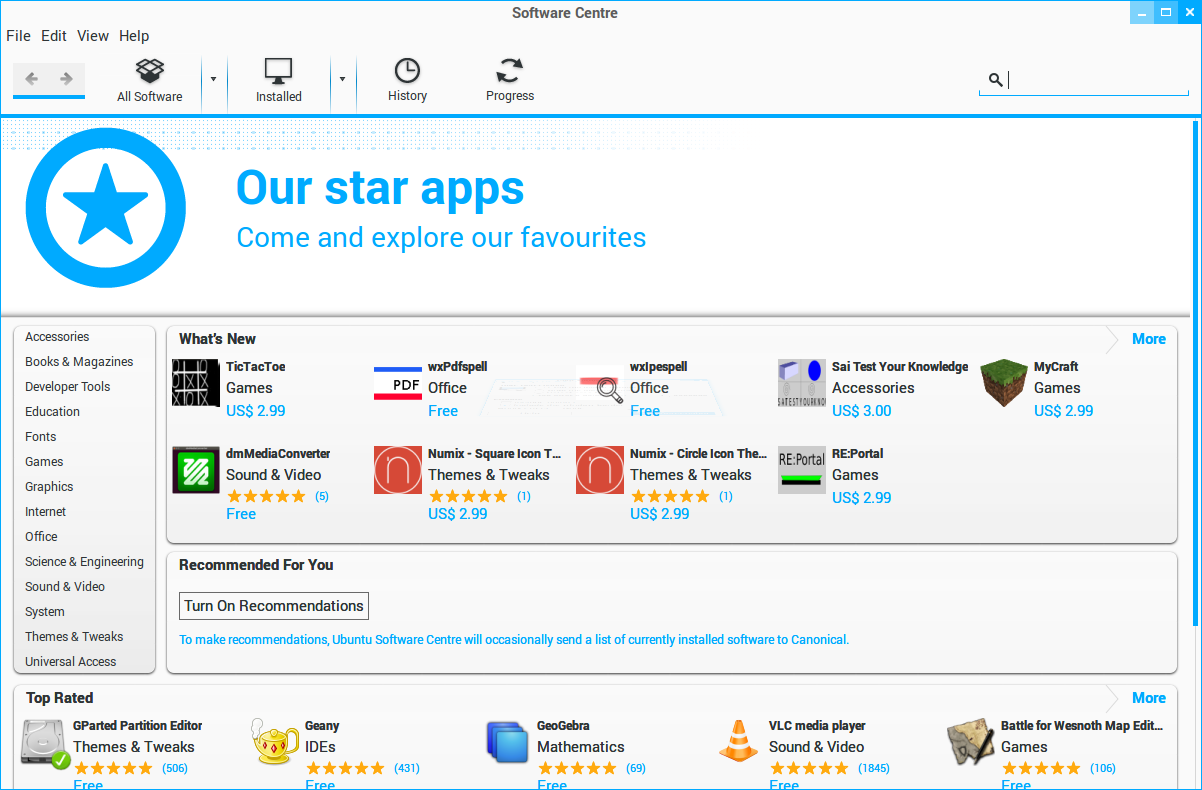
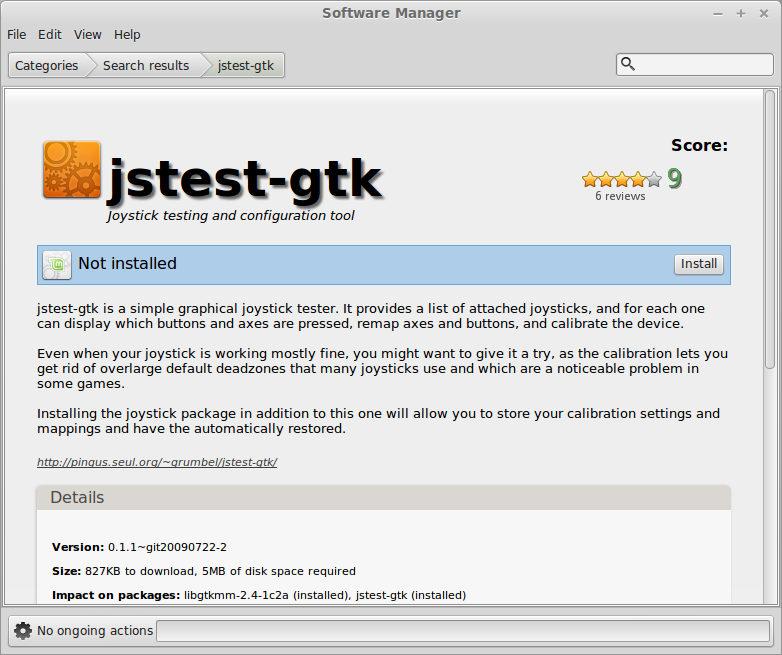
Installing Applications

For package management, Netrunner 14 uses MUON.
The MUON graphical package manager is fairly straight forward and isn't unlike the Mint package manager.

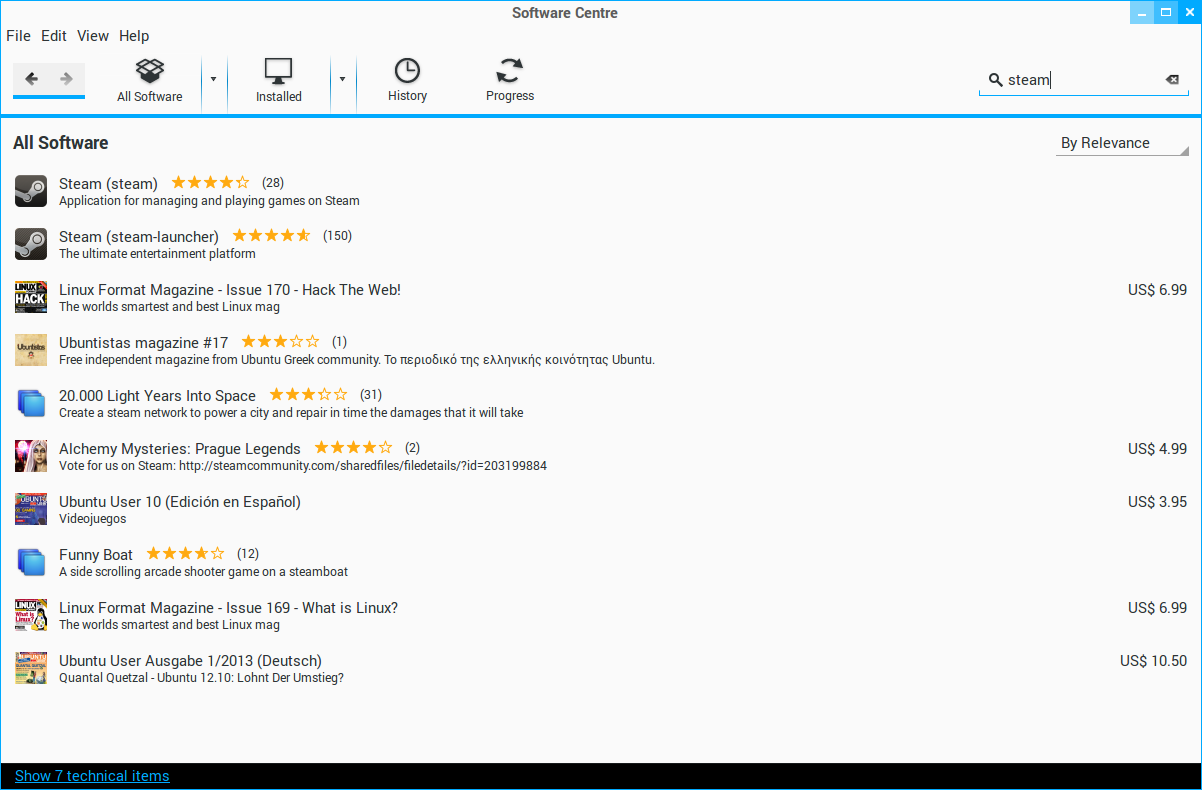
If you know the name of the package or you have a particular type of package you can search by keyword or name.
If you just want to browse then you can select the category you wish to view and scroll down the list.

Double clicking on one of the items brings up a description of the application, reviews and the file size.
To install the package all you have to do is click "Install".
If you prefer a more powerful package manager, Synaptic is available as well.
Issues
I used Netrunner 14 for a week before writing the review and I never really came across any issues.Audio, video and basic functionality behaved themselves nicely.
Summary
For the Everyday Linux User the future is bright. Netrunner is another great example of how good Linux can be.Users can get up and running with Netrunner in about 15 to 20 minutes. Most computer users should be able to perform the most common tasks such as browsing the internet, watching videos and listening to music without too much thought.
The most challenging aspect will be customising the KDE desktop and learning the finer points about activities. How much effort each user puts into this is up to the individual concerned and is certainly not mandatory.
All in all, Netrunner is definitely worth checking out.