Introduction
There are hundreds and hundreds of Linux distributions available at this point in time. Most users stick with the major Linux distributions. But what is a major Linux distribution?
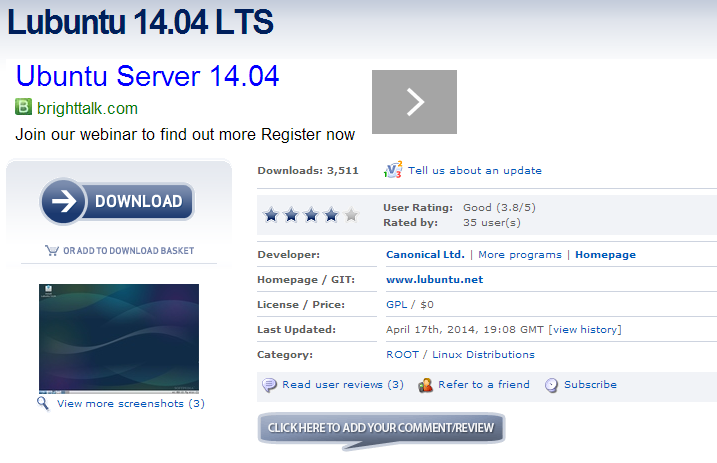
Off the top of my head I can think of Ubuntu, Mint, Debian, Fedora, Arch, openSUSE, PCLinuxOS, Zorin, Elementary, Mageia, Slackware, Gentoo and Puppy. Then there are the Ubuntu spin-offs such as Xubuntu, Kubuntu, Lubuntu, Gnomebuntu and Edubuntu
Off the top of my head I can think of Ubuntu, Mint, Debian, Fedora, Arch, openSUSE, PCLinuxOS, Zorin, Elementary, Mageia, Slackware, Gentoo and Puppy. Then there are the Ubuntu spin-offs such as Xubuntu, Kubuntu, Lubuntu, Gnomebuntu and Edubuntu
Behind all these distributions there are a host of other distributions that you may have heard of but not yet tried. Peppermint, Manjaro, Point Linux, Crunchbang, Kali, Bodhi, Knoppix, SLAX, SolydXK, Antix, Chakra, OS4, Korora, KWheezy and SparkyLinux. I could go on and on.
Every year we lose some distributions and quite often it is a shame because they were good. For example in the past couple of years we have lost SolusOS and Fuduntu. Fuduntu had some really amazing artwork and was easy to setup and use. Alas the way Fuduntu was being developed was no longer sustainable.
Today I am reviewing what looks to be a really good distribution, Makulu Linux 6 - Imperium Edition.
What is Makulu 6 - Imperium Edition?
The first release in our new 6 series dubbed "Imperium" ( Latin for "power to command" ), also our first Dual Mode Solo Mate Build. This release allows users to customize their settings and software upon installation, Now users can setup their desktop the way they want it with the software they want while still experiencing an "out of the box" Experience, those that don't want an out of the "box experience" will now have an option to turn the system into a "bare-bone" system with a few clicks. MakuluLinux Mate brings users the best of both worlds.The text above was taken directly off the Makulu website.
In essence you get to choose between either having lots of applications or the bare minimum, flashy effects or no effects. It is your call. I will get on to how that works later on in the article.
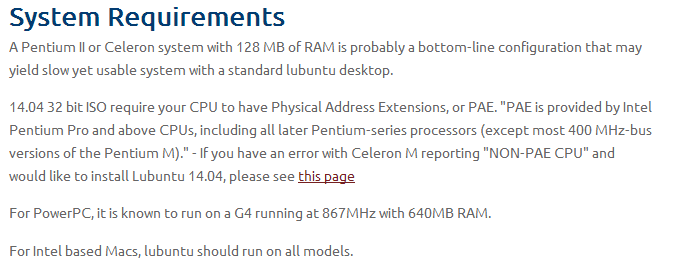
Makulu 6 uses the MATE desktop environment and the minimum requirements are as follows:
- A 32-bit PAE-enabled x86 processor
- 512 MB RAM (1GB recommended for a comfortable usage).
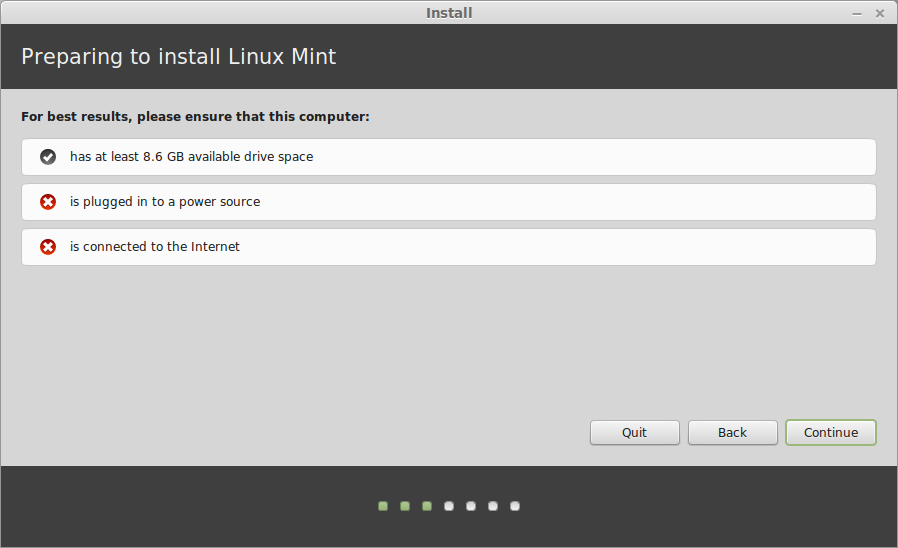
- 8.5 GB of disk space ( Recommended )
- Graphics card capable of 800×600 resolution
- CD/DVD drive or USB port
Makulu is based on Debian testing with Kernel 3.13 and MATE 1.8. It also has full SystemD support. (That was the geeky bit for those that care).
How to get Makulu
You can download Makulu 6 from http://www.makululinux.com/mate.htm. The links are at the bottom of the page.
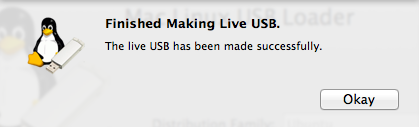
You can burn the Makulu ISO to DVD using your favourite disc burning tool or use UNetbootin to create a bootable USB drive.
If you have a poor internet connection or you would prefer to buy a copy of Makulu 6 then you can do so by clicking this link.
Installing Makulu
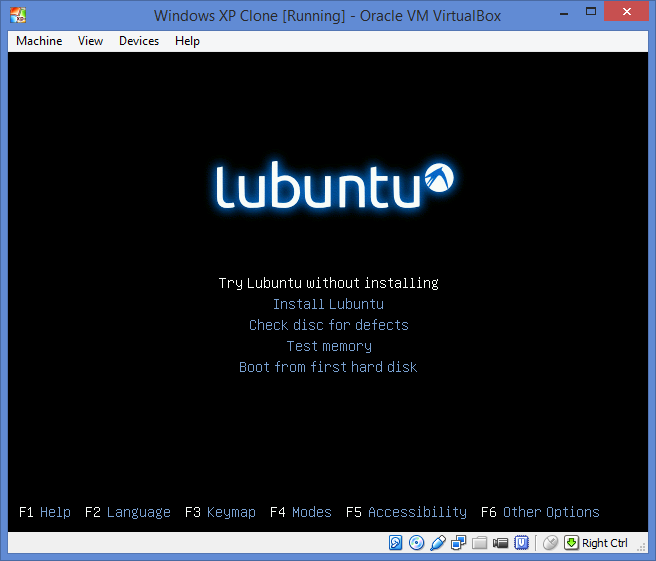
I have written a guide showing how to install Makulu 6 as a virtual machine.
There is also a video provided by Makulu on the live desktop which is available on Youtube which shows how to install Makulu 6.
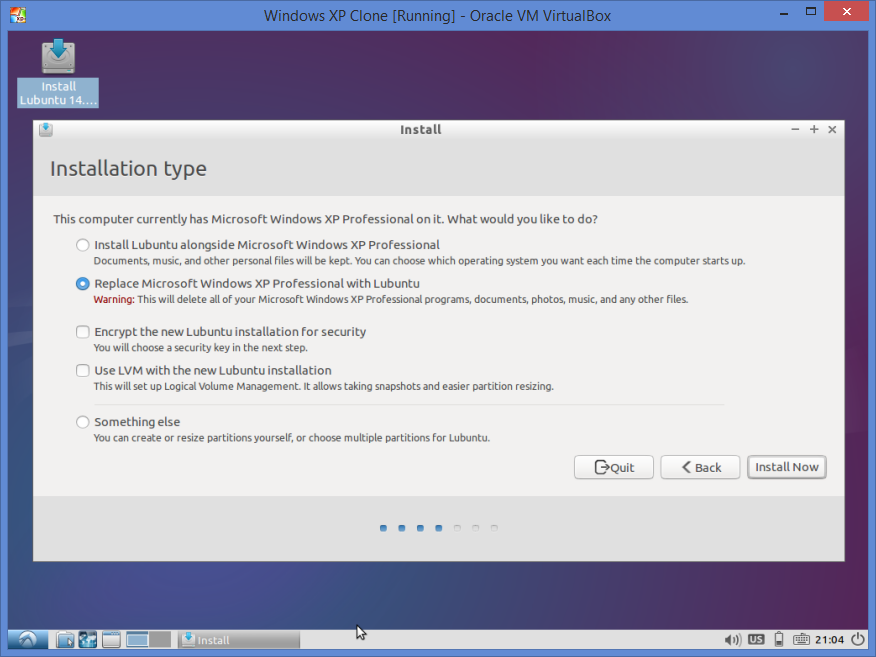
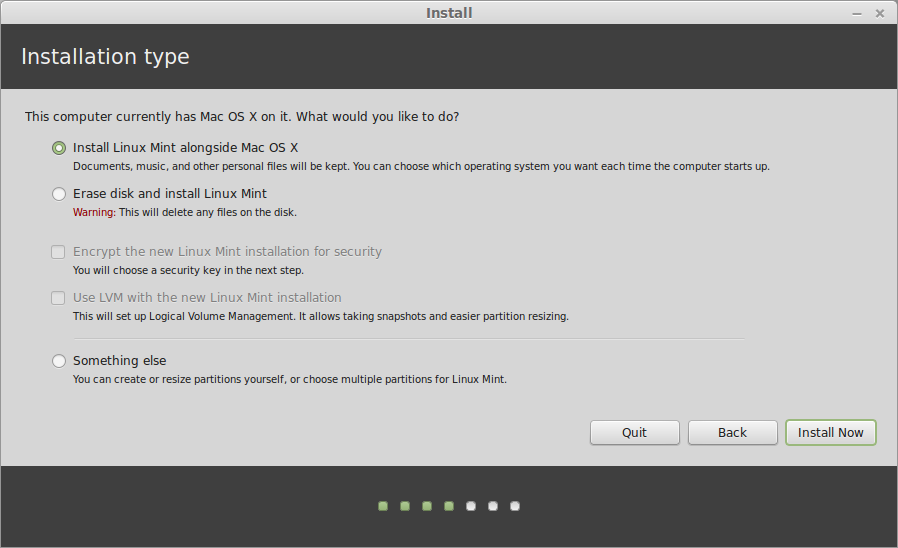
There are basically 2 ways to install Makulu, use the easy option or use the expert installation.
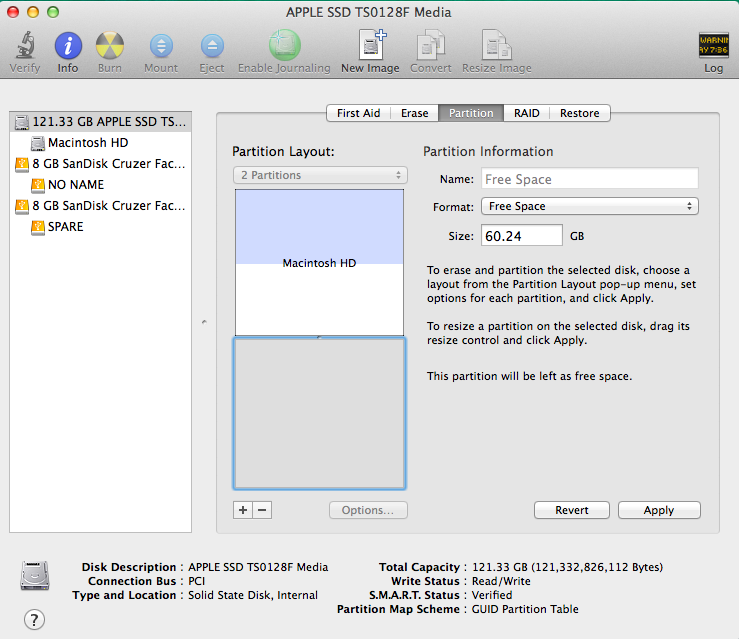
The easy option works great if you are installing in a virtual machine or you are installing on a machine as the only distribution. For dual booting you will need to use the expert installation.
I would recommend watching the video first just to get an overall feel before wiping any disks.
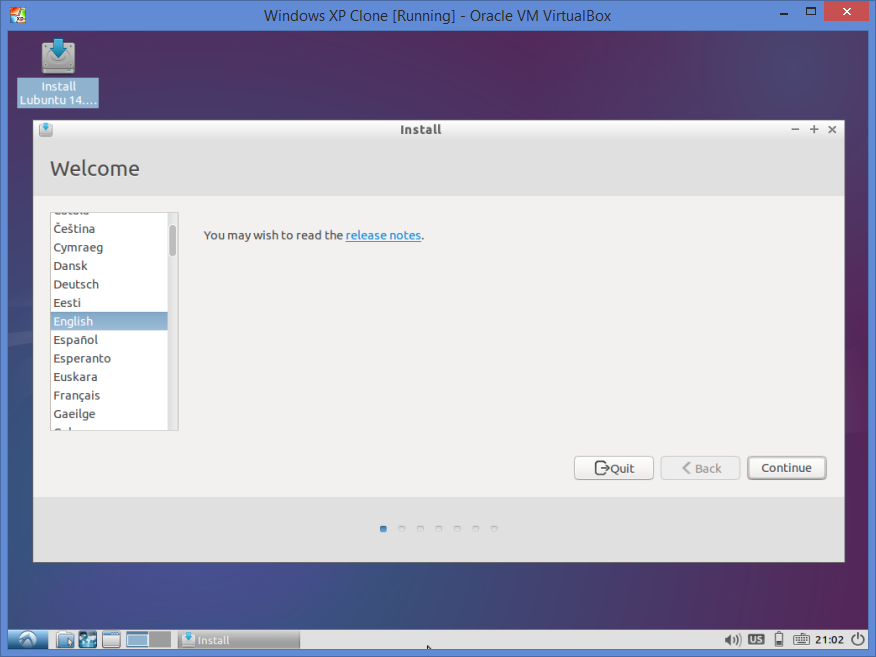
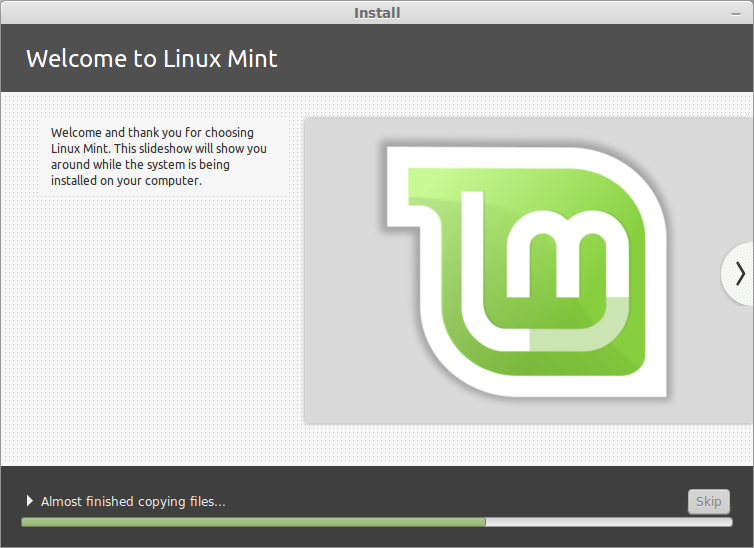
The installation itself has a lot of steps to it and you can see this if you read my guide for installing in a virtual machine.
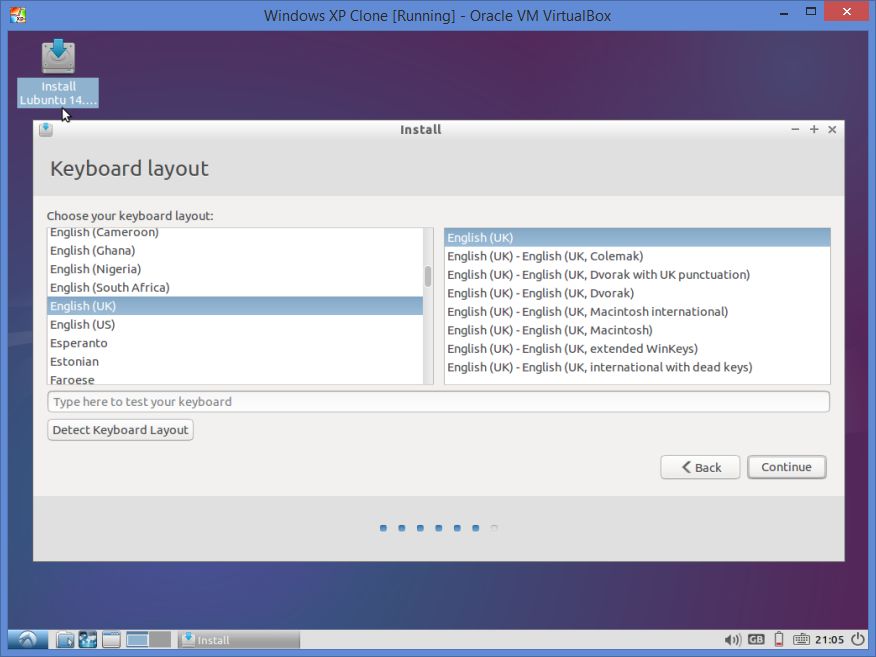
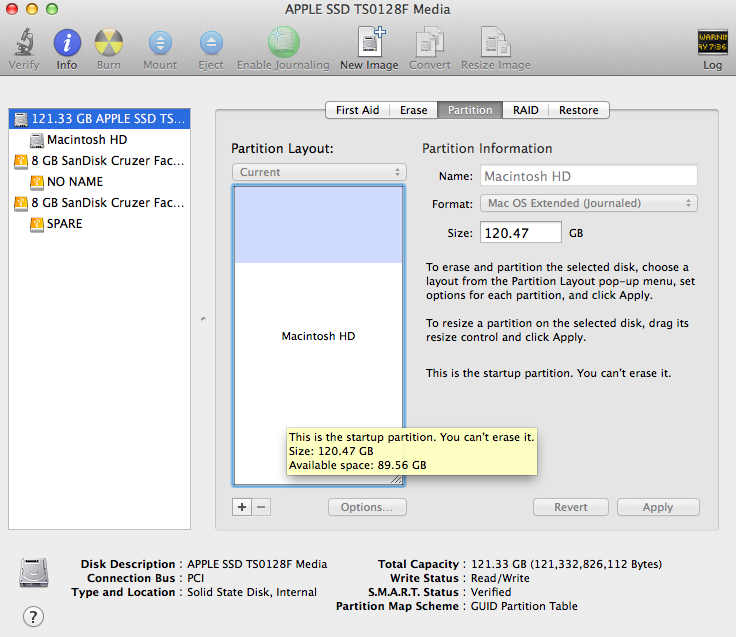
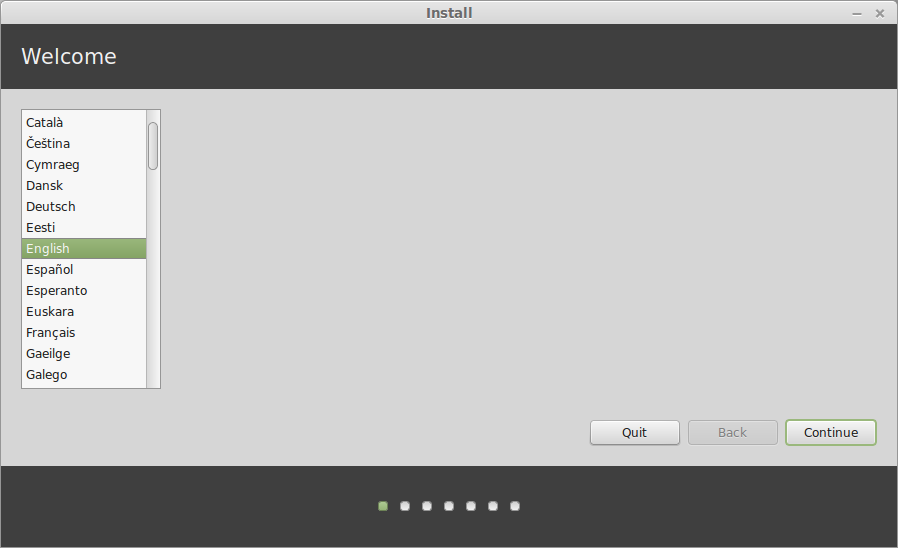
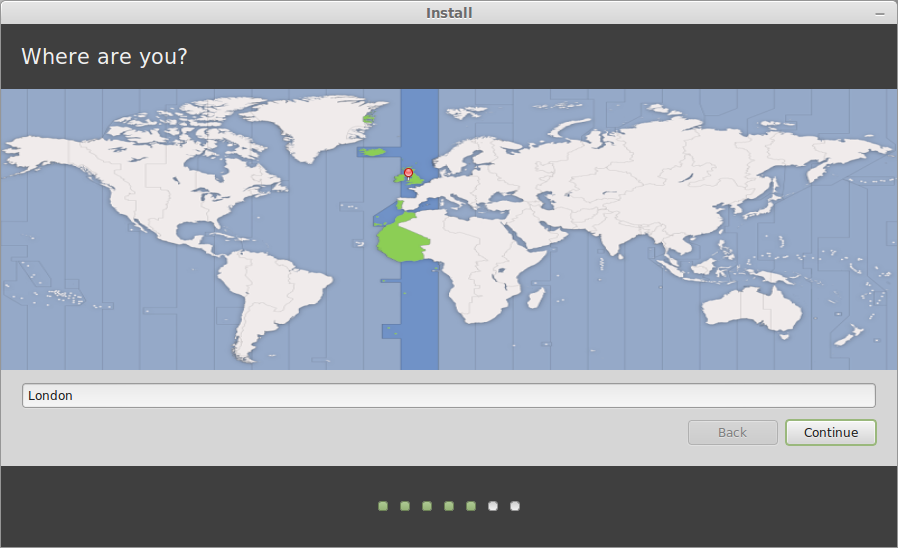
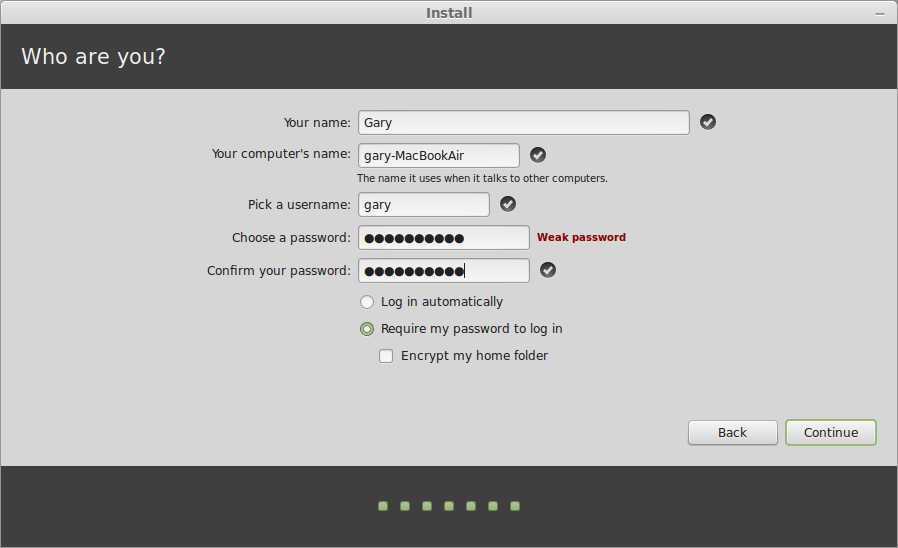
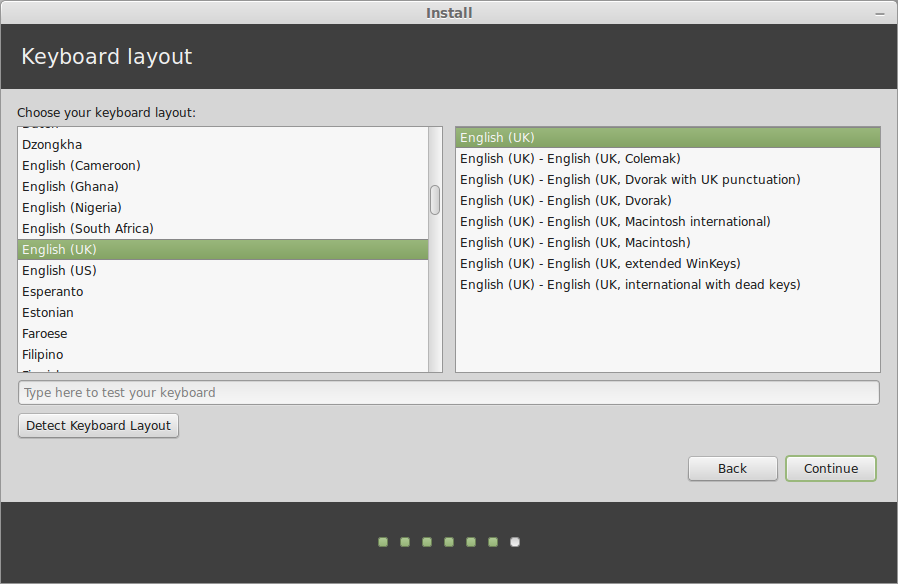
The main steps are quite common though: partition your drives, configure your users, keyboard, locale, timezone, etc.
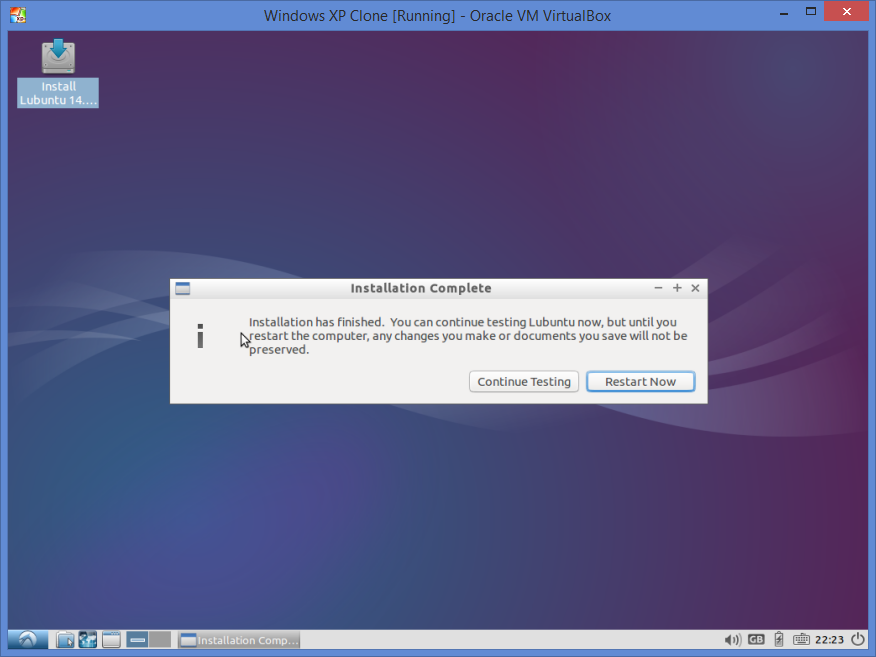
Post installation there is a setup utility that runs which has a host of other questions.
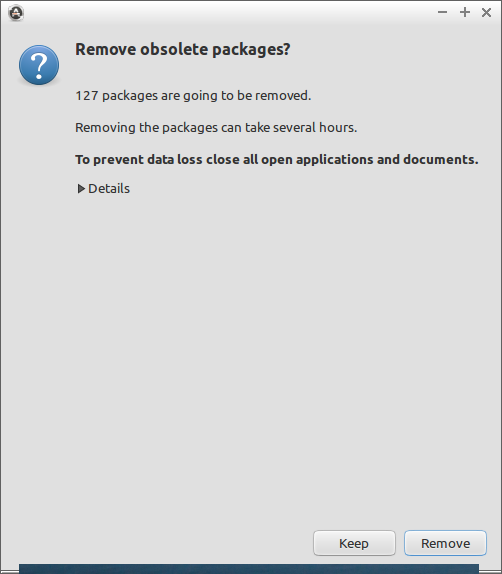
If you look back at the Makulu statement earlier on it says you can have a full installation or a bare bones system.
Everything is installed on your system at the point of installation but during the setup you are asked whether you want to keep all the installed applications or go minimal. If you choose to go minimal then all the installed applications are just removed from the computer again. This is a bit like buying a bacon, lettuce and tomato sandwich and removing the contents so that you can get a couple of slices of bread.
All in all the installation wasn't too tricky although a little more involved than with Mint, PCLinuxOS or Ubuntu.
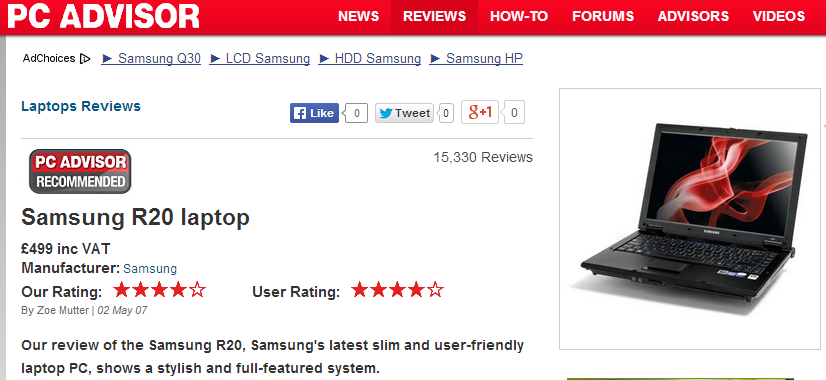
It took about 30 minutes on my old Samsung R20 laptop.
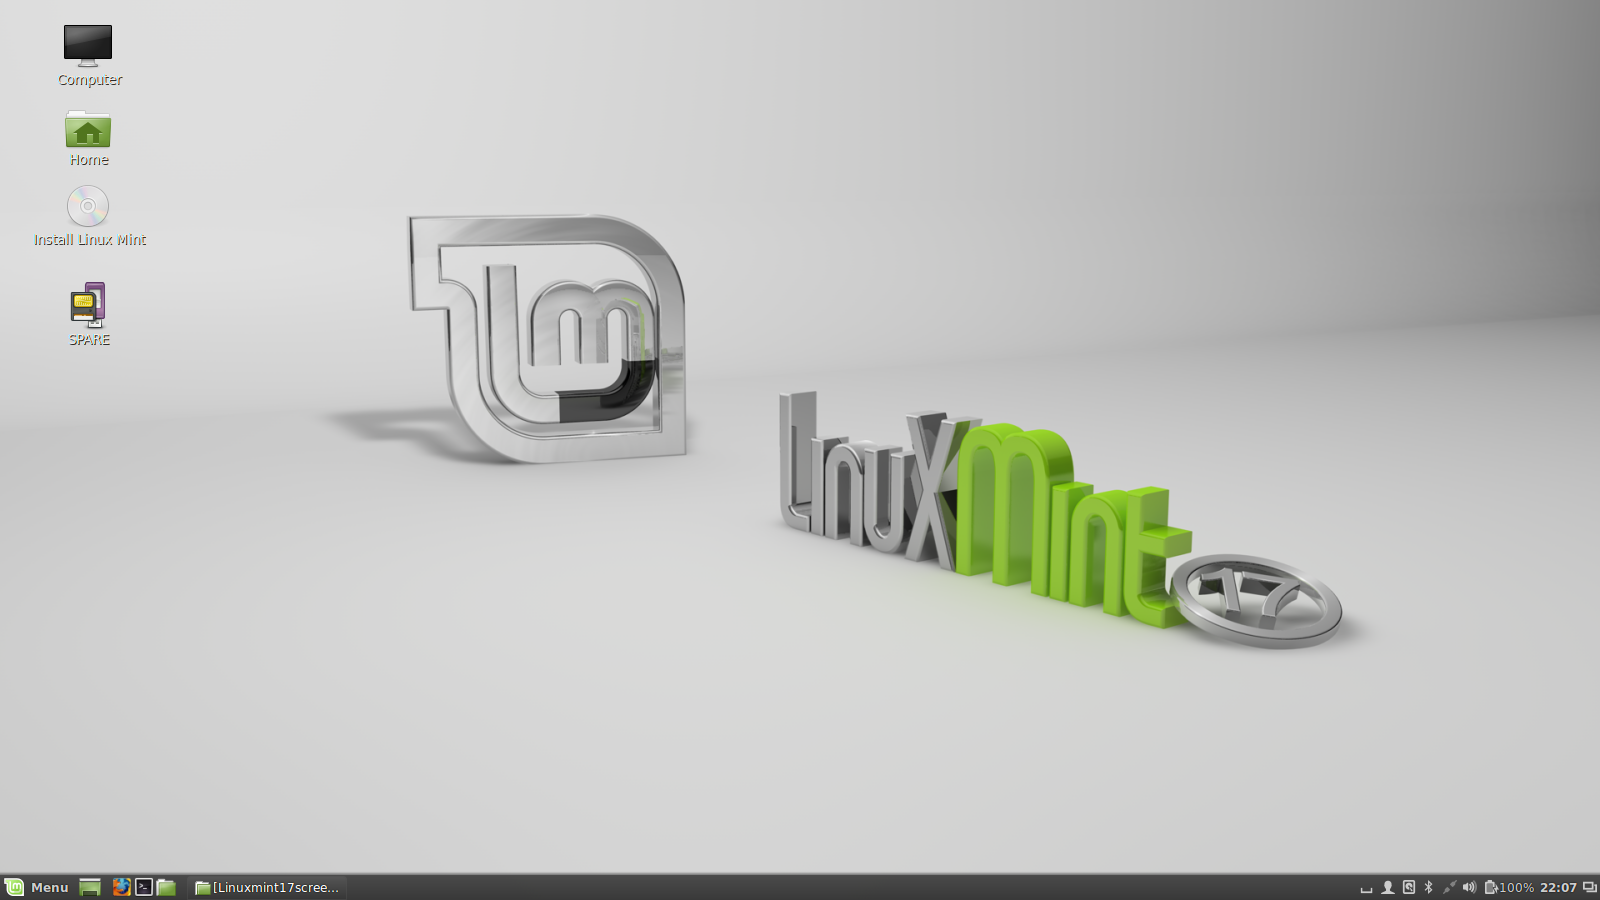
First Impressions

The first thing I noticed on this really inept piece of junk laptop that I am using is how good Makulu looks on it.
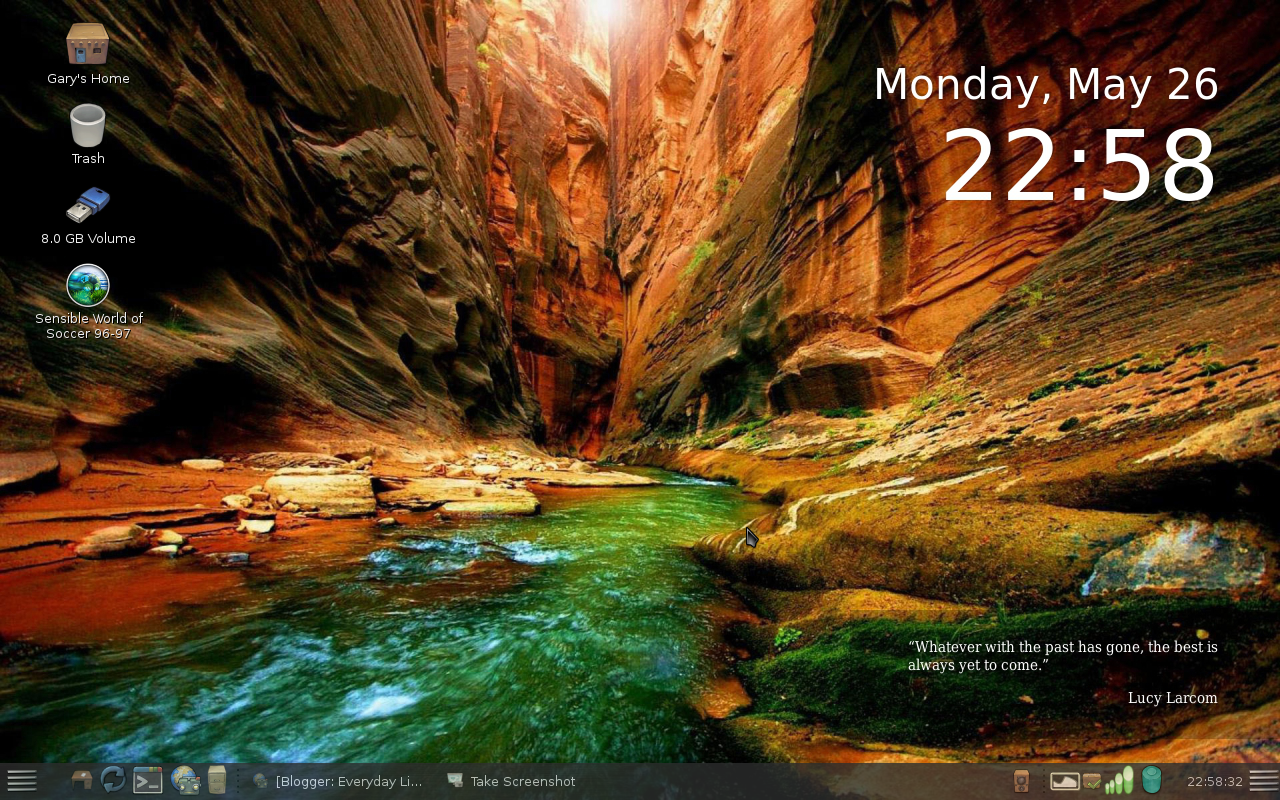
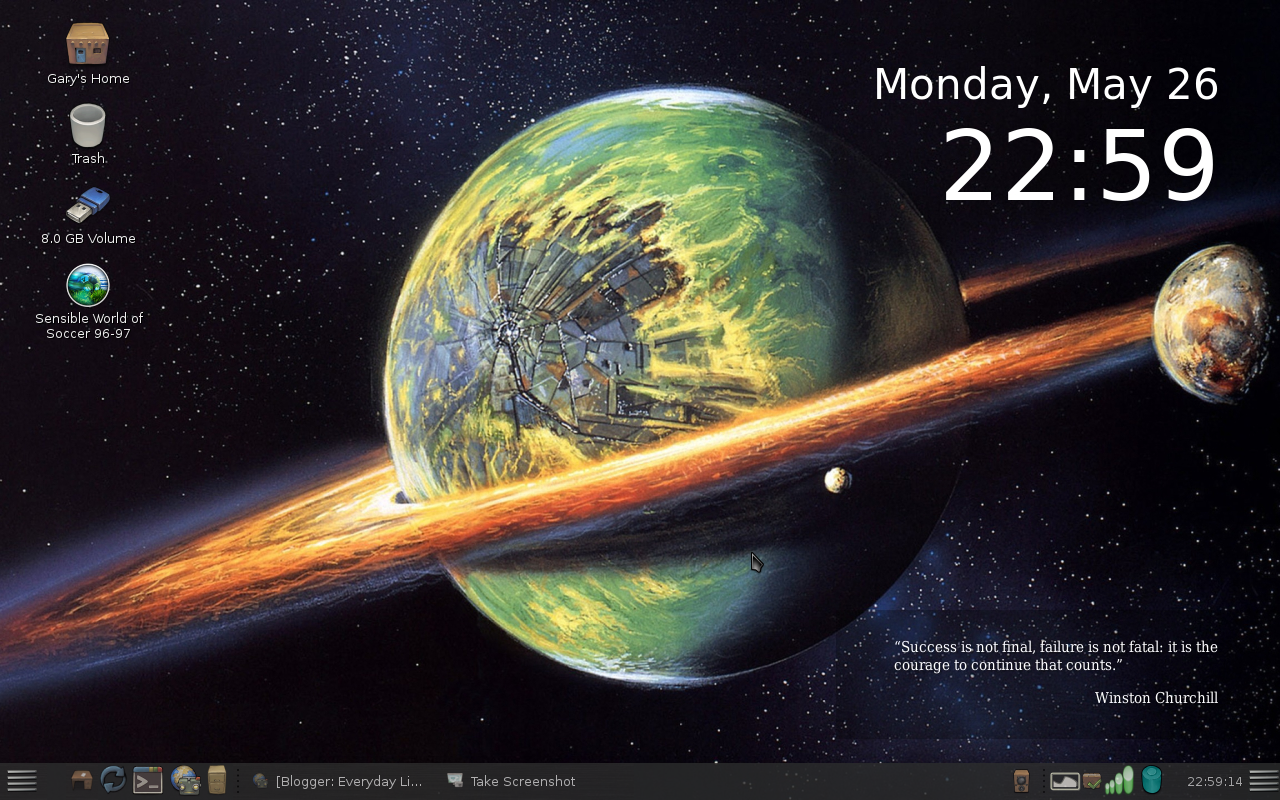
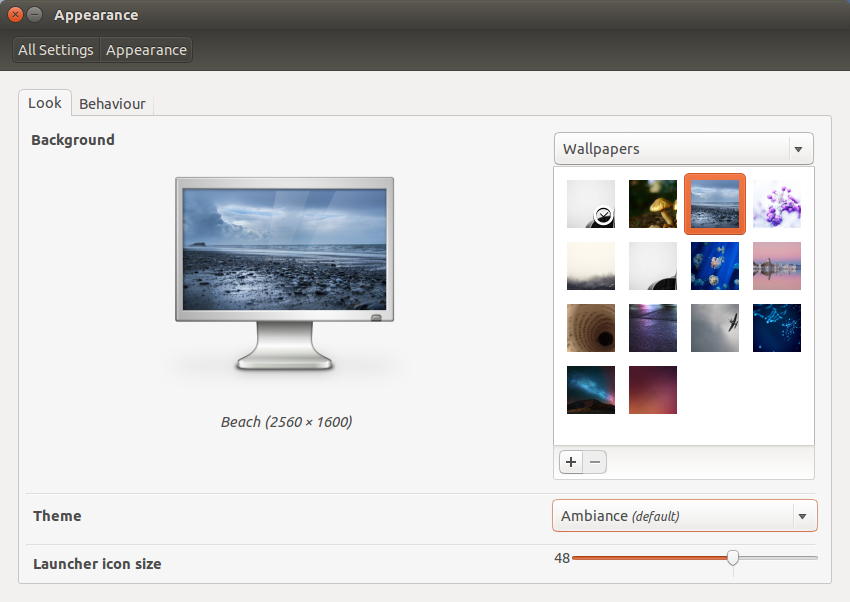
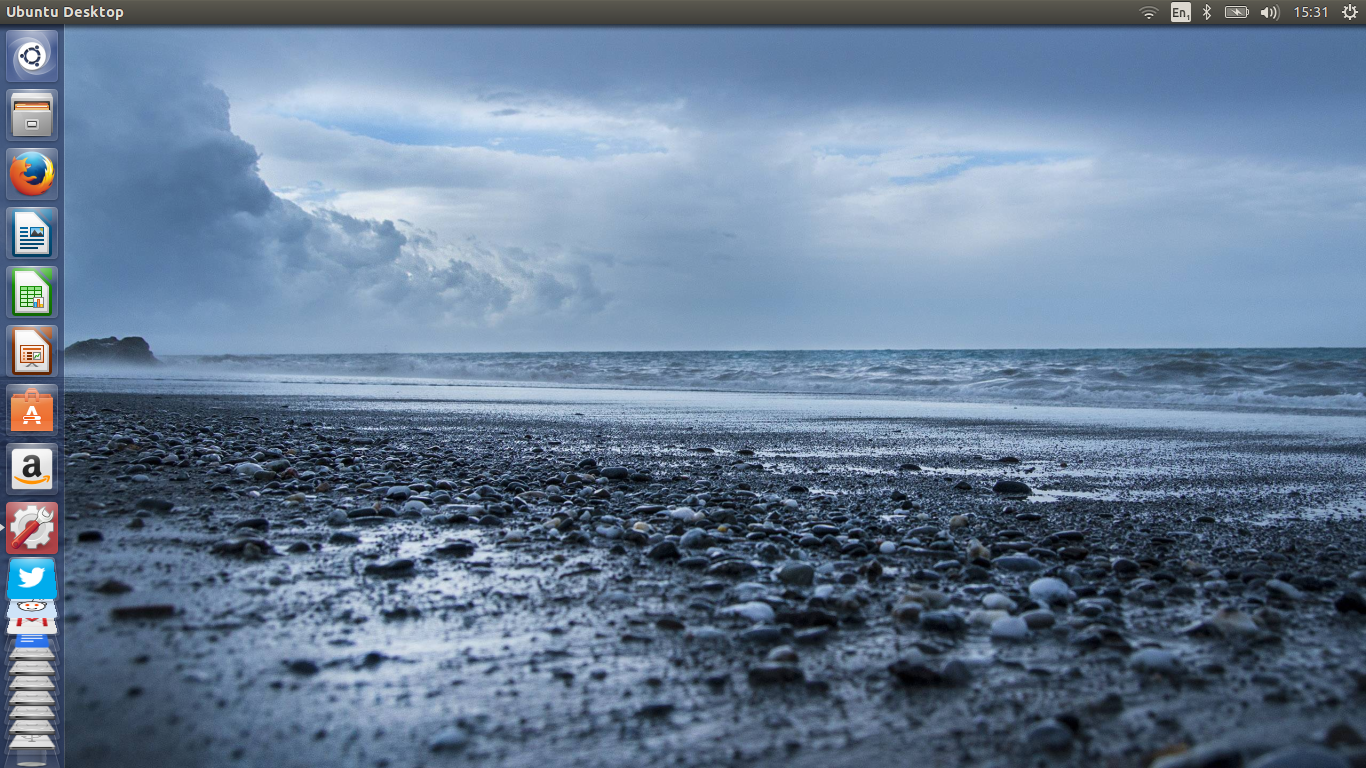
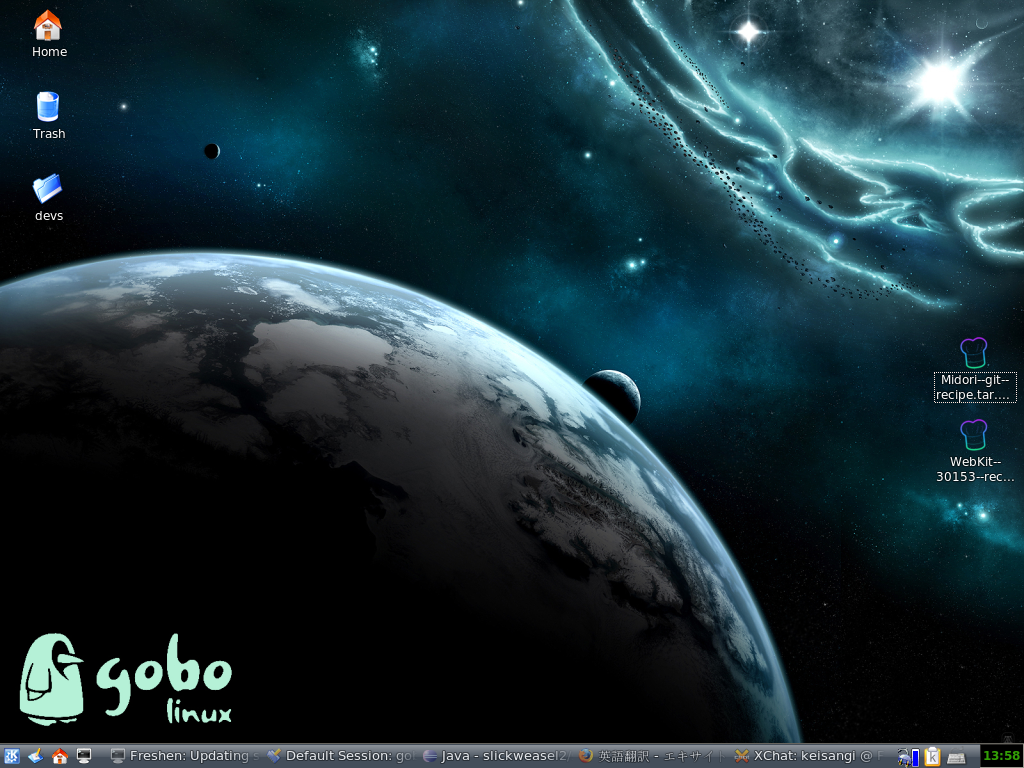
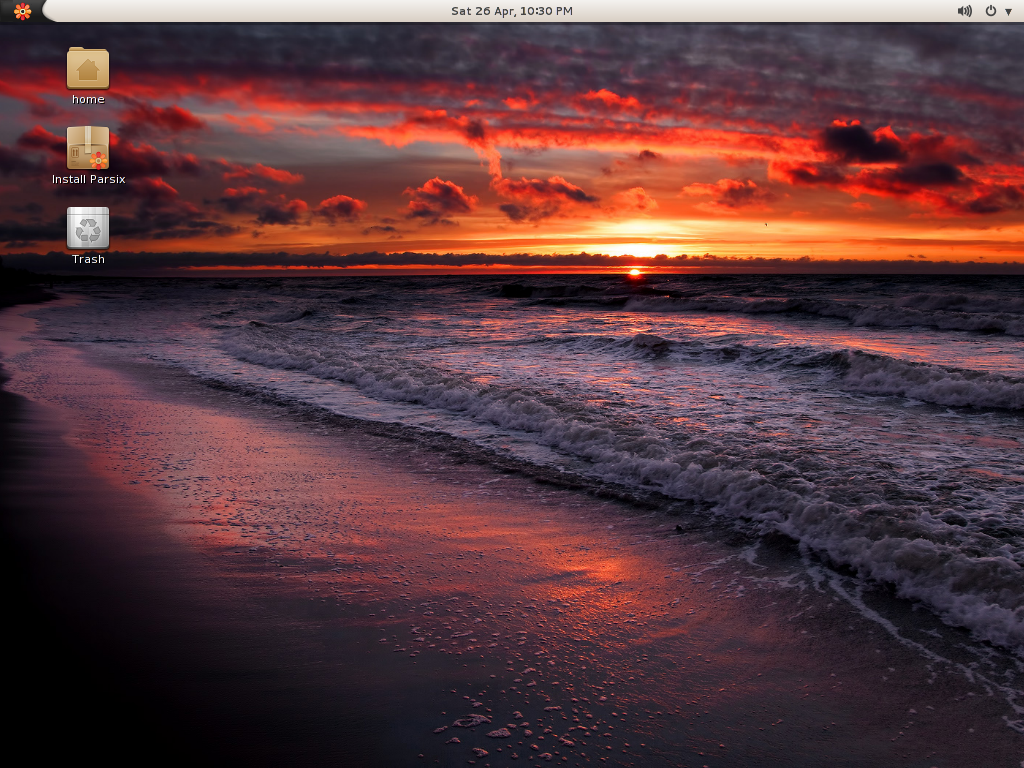
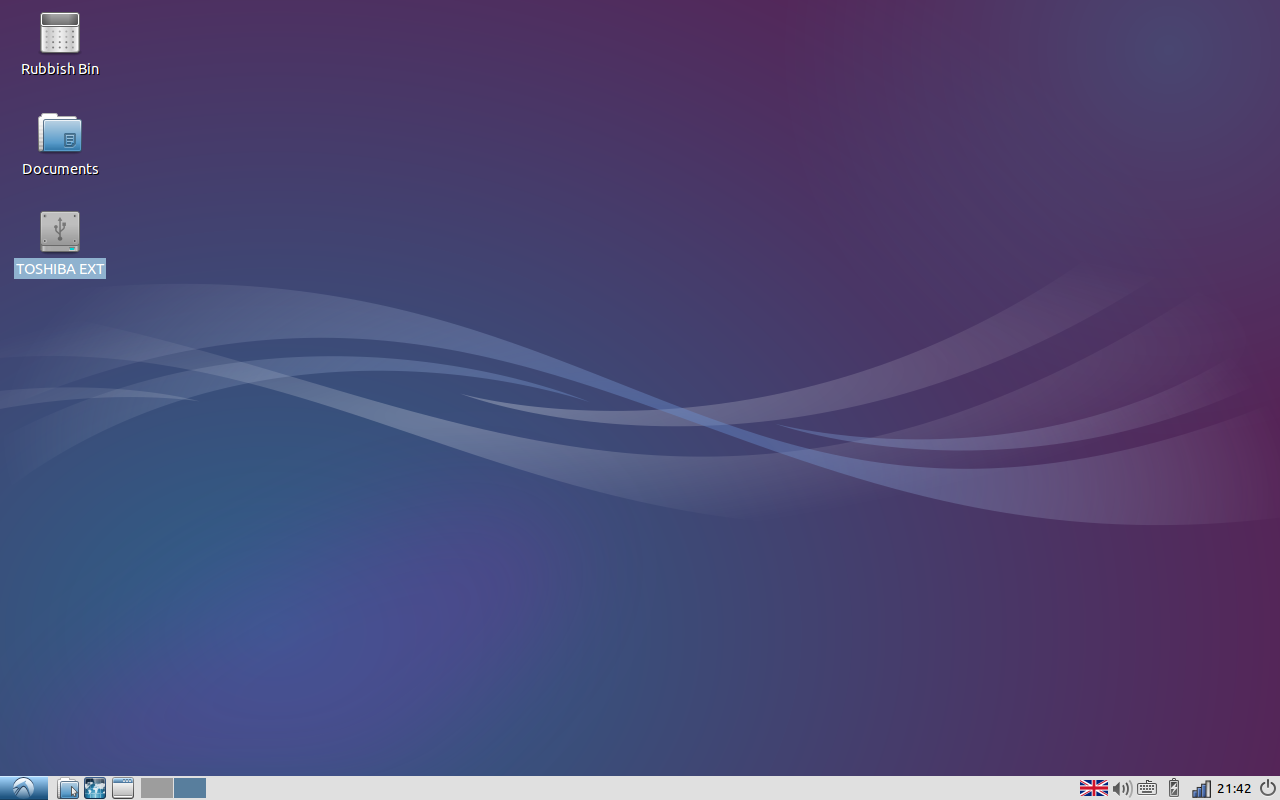
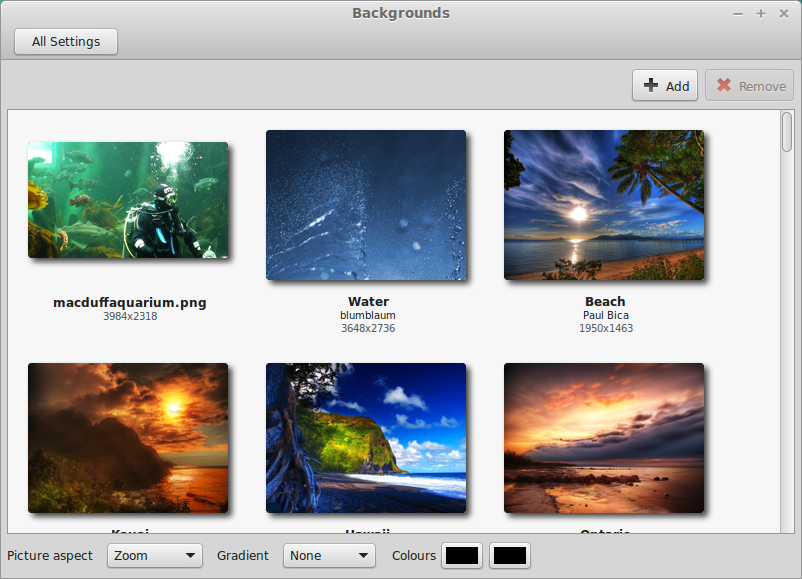
The desktop wallpapers are as good as the ones that came with Fuduntu. The whole experience feels pretty slick.

By default there is a wallpaper changer switched on (which can be switched off during setup) and believe me this is a good thing. There is also a random quote that appears in the bottom right corner. All in all very quaint.
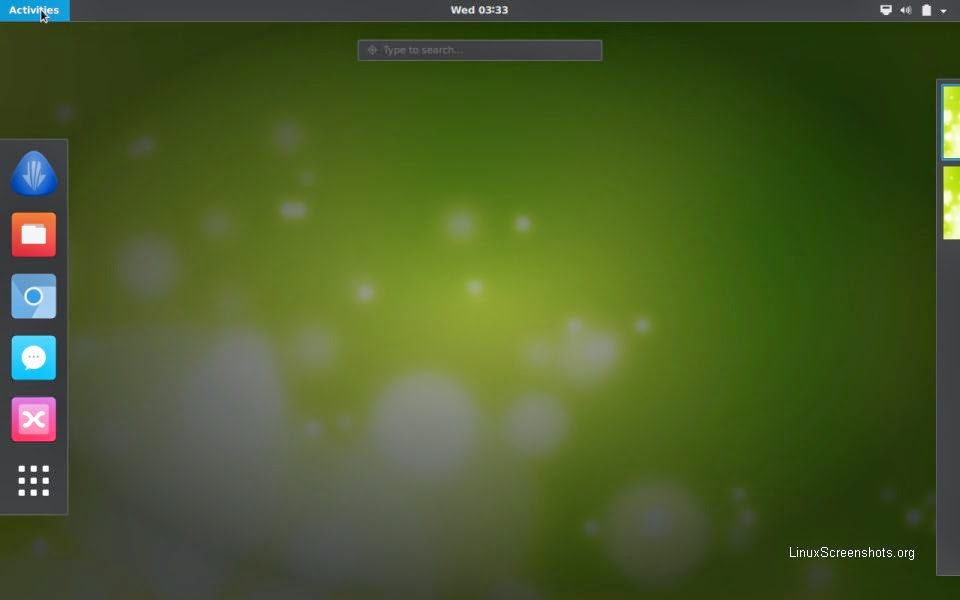
The desktop itself includes a MATE panel at the bottom and an animated docking bar (Docky) at the top (which you can choose to switch off during the setup).
There is the standard MATE menu that appears by clicking the icon in the bottom left and a slingscold dash style menu appears if you click the link in the bottom right.

There are a number of quick launch icons on the panel in the bottom left and status and settings icons in the bottom right.
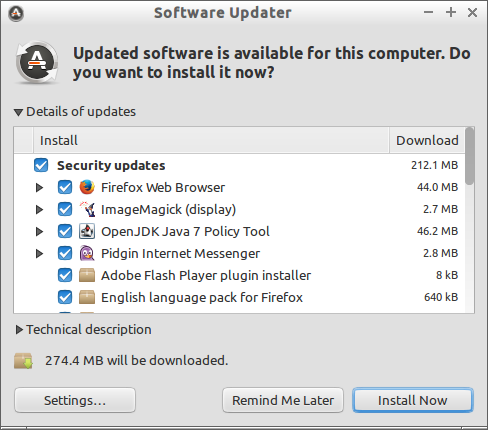
The quick launch icons on the panel enable you to hide all windows and show the desktop, run the system updater, open a terminal window, open the Chromium web browser and browse your files using the Caja file manager.
Icons also appear in the top left corner with links to your home folder and the trash folder.

The animated docking bar has icons for what are considered to be useful applications such as Thunderbird Mail, Caja File Manager, the Leafpad editor, a terminal window and the Kingsoft office suite. There are also icons for switching desktops.

For those of you who have trouble keeping time you can feel safe in the comfort that Makulu has a clock in the system tray and as a widget on the main desktop screen.

The menu in the bottom left is the standard MATE menu. The left side of the menu has a list of places such as your home folder, networks, desktop and trash. There are also system tools such as the software manager, package manager and control centre.
The middle section has a list of categories and clicking on a category brings the list of applications for that category in the right panel.
The menu also includes a search facility.
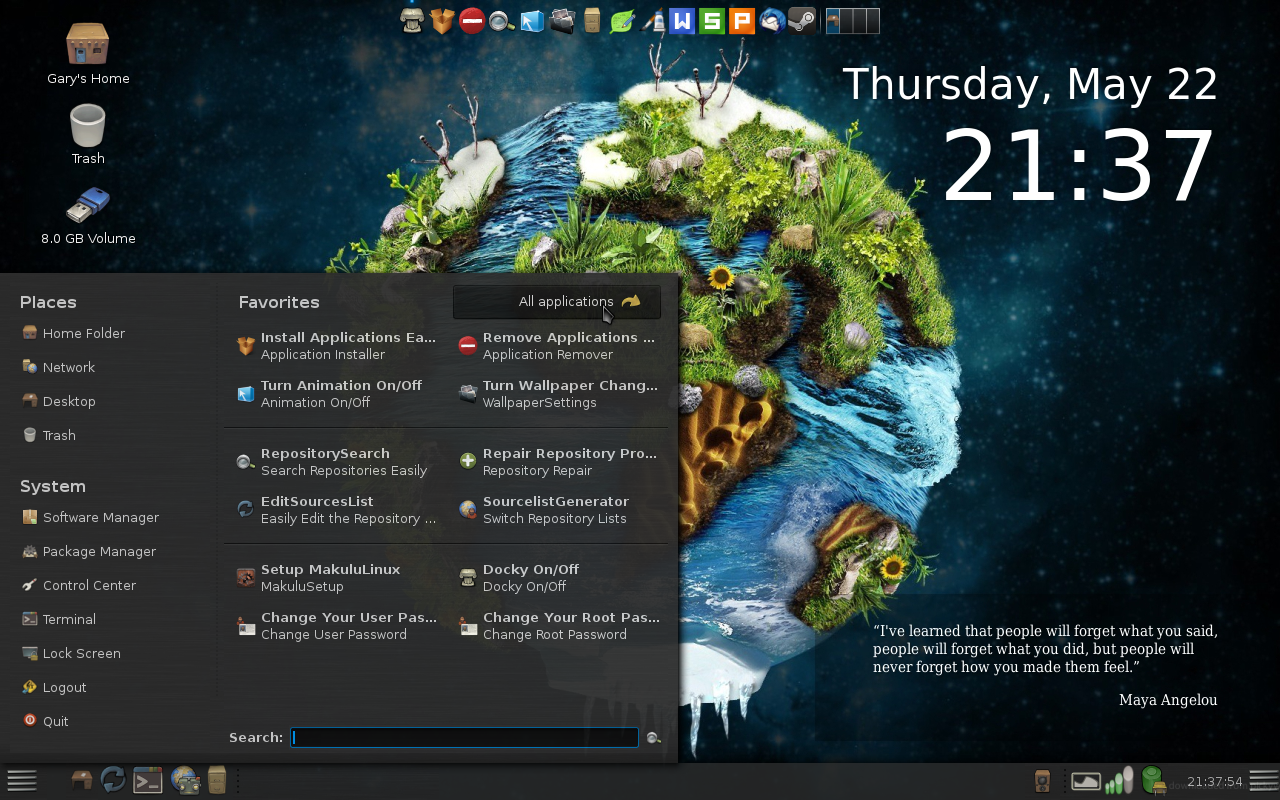
You can switch the menu view so that instead of showing a list of categories and applications it shows a list of your favourite applications. The link for switching between favourites and all applications is in the top right of the menu.
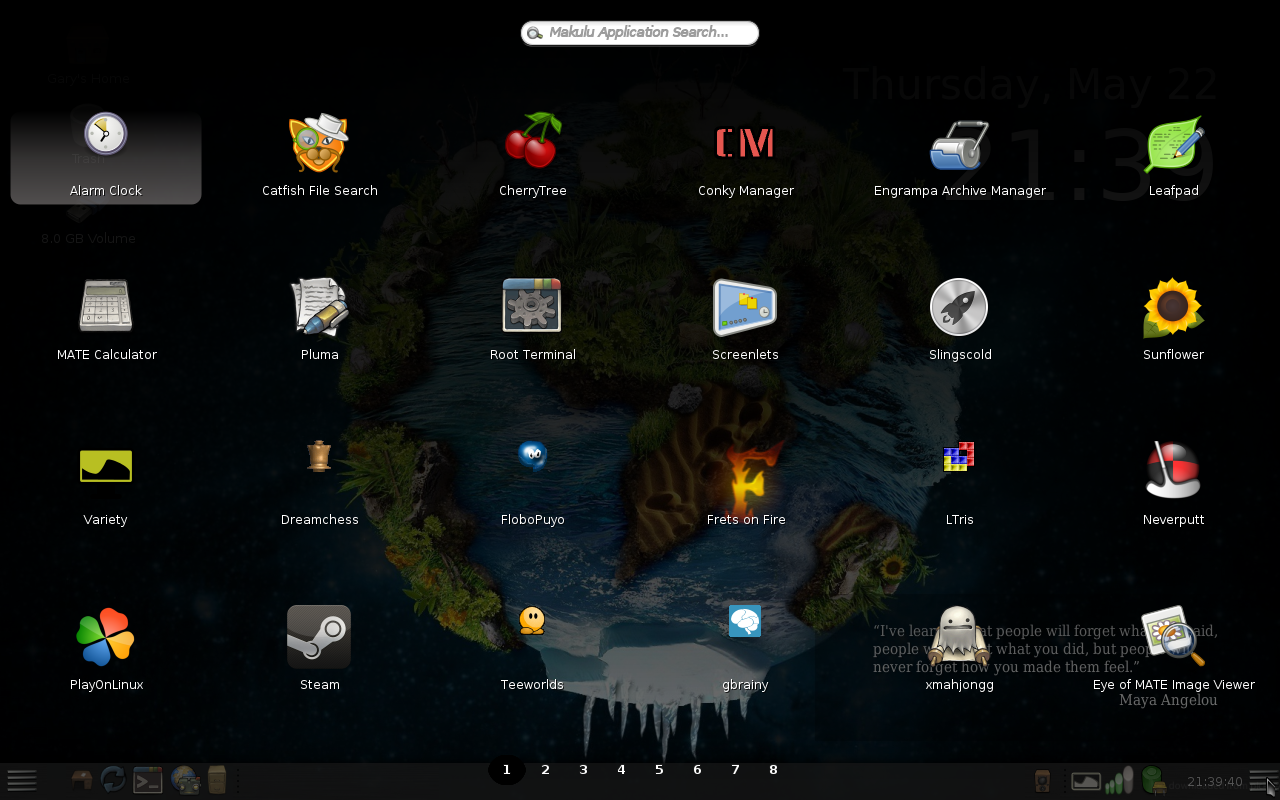
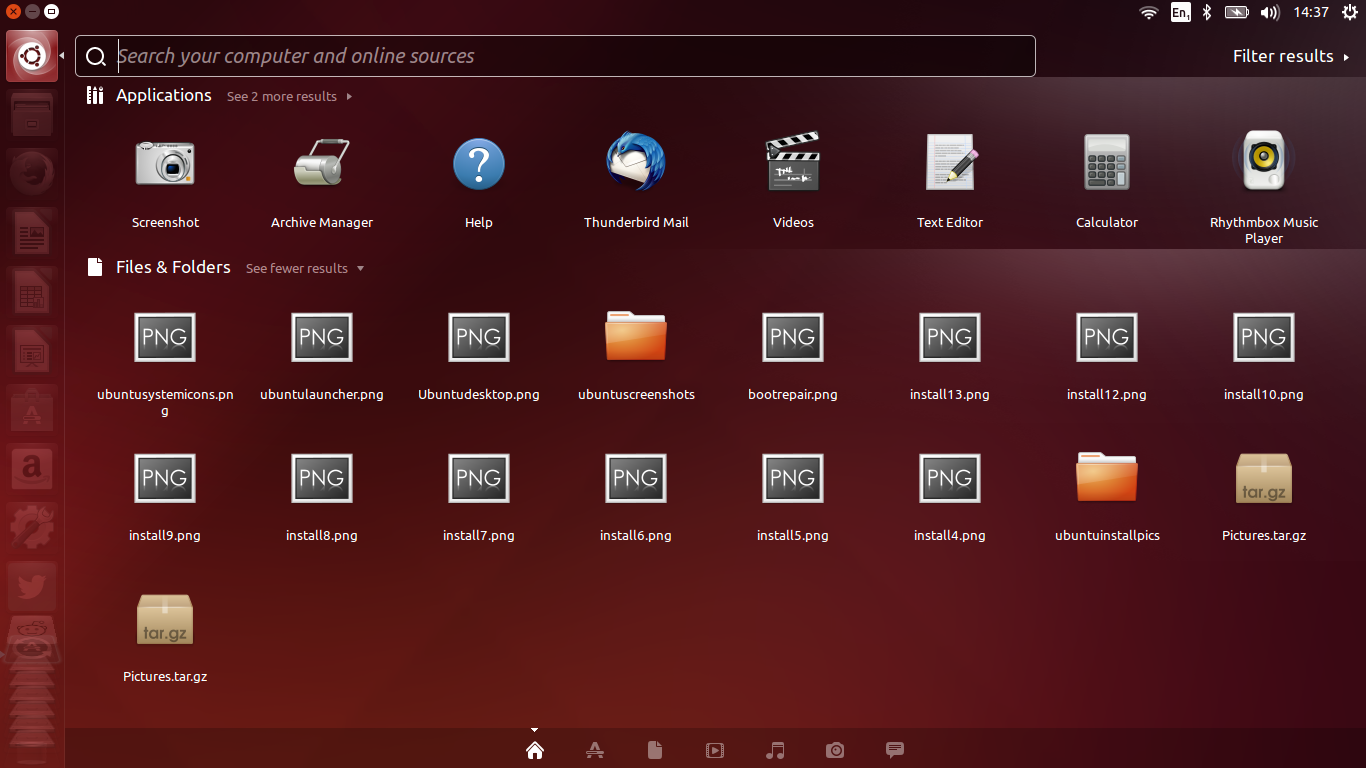
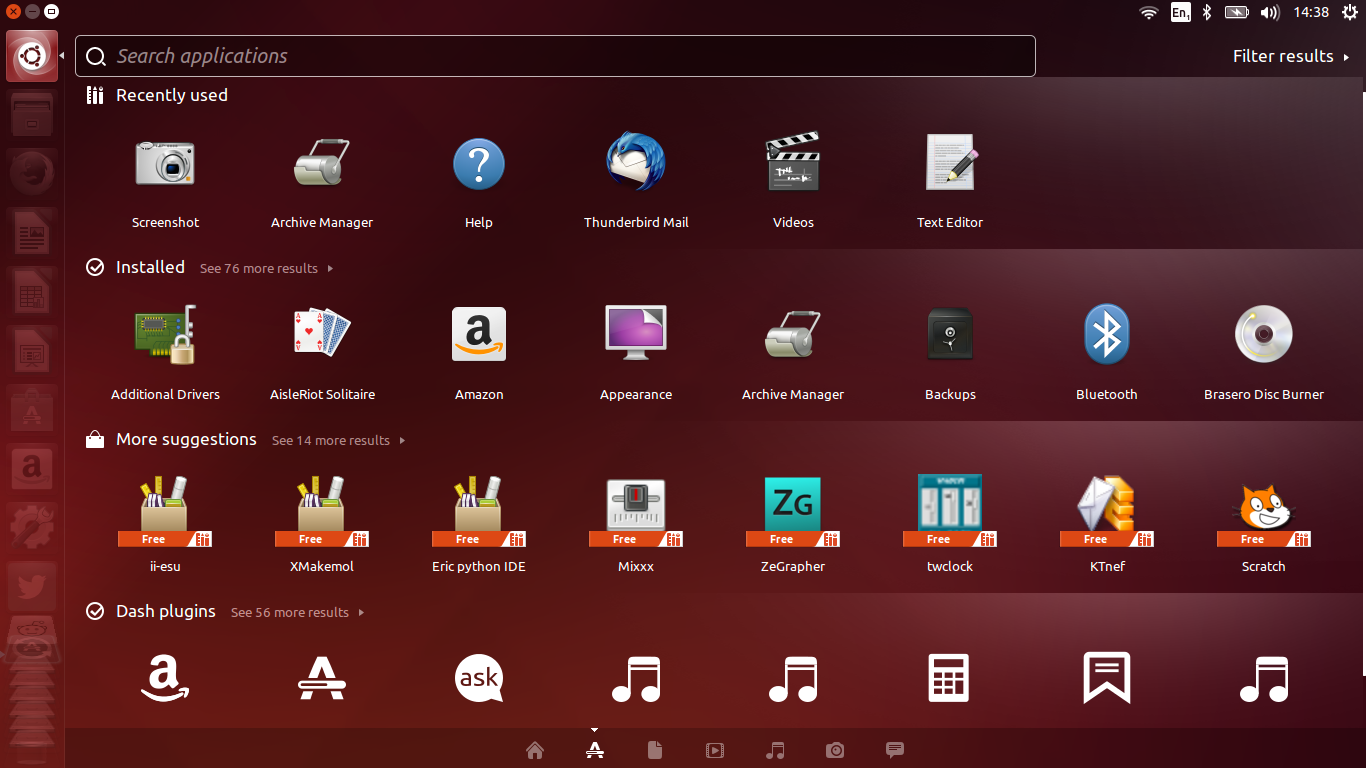
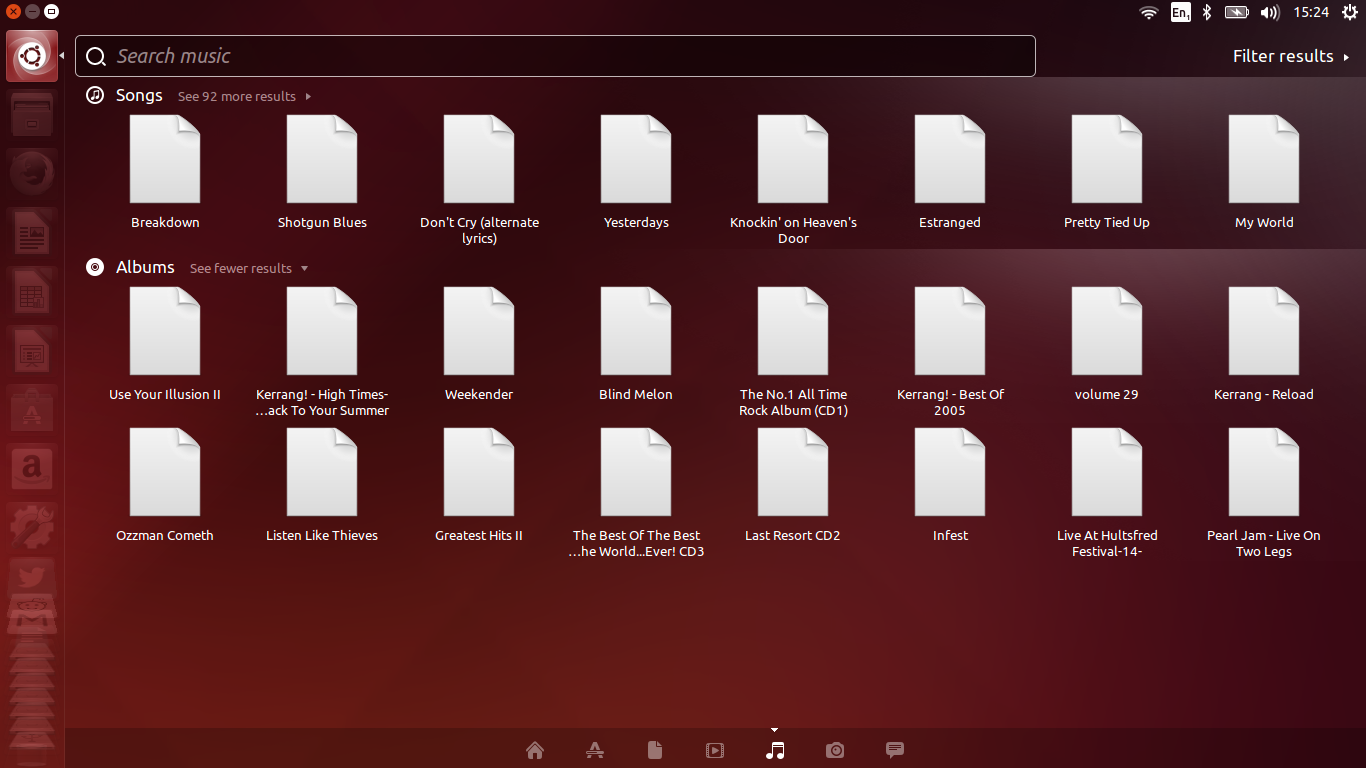
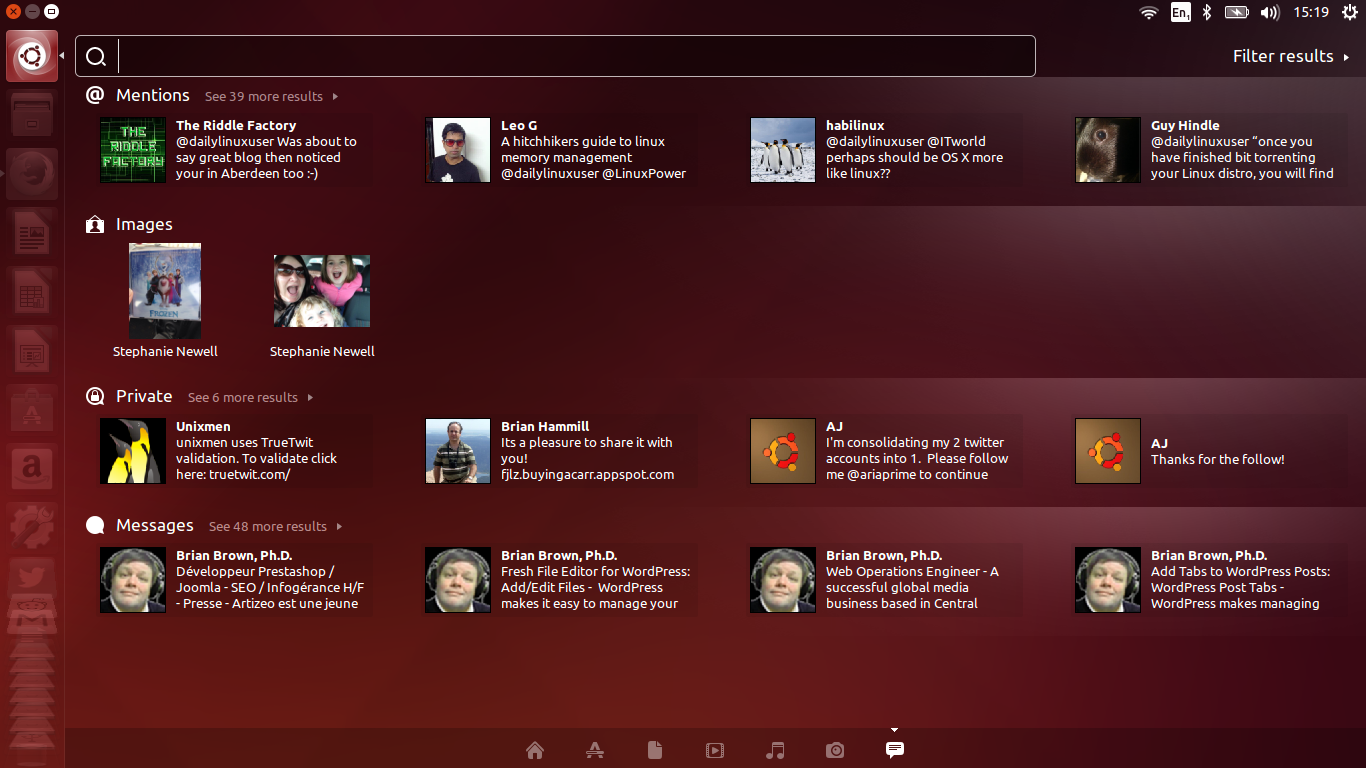
The slingscold menu can be pulled up by pressing the icon in the bottom right corner. The view is more like the dash within Unity or Gnome. Search for applications by entering the name in the search box or by navigating through the pages.
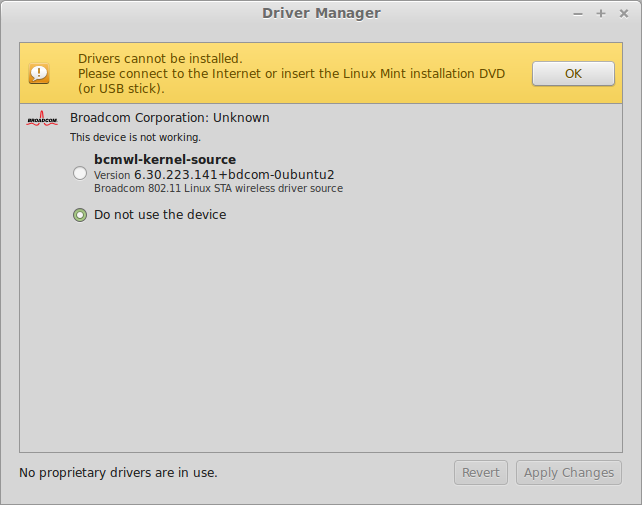
Connecting to the internet

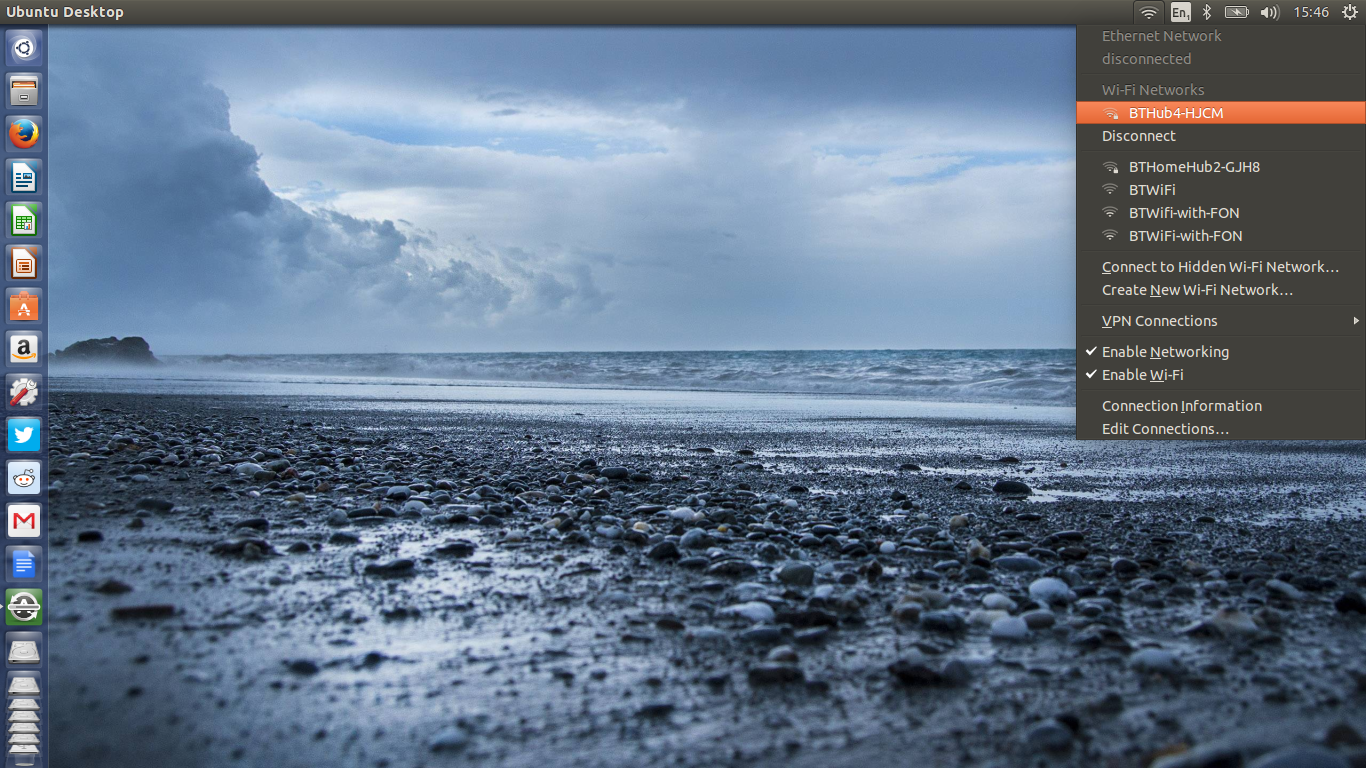
Connecting to the internet should be a fairly easy affair. This computer is about 7 or 8 years old and it was able to find the wireless networks available to me.
Simply click on the network icon in the system tray and then click on the wireless network (or wired) of your choice.
A window will appear asking you for your security key should one be required.
Flash and MP3
 |
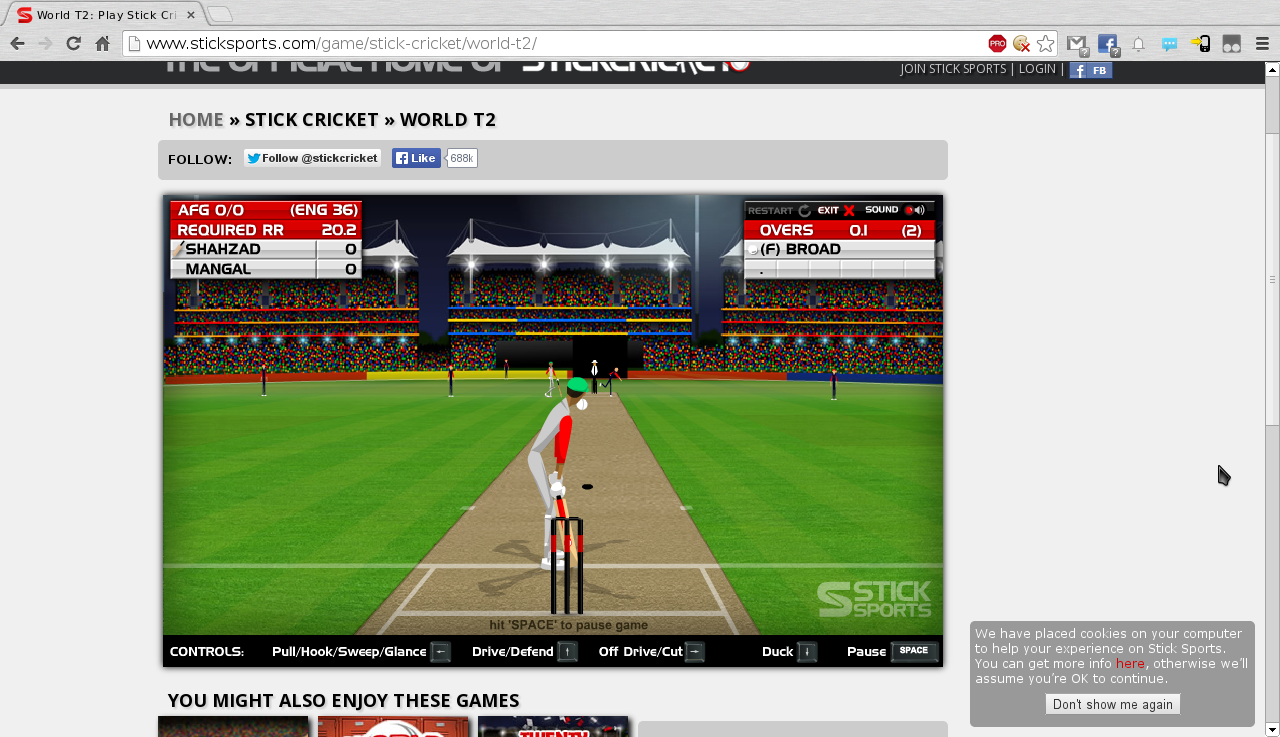
Makulu comes with all the necessary codecs and plugins required to watch Flash videos, play Flash games and listen to MP3s.

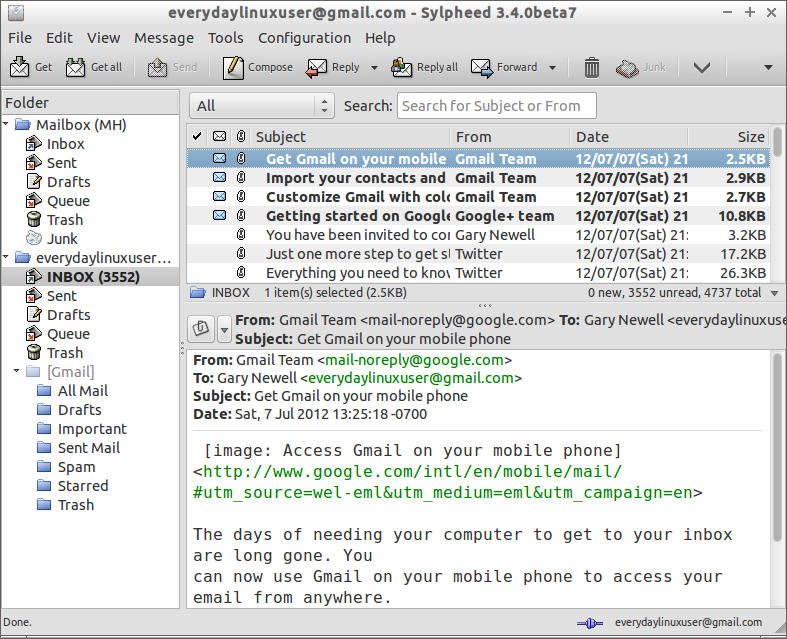
The default email client within Makulu is Thunderbird.
When you first load Thunderbird you will be asked whether you want to create a new email address or if you want to use an existing account.
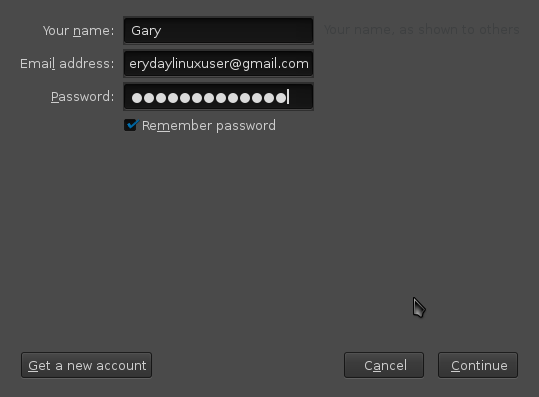
If you have an email account with Google (GMail) or Microsoft etc then setting up your account is as easy as entering your email address and password.
If your email provider isn't recognised you can setup the details manually.
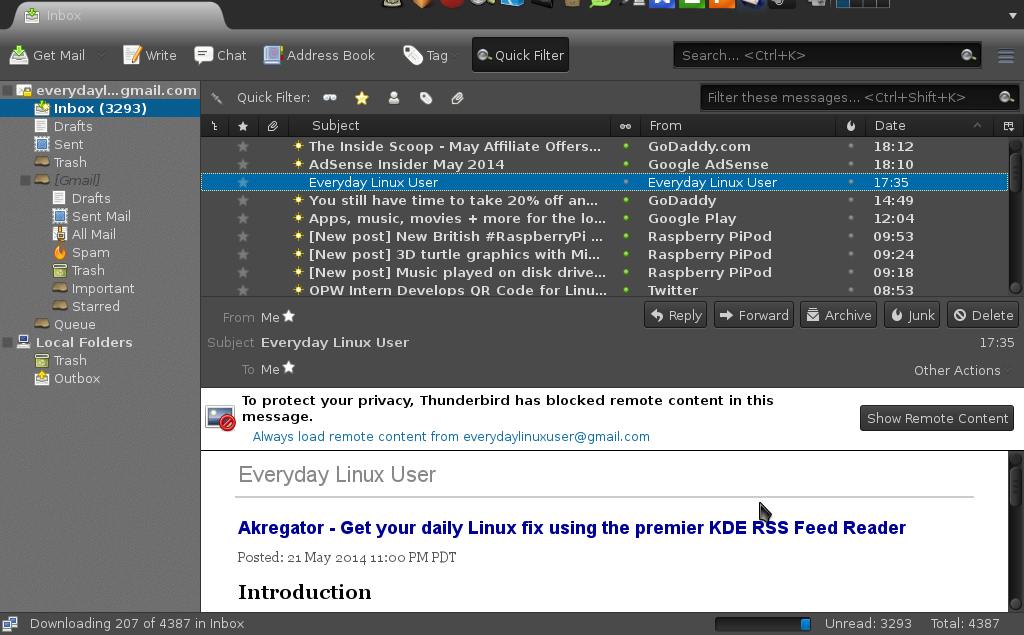
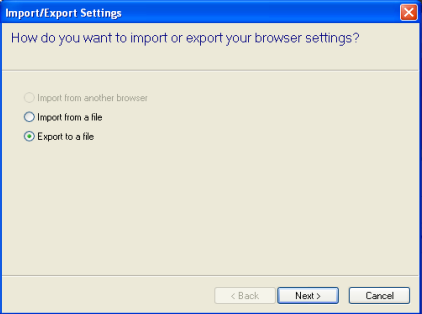
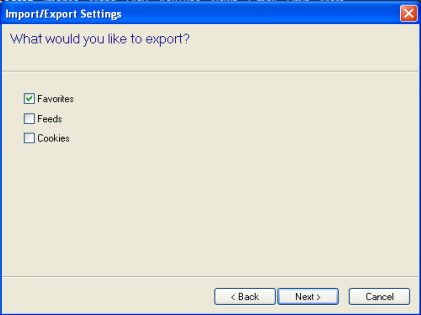
Thunderbird can also be used for reading RSS feeds. In my previous article I showed how to use Akregator within KDE to load in a OPML file.
You can load the OPML file linked in that article to load the Linux based RSS feeds into Thunderbird as well.
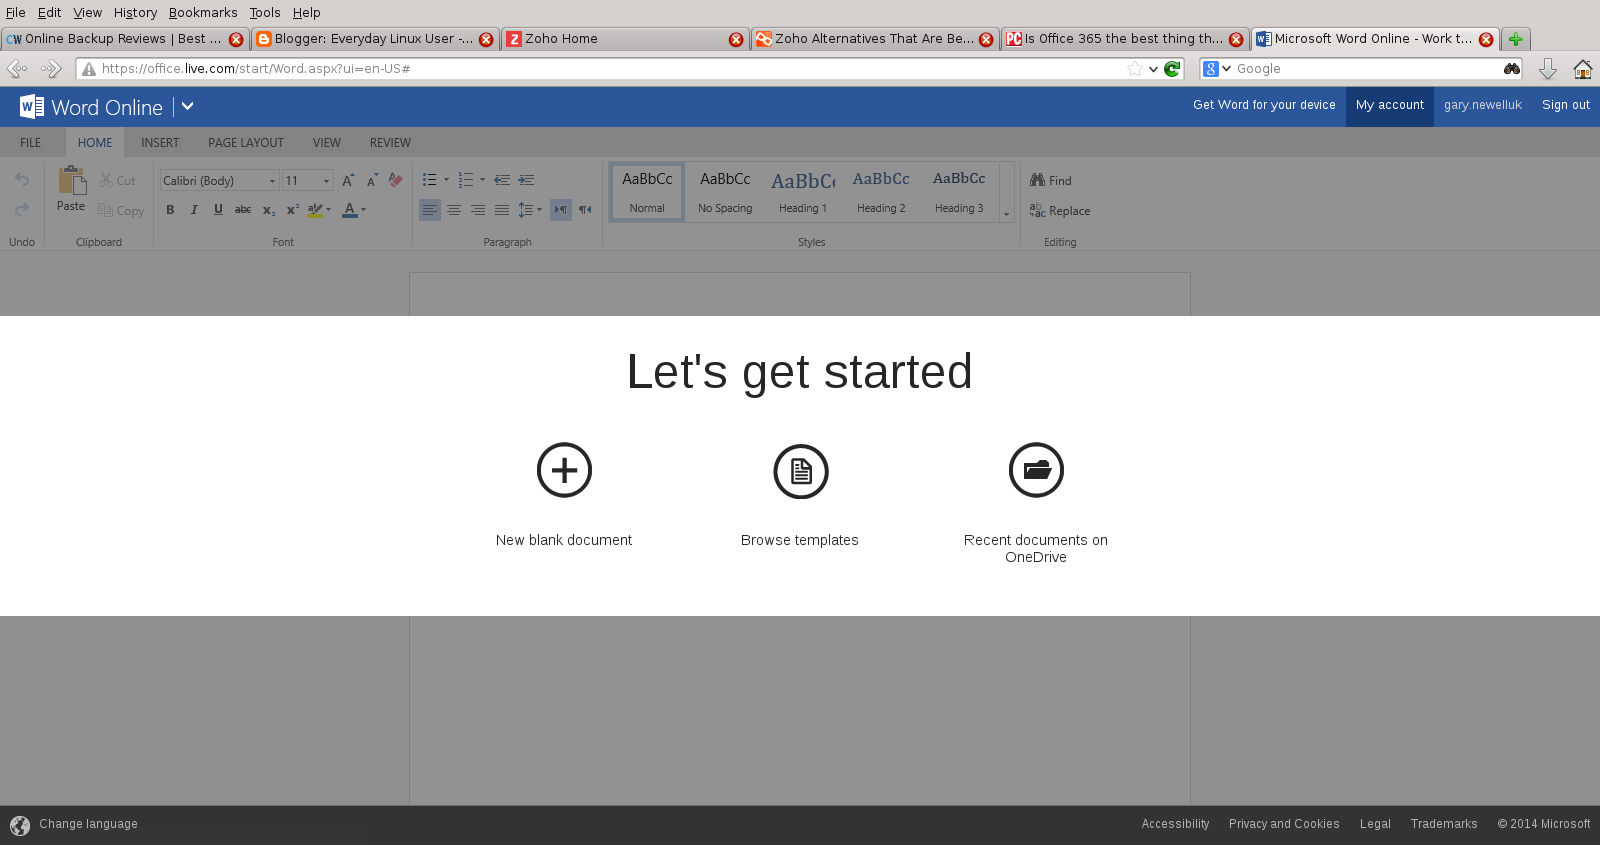
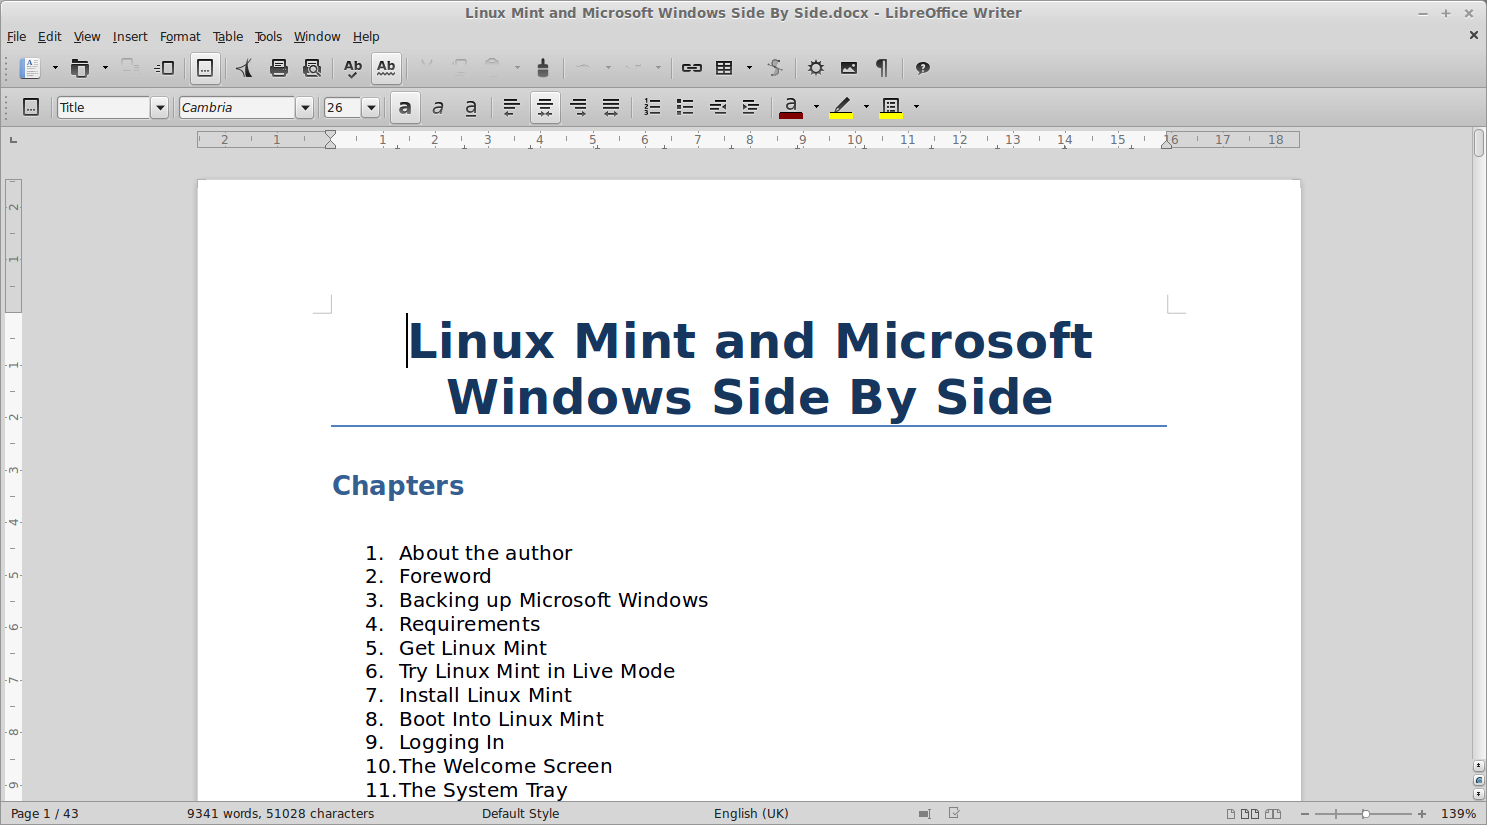
Kingsoft Office
This is the first opportunity that I have had to look at the Kingsoft Office suite. Usually it is a choice between LibreOffice or Abiword and Gnumeric.

Kingsoft office is strikingly similar to a certain other office suite that is on the market and it even includes ribbon bars.
Now I really do not like the ribbon bar thing. I just find that there are too many options strewn all over the place. I figured Microsoft had done it because they were losing money on operating system licenses and decided a good way to make an extra buck was on the sale of training courses for changing every single menu and toolbar for no good reason.
The Kingsoft office works very well and is a nice alternative to LibreOffice.
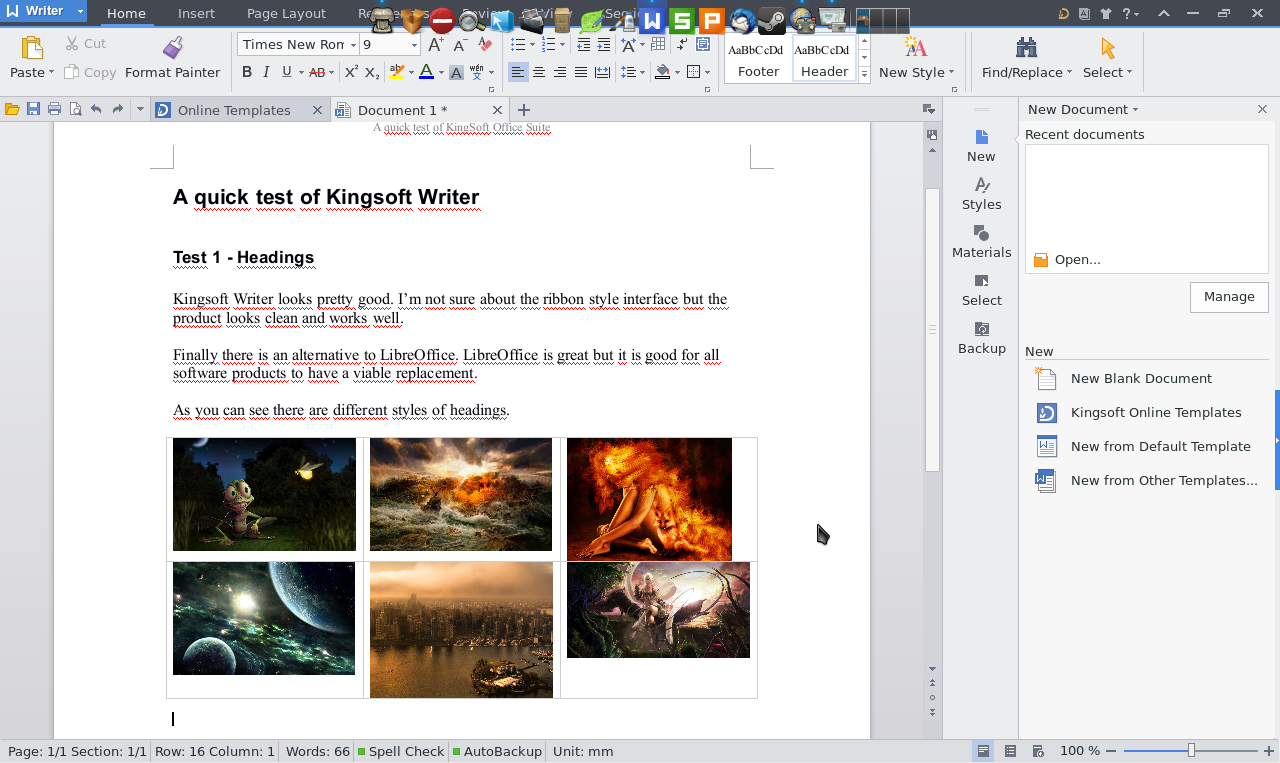
With Makulu, Kingsoft office comes with a full word processor, spreadsheet package and presentation tool.
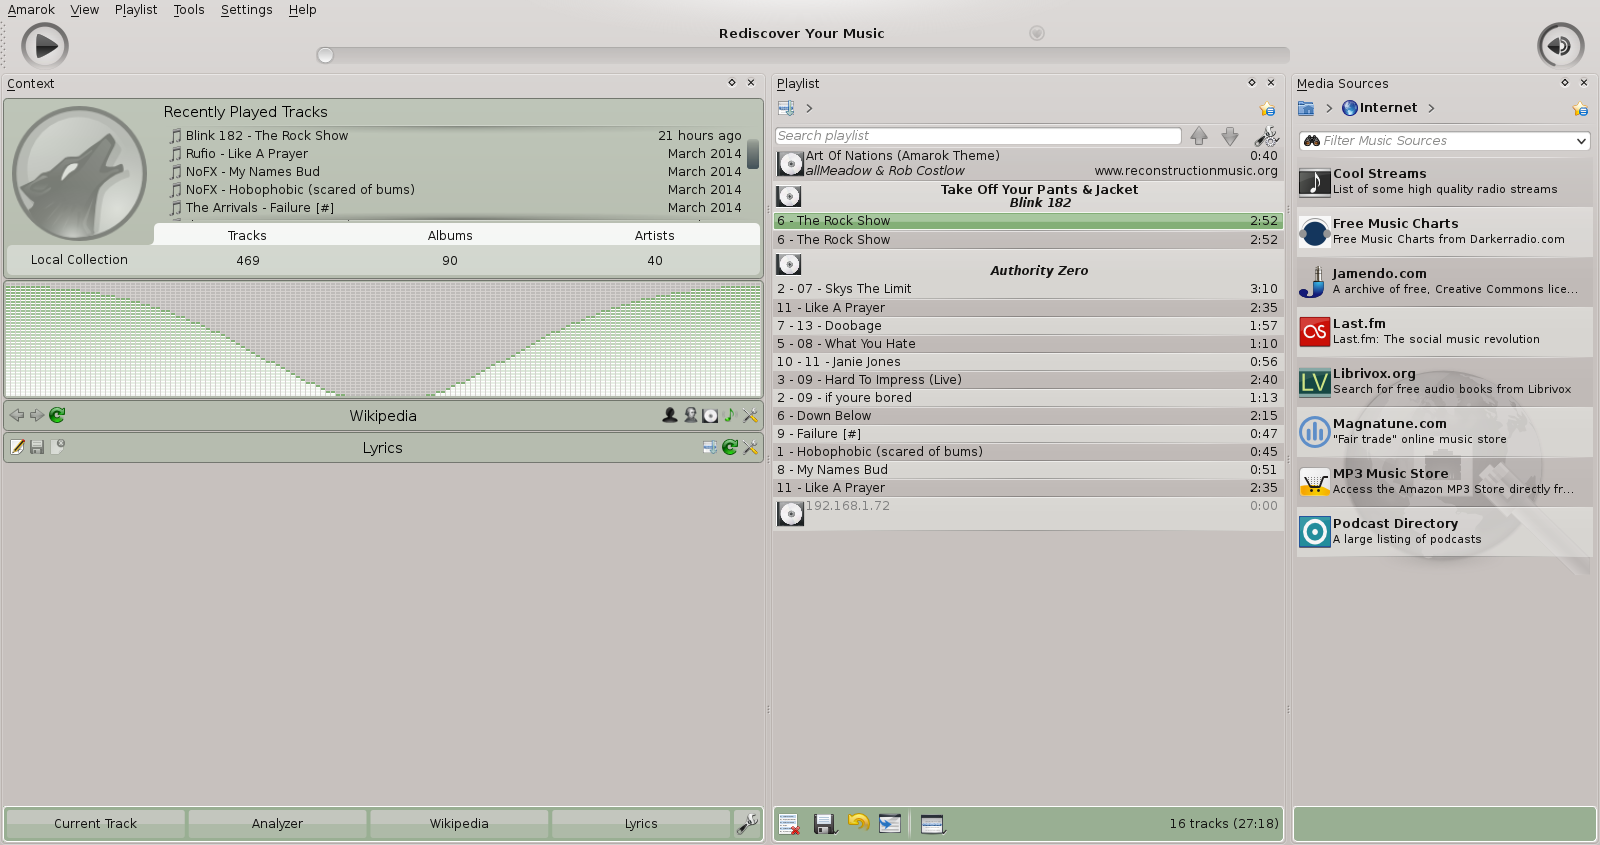
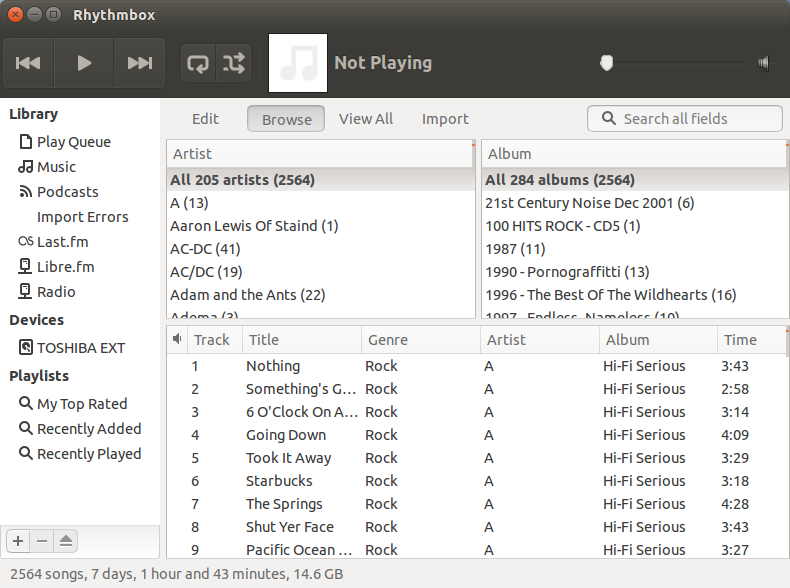
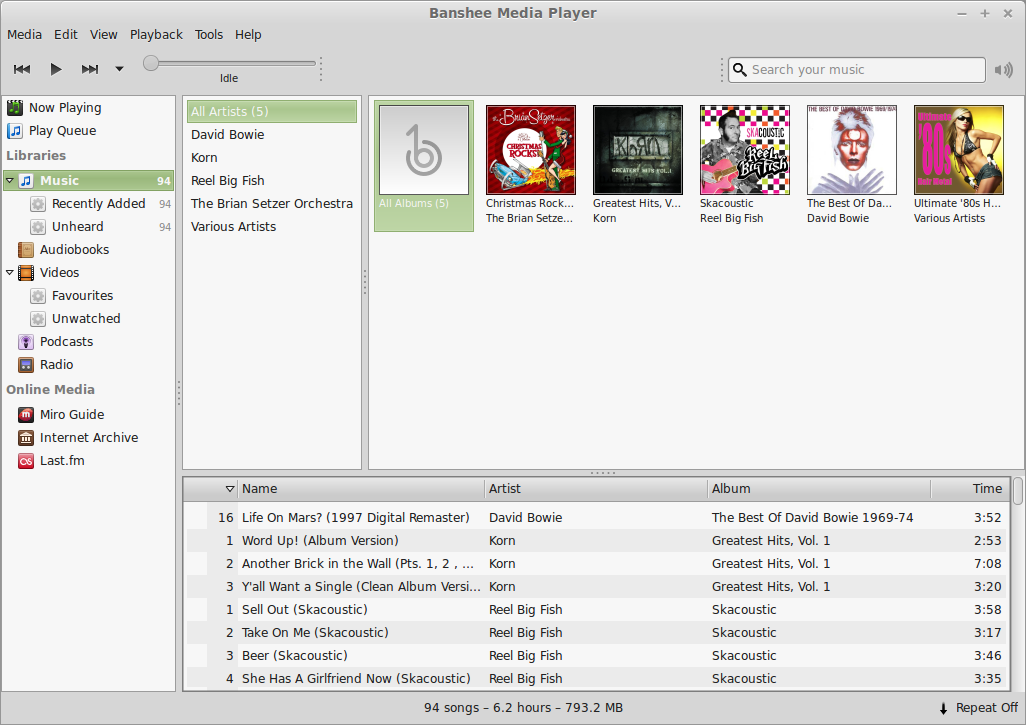
Audio
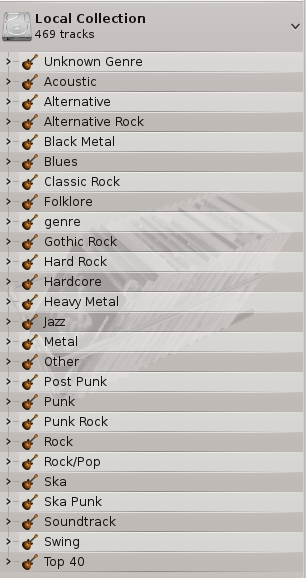
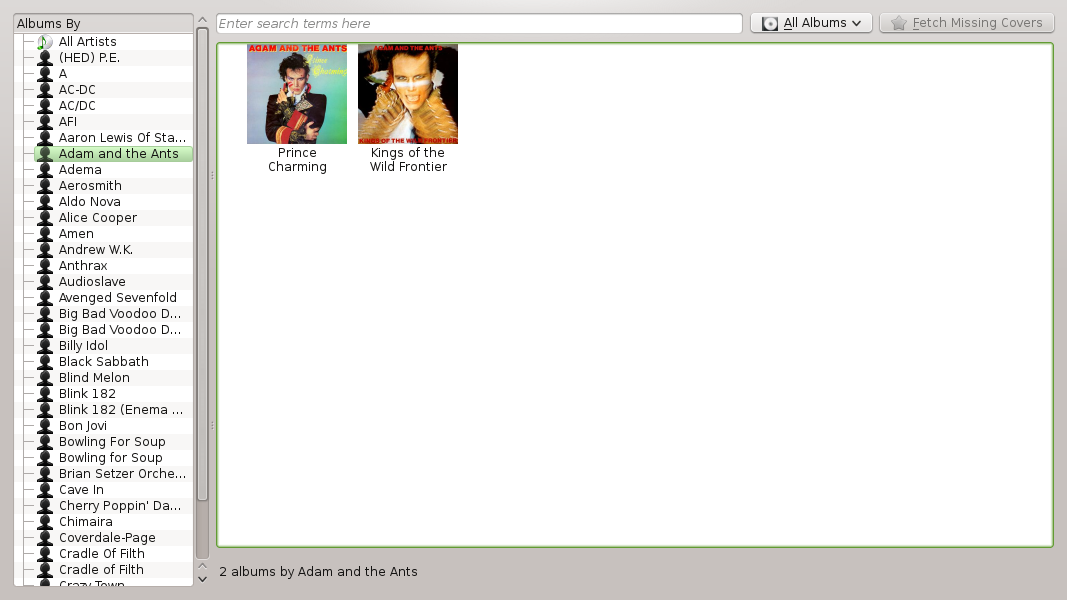
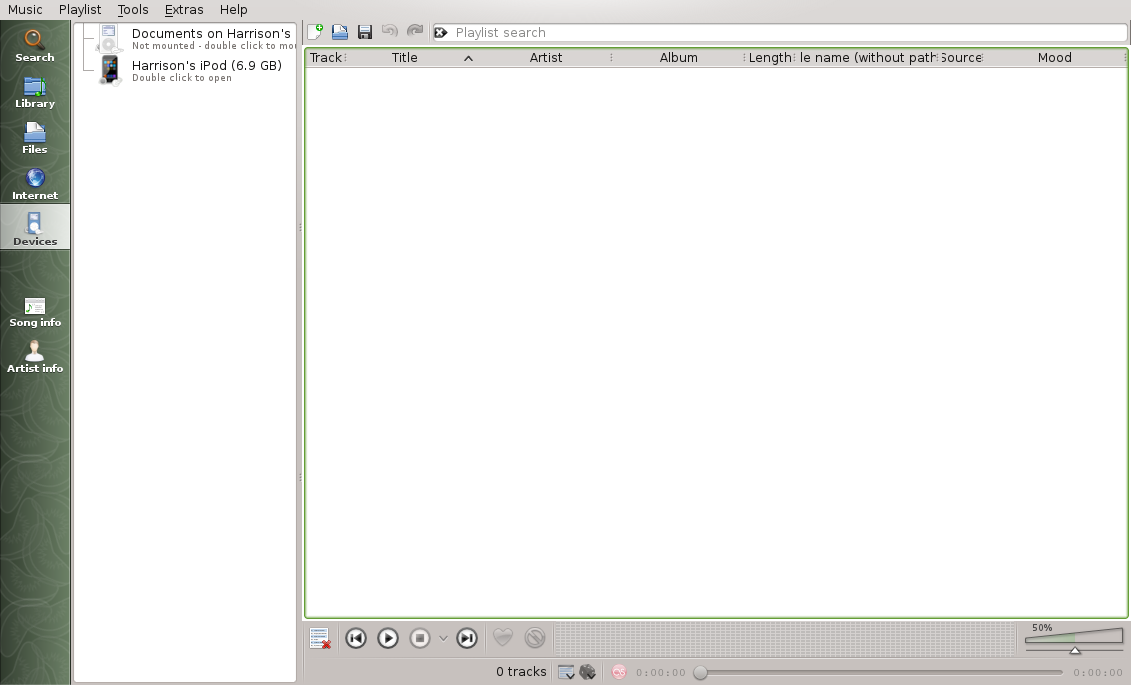
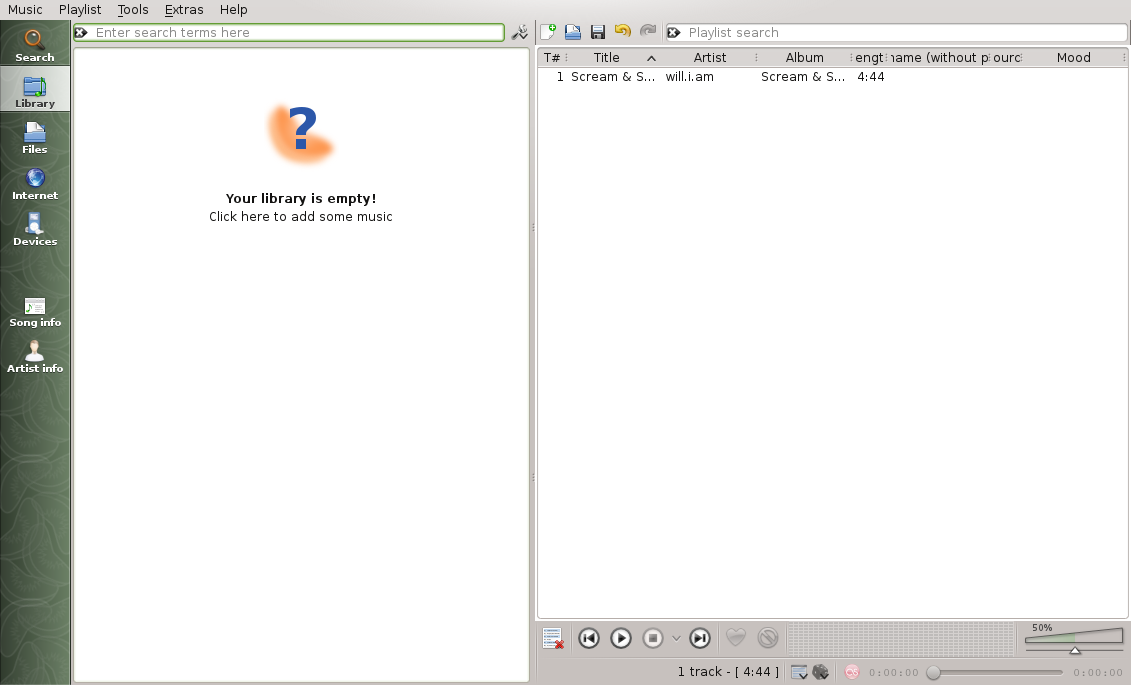
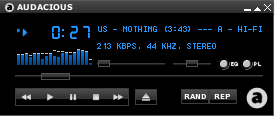
 The audio package in Makulu is Audacious.
 Audacious is fairly basic but gives you the ability to create and edit playlists.
As mentioned before MP3s play without issue.
Video
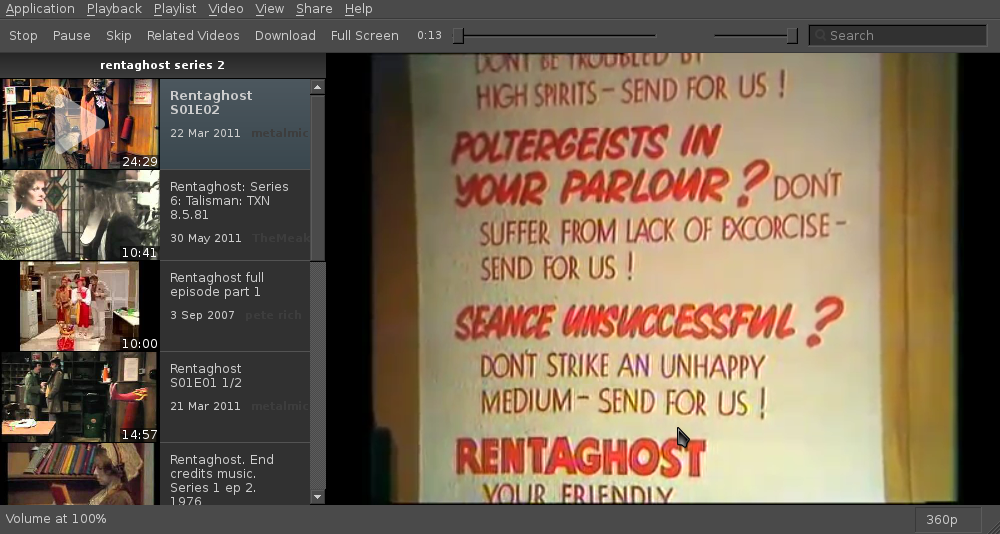
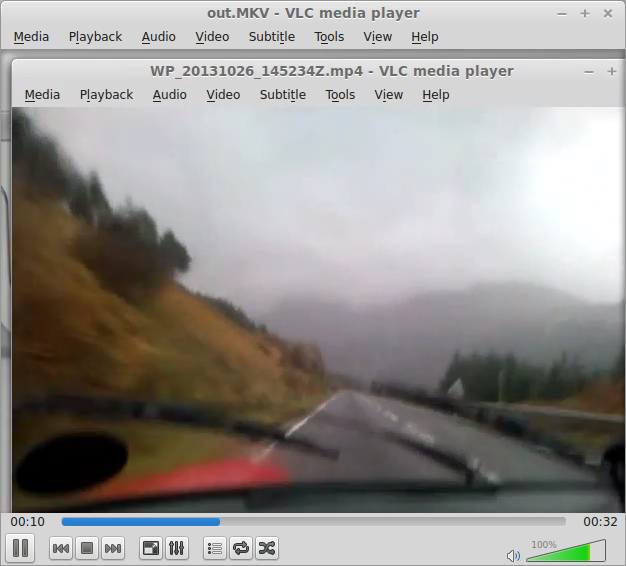
There are various video players and tools within Makulu.
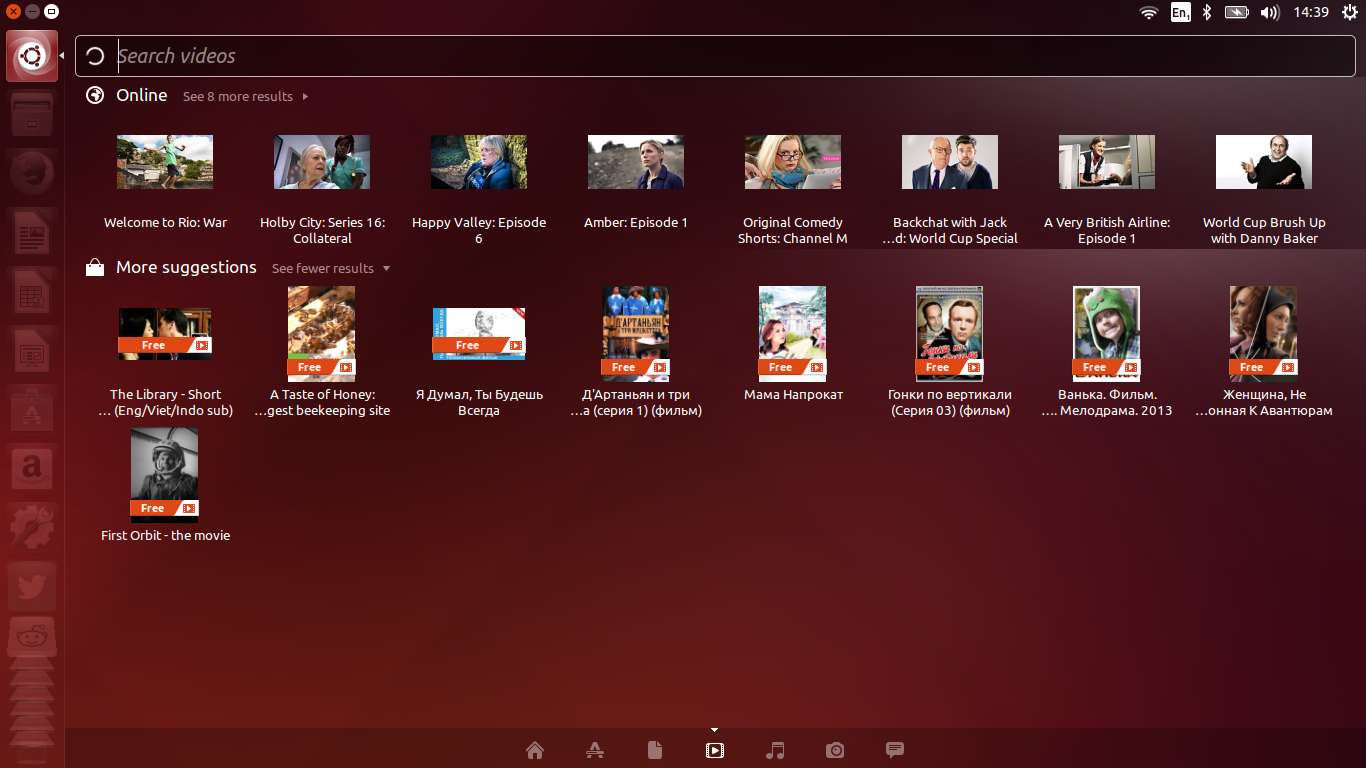
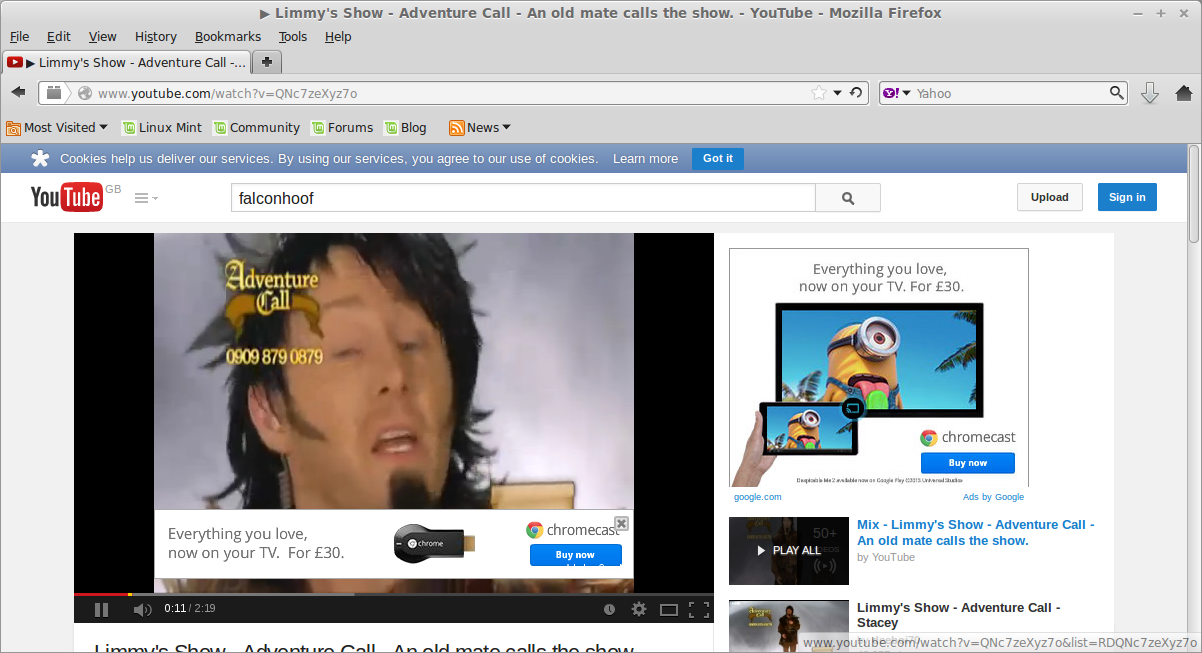
VLC is the main video player but there is also Minitube which enables you to watch Youtube videos within a desktop application.
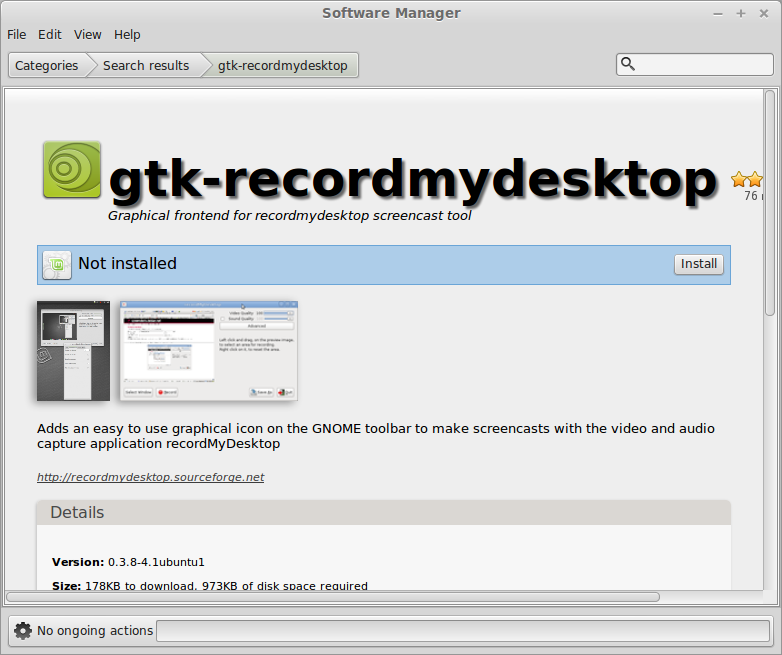
If you prefer to create your own videos there is Pitivi and for screencasting vokoscreen.
Dropbox
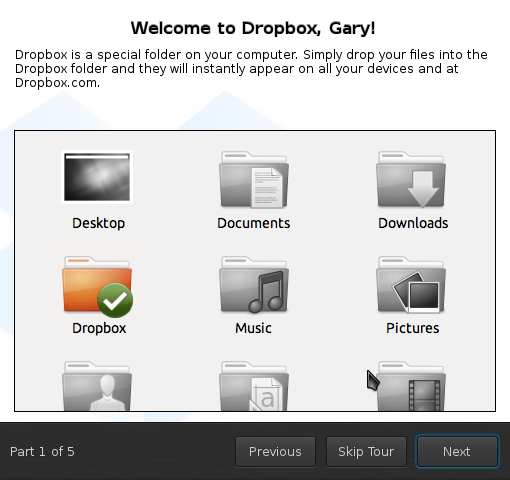
Dropbox is also installed as part of Makulu 6.
Dropbox allows you to store files in "the cloud".
Basically you can take your photos, important documents and other files and store them on a server out there on the web somewhere.
Nobody can view, edit or copy the files without your say so and it is a useful way to backup files and also give you instant access to them from anywhere.
It is a free service up to 2 gigabytes and then there is a small fee above and beyond that.
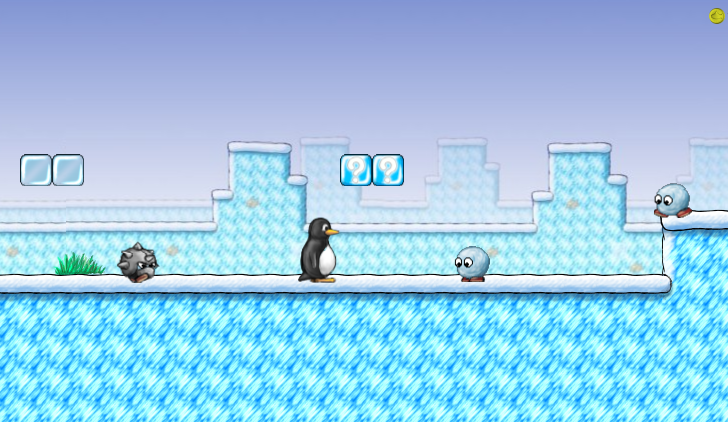
Gaming

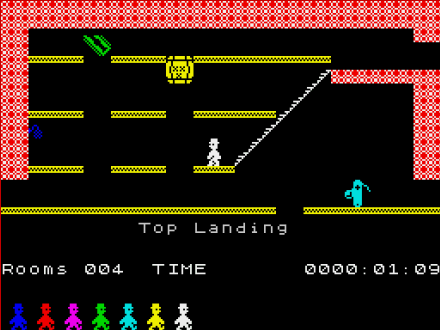
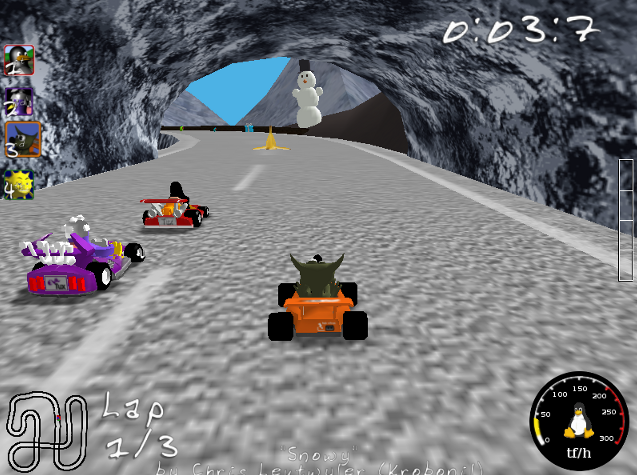
Makulu Linux comes with a decent set of games.
Frets on fire is like guitar hero without a guitar.
If you are nifty with your fingers on a keyboard then you will appreciate playing this game.
It looks and sounds good.

Other games installed with Makulu include:
Dreamchess - Chess
Flobopuyo - Tetris
GBrainy - Logic games
LTris - Tetris again
Neverputt - Mini golf
Tee worlds - 2d shooters
XMahjongg - Mahjongg.
All in all a decent selection. But that is not all, no that is not all.

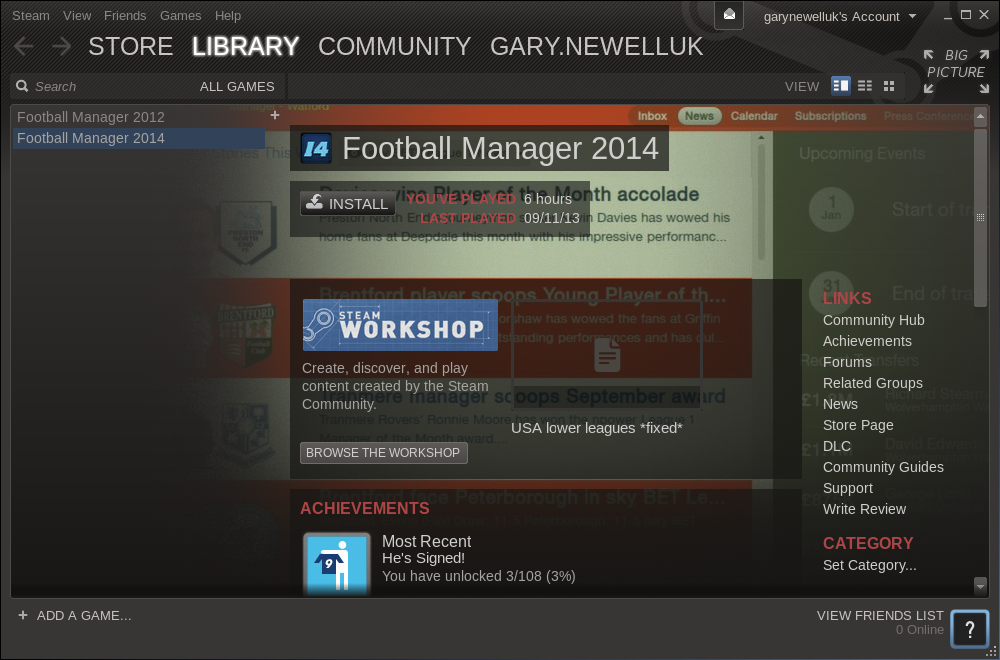
Steam is also installed within Makulu.
When you first click the icon the Steam updater runs and downloads a file of around 100 megabytes.
As you can see I don't play Steam games very often. I found that Football Manager 14 works much better on a tablet than on a laptop. There are just too many options in the full version.

Makulu really throws the kitchen sink at you. Also included is PlayOnLinux which makes it possible to play Windows games within Linux (and use Windows applications).
Winetricks and WINE is also installed.
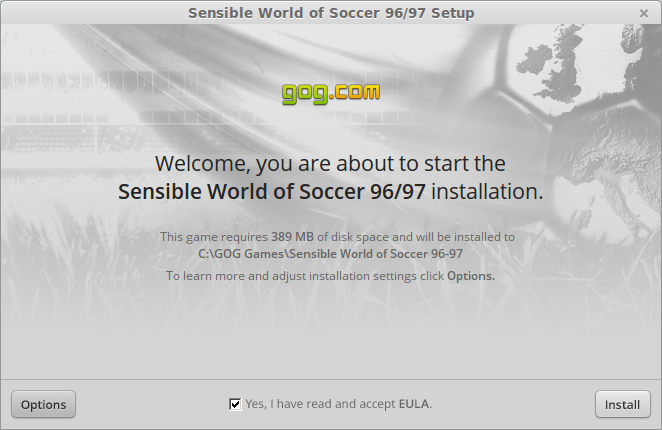
I used PlayOnLinux to install Sensible World Of Soccer which is one of the finest football games every made.
Keep an eye out for Tikka Takka football that will be out this year on your tablets as it uses a similar engine to the one used by Sensible Soccer.
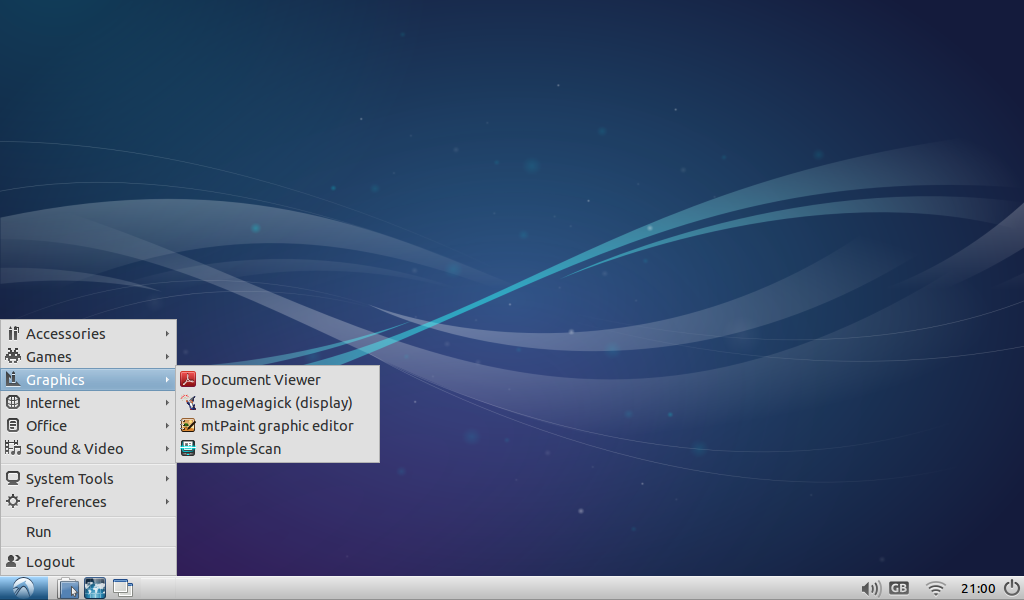
Other Software
Cherry Tree - Note taking tool
Pluma - Text editor
Leafpad - Text editor
MATE Calculator - Calculator
Sunflower - File manager
Screenshot - Screenshot tool
Imagemagick- Graphic editor/viewer
Pinta - Graphics editor
Chromium - Web browser
Deluge - Torrent software
Mumble - Chat software (think Google Hangouts)
Iceweasel - Web browser
Pidgin - Instant messenger
Brasero - DVD writer
There are dozens of other utilities such as GParted etc.
The main thing to note is that there are a few duplicates along the way but the software as a whole has been well thought out and for somebody who wants their computer to do daily everyday chores then Makulu certainly fits the bill.
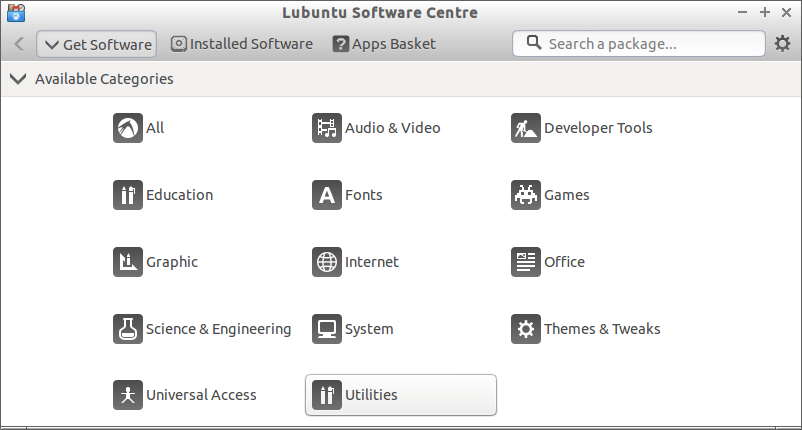
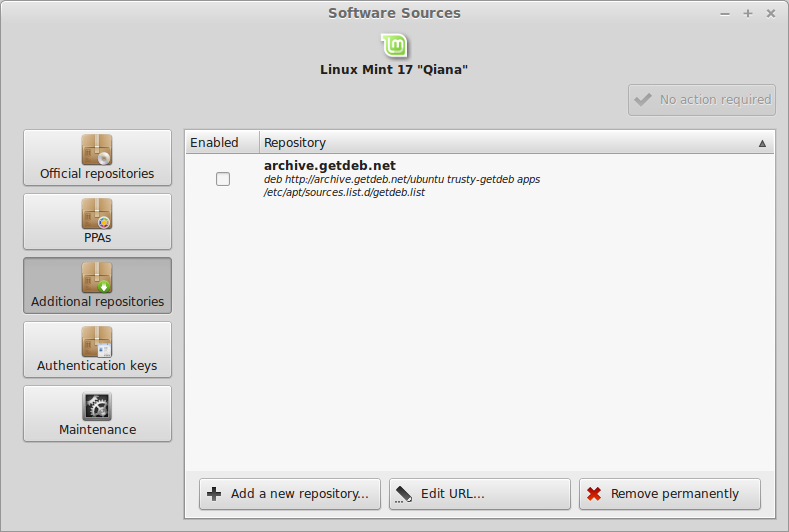
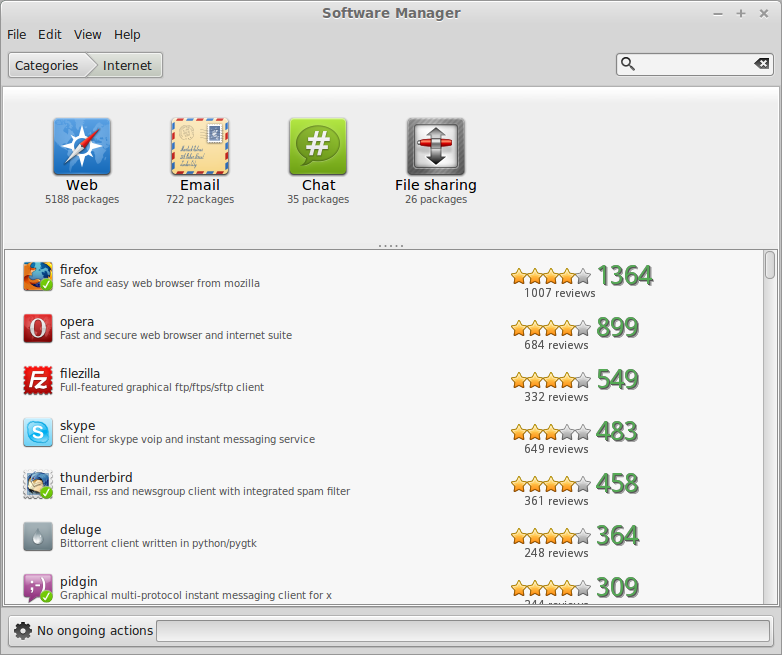
Installing Software

Within Makulu you can use the software installer which lets you search for a package by title and then it installs the package and dependencies.
Alternatively you can use the MINT installer which is a more graphical tool.
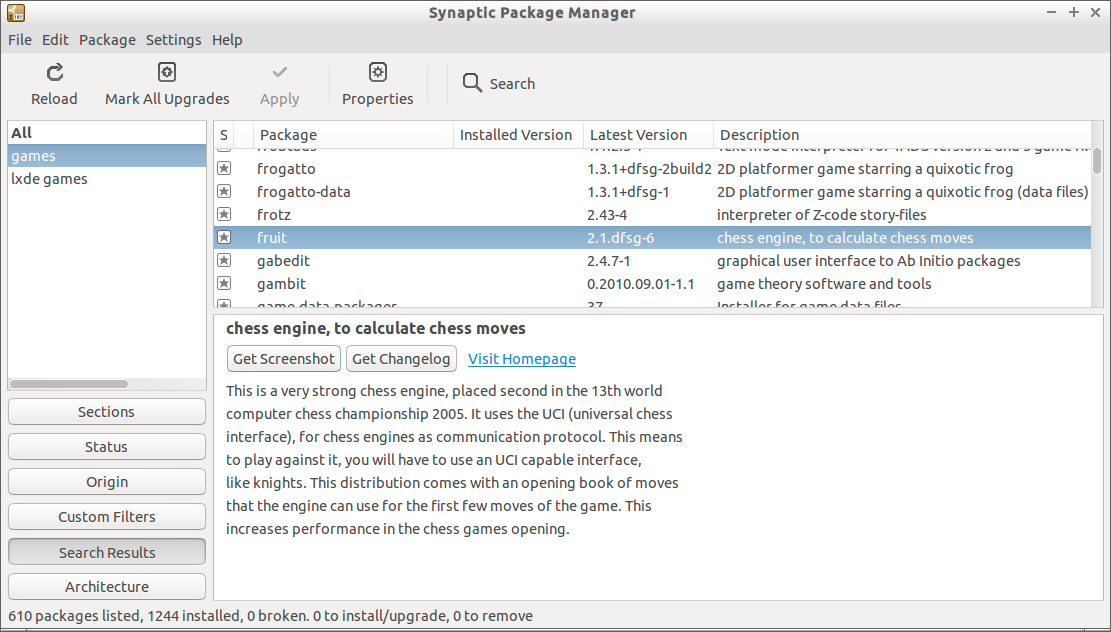
Further options include Synaptic. which is less pretty but more functional and on the command line there is apt-get.
Issues
I have been using Makulu for over a week non-stop and there have been no (as in zero) incidents to report.
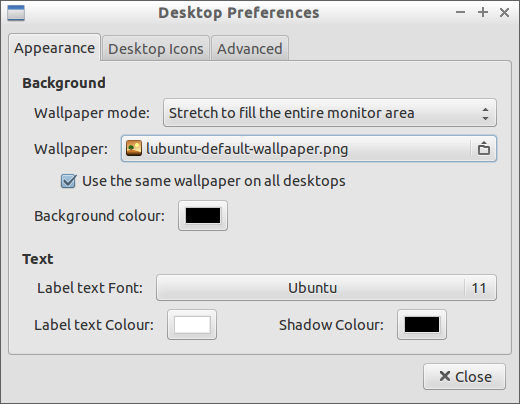
The default theme is a little bit dark for somebody like me as I am colourblind but this is easily resolved by choosing a lighter theme.
Sometimes on the dark theme it is dark text on a dark background. (invisible ink).
The one other thing that caused an issue was during the live session. The number lock was automatically turned on and on this laptop that meant that the letter keys i,o,p,j,k,l,b,n and m are numerical. This caused a problem whilst trying out networking as my security key kept saying that I was entering the password incorrectly. The problem was easily resolved by using the function key to turn off the number lock.
Summary
I used Makulu 6 on my ageing laptop and it worked a treat. I can only imagine that it would work even better on something newer.
The installer is probably a little bit full on for the less technically minded but there is a video that covers how to install Makulu which is definitely worth watching.
I have the same warm feeling about this distribution that I felt for SolusOS, Fuduntu and more recently Point Linux.
Unfortunately SolusOS and Fuduntu are no more. I hope Makulu will hand around for versions 7, 8 and 9 because it is a decent distro.
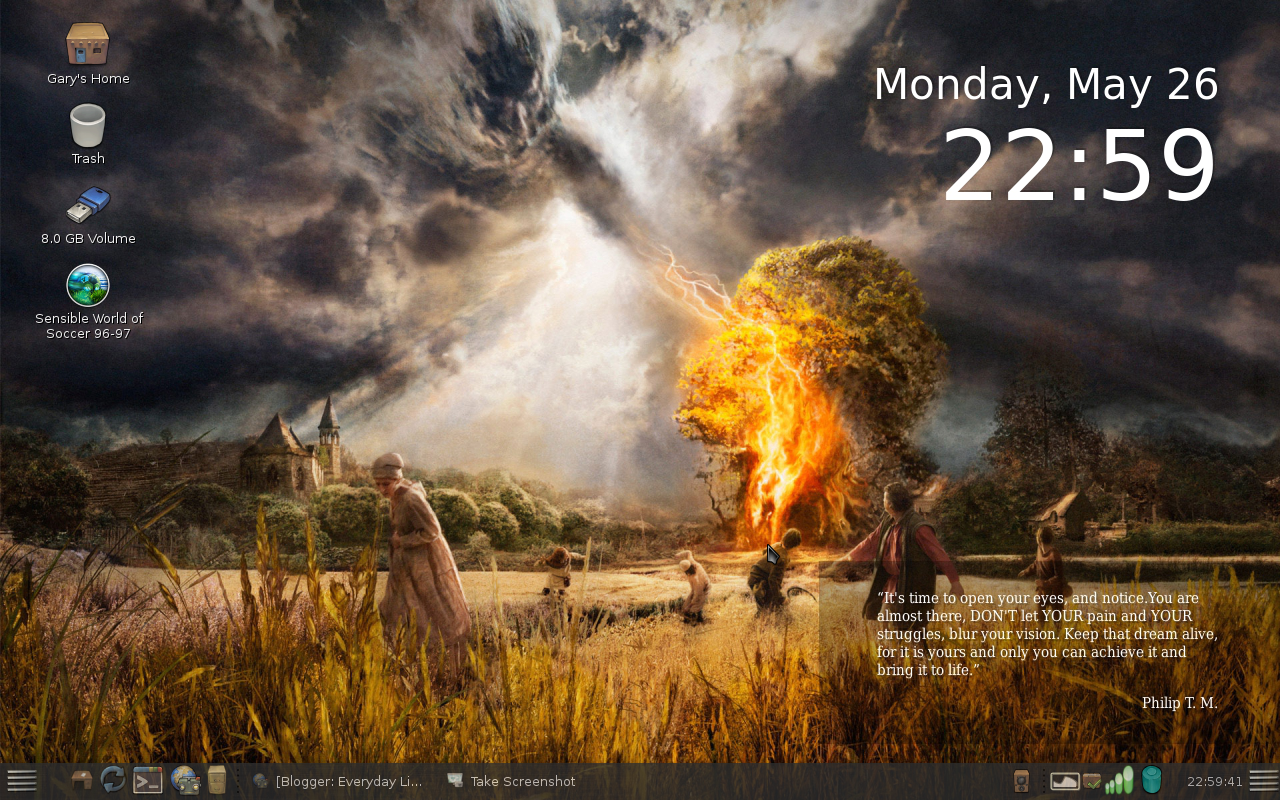
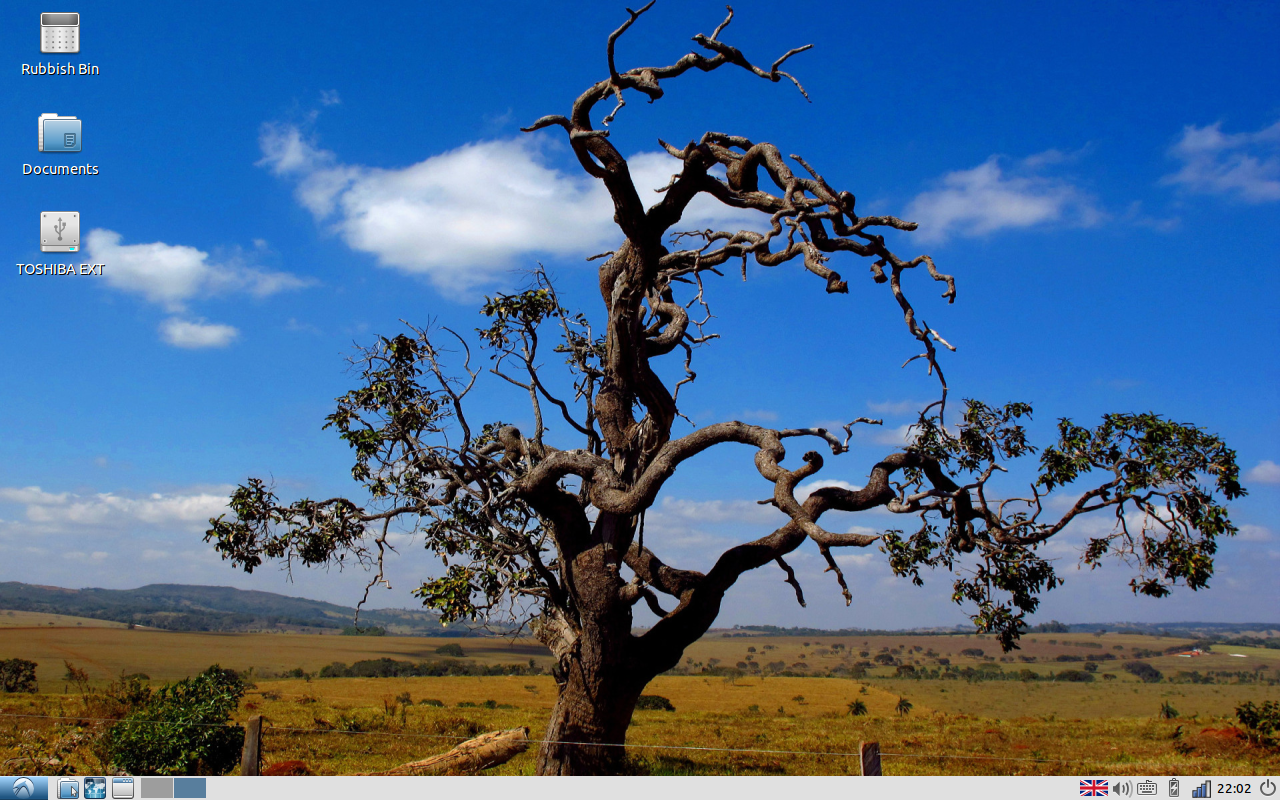
I am going to leave you with some more screenshots of the ace wallpaper.
Thankyou for reading.